
Creality Take It Up A Gear – The Ender 3 S1

At 3D Printing UK we’re huge fans of the Ender 3. Out of the box it’s an affordable 3D printer with good performance and huge upgrade potential, and we’ve certainly upgraded ours quite extensively over the last year. As good as the Ender 3 already is, you can make it a lot better by adding features like dual Z axis drives, a direct drive extruder and auto levelling. Not everyone enjoys the hobbyist aspects of 3D printing so much, though, and people that just want to start printing things might be put off the Ender 3 by the fairly extensive assembly required and the need to start tinkering if you want more than a fairly basic set of features.
Well, not anymore.
The Ender 3 S1
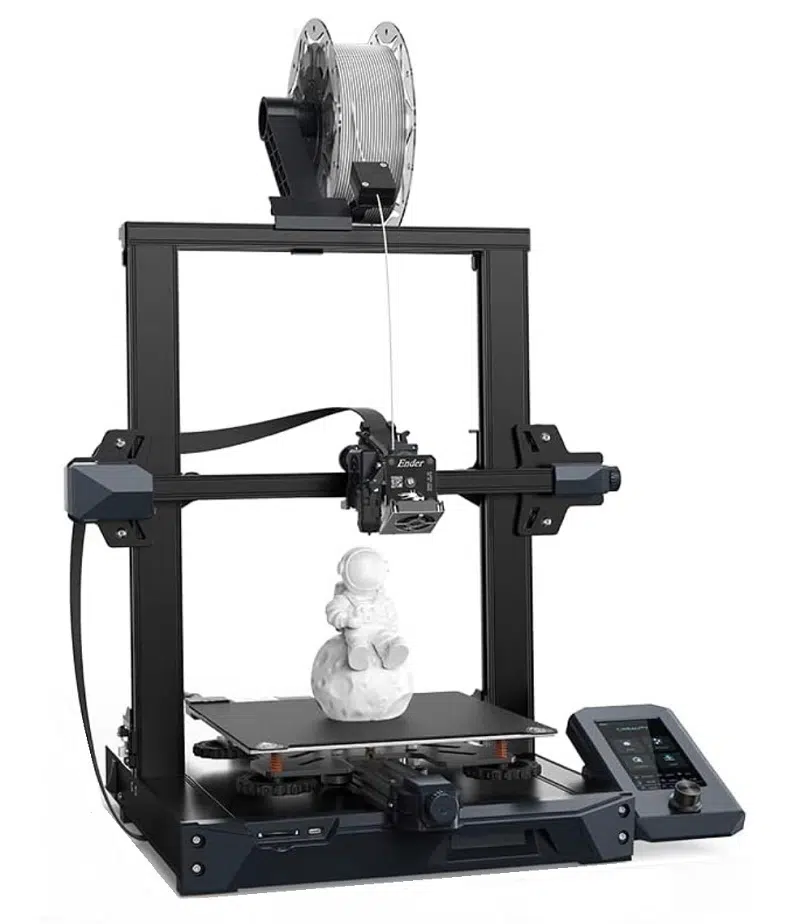
Creality have obviously seen the popularity of upgrades for the Ender 3, and now they’re offering their own fully-loaded version. The Ender 3 S1 is based on the Ender 3 V2, but it’s had some tweaks to the basic structure and then a radical set of upgrades that turn it from a competent but basic 3D printer into a very well-featured one.
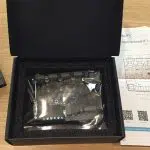
First of all, the S1 is a lot quicker to assemble than earlier versions. Creality say it comes 96% assembled, including the vertical frame being fully assembled and just needing bolted to the base. I’ve seen several reviews that say the S1 can be assembled in just ten minutes, which is impressive.
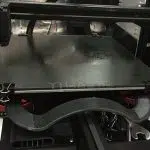
The S1’s frame is also higher than the earlier models, extending the print volume by 20mm in the Z axis. It’s now 220x220x270mm, which is a nice touch.
The really big deal, though, is all the new features Creality have added. There’s an updated display and control unit – it’s not a touch screen, but it looks like it should be easier to use than the original style. The extruder has been replaced with a Sprite twin-gear direct drive model, which is a lot easier to load than standard ones and also handles flexible materials much better. This is an impressively lightweight unit, too – the whole extruder assembly weighs just 210g, about a third less than most of its competitors.
Just to make sure the print head moves up smoothly, the S1 comes with dual Z-axis drives as standard. I saw a definite improvement in print quality when I added dual drives to our Ender 3, so this is a very nice upgrade to have – and having it designed into the printer makes for a neater job than any of the conversion kits on the market.
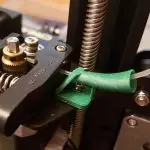
Creality have also added a couple of new capabilities to the S1. It comes with their CR Touch auto-levelling system installed, making tedious bed levelling a thing of the past. There’s also a filament break sensor, which will automatically stop the print job if your filament breaks or runs out. There are a lot of minor tweaks too. The print bed is now a flexible magnetic sheet, a handy storage tray fills up some of the empty space in the base and there’s a knob to adjust the tension of the Y-axis drive belt.
Obviously all these improvements and extra features come at a price. The S1 is currently selling for £419 on Amazon, compared to £276 for the Ender 3 V2 and just £184 for the original model. It’s a significant price difference – but it’s also a significantly more capable printer out of the box. If you don’t fancy adding all the extra bells and whistles yourself – and getting upgrades to work properly can certainly be frustrating – the S1 looks like a great option.
And Now For Something Completely Different
Last week I printed off a skull using PrimaSelect bronze filament, and had an attempt at polishing it to bring out the metal effect. The results weren’t bad, but the manufacturers recommend very fine 600-grain sandpaper for polishing their filaments and the finest I had in stock was 240-grain. That didn’t seem like a fair test, so I ordered a pack of fine wet and dry paper.
Well, that arrived a couple of days ago, and as per instructions I sanded down half the skull with water and 600-grain paper. Then I went over it with Brasso to bring out the shine of the metal. Finally I buffed it up thoroughly with a soft dry cloth, to get any remaining traces of Brasso off – if you leave it, it kills the shine again as it dries.
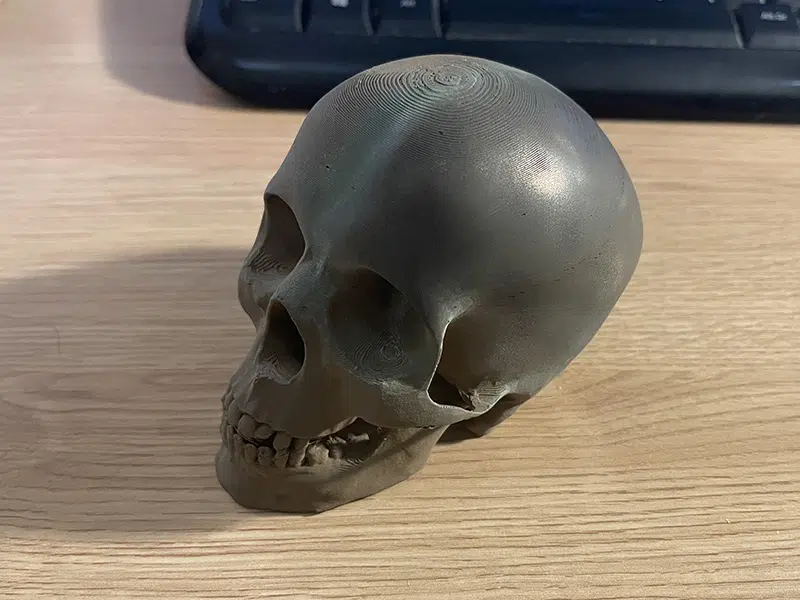
So how did it go? Well, by the time I was done it pretty much looked like bronze – old bronze that’s had time to develop a patina. Is it 100% convincing? Not really, but I’d definitely say it’s at least 85% convincing. It’s hard to capture the full effect in a photo (I tried anyway) but I can definitely recommend this filament.
I have another metal filament review coming soon, so stay tuned!


Leave a comment
You must be logged in to post a comment.