
Redrex Direct Drive Conversion Kit Review

The Bowden tube on our 3D printer usually does its job pretty well, but let’s be honest: Bowden tubes aren’t ideal. They’re a source of friction, they’re easily damaged – including by the fittings that attach them to your printer – and over time heat can degrade them where they run through the hot end. Wouldn’t it be nice if we could get by without them?
Well, actually we can – or almost, anyway. I’ve just finished installing a Redrex direct drive conversion kit, which eliminates the traditional long tube flopping around between the extruder and print head. So let’s talk about that.
What Is Direct Drive?
In a direct drive system the extruder is moved from the printer’s main frame to the print head carriage. That puts it right above the hot end, eliminating the need for 18 inches of Bowden tube connecting the two. Some extruders, like the Titan, can fit directly onto the top of a compatible hot end; other setups, like my conversion kit, use a very short length of PTFE tube as a connector.
The main advantage of direct drive is that the extruder no longer has to push the filament through a long tube that’s constantly moving and flexing. Without that friction to overcome the extruder has more torque to spare for actually doing its job – pushing filament out the hot end. This is most obvious with flexible filaments, which are notoriously temperamental in a Bowden tube, but it helps with any material.
Installing The Redrex Direct Drive Conversion Kit
We opted for a direct drive kit from Redrex, because they also made the all-metal extruder we fitted a few months ago, but there are a lot of them on the market and the basic ones are all pretty similar. Ours cost £12.99 on Amazon. Yes, the Amazon page says it’s by UniTak3d; the instruction leaflet says Redrex, so I’m going with that.
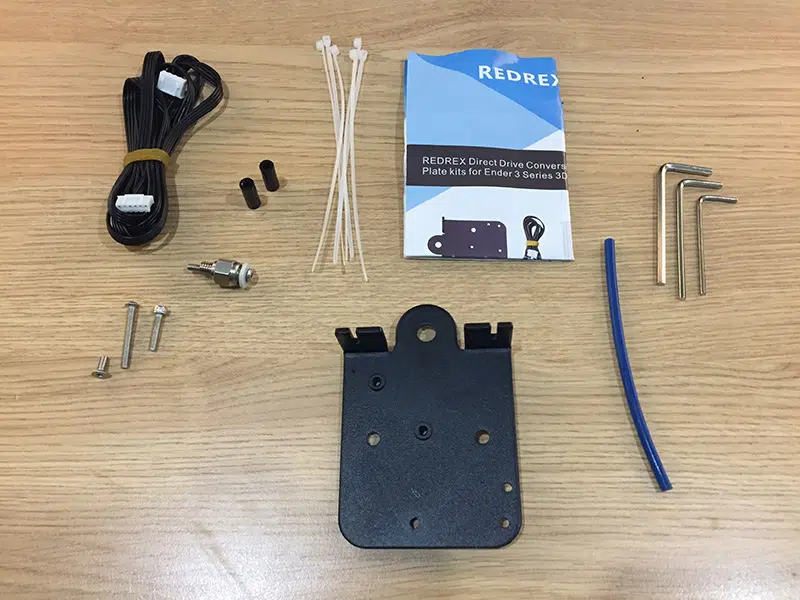
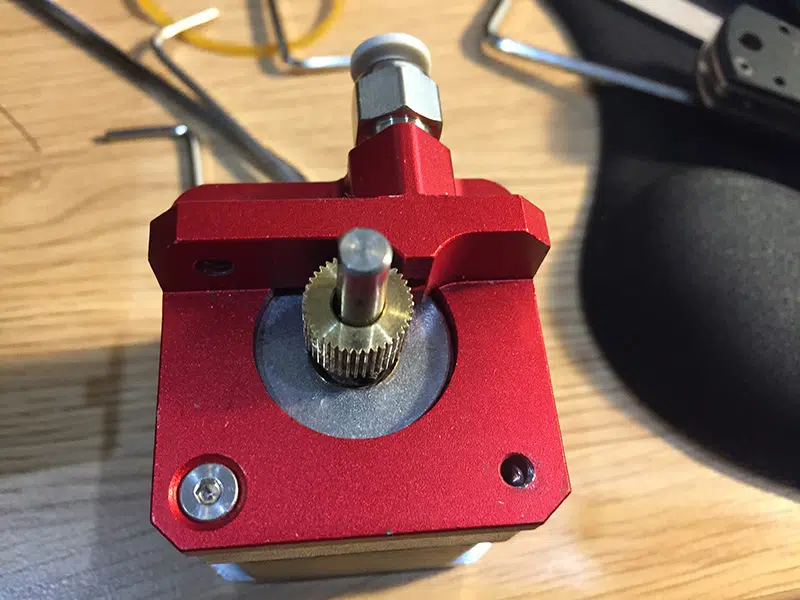
The Redrex direct drive conversion kit comes in a Ziploc bag with all the components loose inside it. The centrepiece of the kit is a stamped aluminium plate; this is the print head carriage. There’s also a long cable, a pneumatic connector, four screws (one of them had managed to insert itself in the connector), two plastic spacers, a few inches of PTFE tube, three Allen keys, half a dozen cable ties and an instruction leaflet, which with one exception is quite clear and easy to follow.
Stripping It Down
The first stage is to remove the existing feed system. Start by disconnecting both ends of the Bowden cable; you won’t be needing that anymore. Next, remove the hot end cooling shroud and take out the two screws holding the hot end to the carriage. So far this is all stuff you’d do for routine maintenance and cleaning, but don’t put your tools away yet.
Dismantle the extruder, and remove it and its stepper motor from the printer. Unplug the stepper motor from its cable. Go back to the carriage and disconnect the X axis drive belt from the two slots in the bottom of it. Using an Allen key and spanner, slacken off the nut on the lower of the three wheels on the carriage; that should let you lift the carriage off the X axis beam. Now remove all three wheels and set them aside.
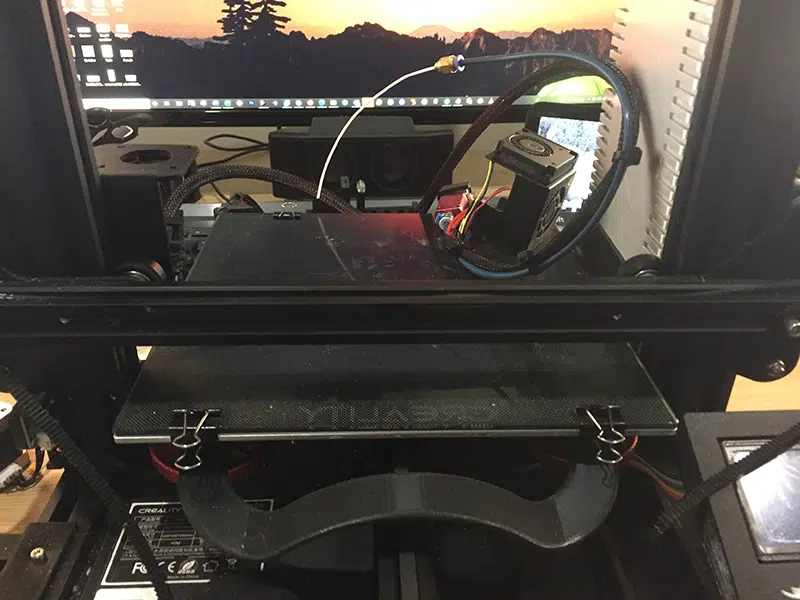
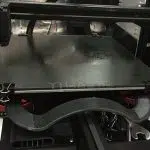
I’m not used to it looking this bare…
Now flip the printer over and remove the electronics box – this involves undoing the two screws on top either side of the cooling vent, one on the bottom and finally the two big ones that hold the box to the frame. The box should now come away from the printer, letting you access the motherboard.
On the motherboard you’ll find a row of four identical sockets, each with a connector plugged into it. These are the stepper motor power connections. The one you want is closest to the edge of the board, and the cable should have a plastic clip on it marked with an E. On my Ender 3 the connectors were all stuck into their sockets with a glob of hot glue (please, manufacturers, stop doing this), but some digging with a knife got that out the way. Now plug in the cable from the kit, lead it neatly out the back of the box and screw the box back in place.
Putting It Back Together
Fit the three POM wheels to the new carriage plate. Two of the wheels have simple tubular spacers; they go at the top. The third has a hexagonal spacer with an eccentric hole through the middle – it’s off centre. Leave that one loose so you can hook the carriage onto the beam, with the wheels riding in the top and bottom channels. Once you have it in place, adjust the bottom wheel. Because the hole in the hex spacer is off centre you can use that to tighten or slacken the carriage; tweak it until it runs smoothly and easily along the beam, but doesn’t wobble. Once that’s done, slot the ends of the drive belt into the carriage.
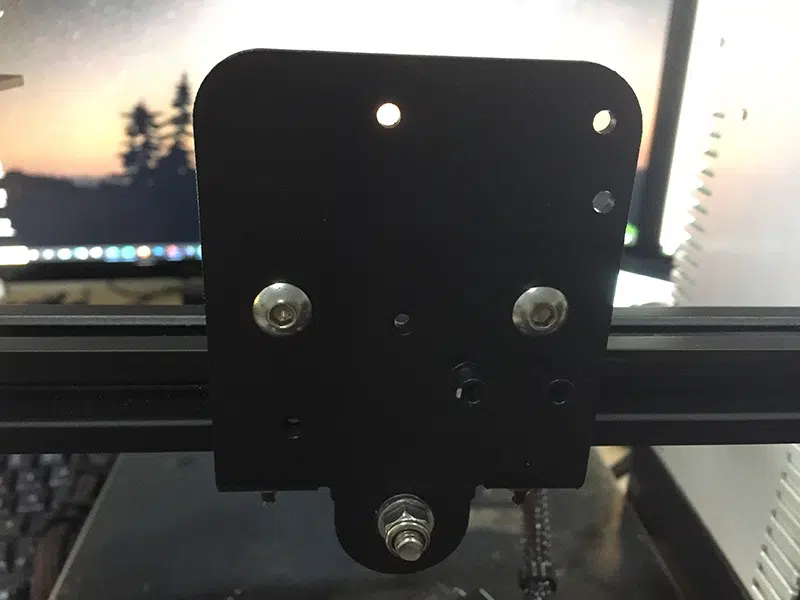
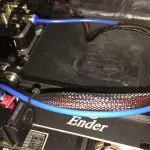
The new carriage in place.
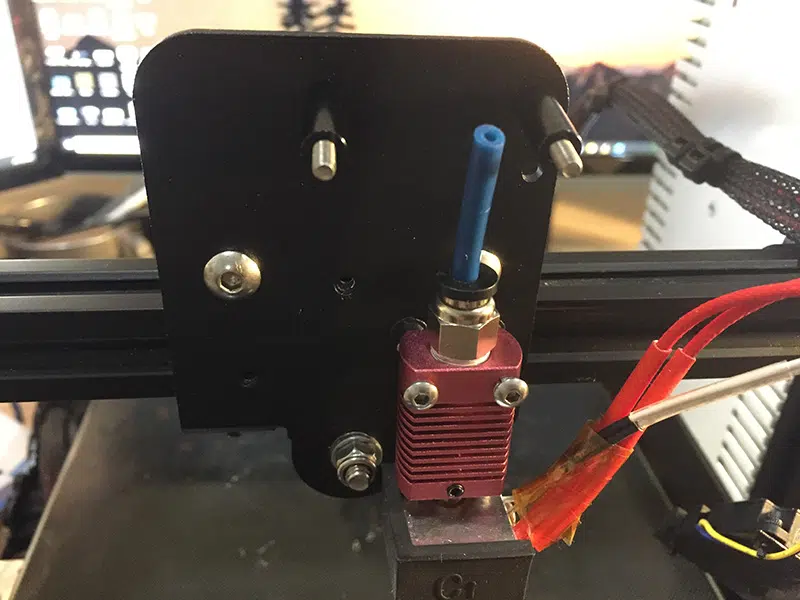
Next, push the PTFE tube that came with the Redrex direct drive conversion kit into the connector on the hot end until it won’t go any further, then lock the connector. Measure 25mm up the tube from the top of the connector and cut the tube there. Now screw the hot end onto the carriage using the original screws, but don’t put the cooling shroud on yet.
Now screw the main body of the extruder onto the stepper motor with the countersunk M2.5x6mm screw that came with the kit. In the direct drive setup there isn’t a steel plate between the motor and extruder, so the original screws are too long and won’t hold the extruder tightly in place. A loose extruder would be a Bad Thing. When you’re fitting the extruder, make sure the Bowden connector doesn’t come out the same side as the power connector on the motor.
Find the pair of M2.5x24mm screws in the kit, push them through the top pair of holes in the carriage from behind, then slip the plastic spacers over them. Now you need to mount the extruder/motor combo by tightening these screws into the holes either side of the Bowden connector. And you’re going to find a problem.
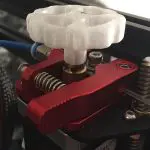
Normally, there’s a screw that passes through the extruder; the spring on the extruder arm fits over it, and the screw is used to adjust the tension of the spring. Well, that isn’t going to work here. The only way to mount the unit is to have that tension screw tightened all the way in, and that applies so much tension to the arm that the extruder won’t work. I pondered this for quite a while; in the end I decided to just leave the screw out and hope the spring didn’t slip. Ideally I’d have printed a locating peg to fit in the hole, then slipped the spring over the end. Unfortunately I couldn’t do this because my 3D printer was in bits.
Anyway, before you screw the extruder unit into place, unlock the Bowden connector on it and push the PTFE tube into it as far as it will go. Almost all the tube should be hidden inside the connectors on the extruder and hot end, so it’s a fairly rigid connection and should have minimal friction. Now tighten down the screws to securely mount the extruder and motor. Fit the arm back onto the extruder, again using the screw that came with the kit. I didn’t have to change the height of the extruder gear; it works fine as it was.
Now fit the arm and spring back onto the extruder. So far the spring seems secure enough in there, but I do plan to make that peg in the next couple of days for some extra insurance. Fit the hot end cooling shroud, plug the new power cable into the stepper motor, then use the cable ties to fasten it to the hot end power cable. Finally, level the bed – trust me; it’ll need it – and you’re ready to print.
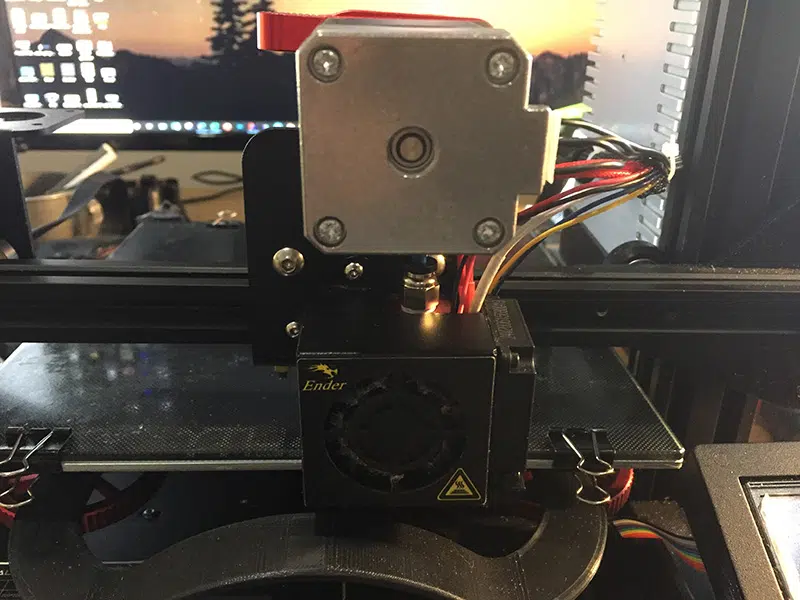
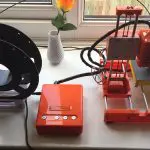
All done!
The Moment Of Truth
To my considerable relief, when I powered up the new, improved direct drive Ender 3 everything came on as normal. I got the bed levelled then loaded the filament. This was much easier than before; instead of having to thread it through filament guides I just pulled it straight down from the spool, pulled up the lever on the extruder and pushed the filament down the hole. A quick spaghetti test with the hot end warmed up confirmed that nothing was blocked in there, so I set it to work making a Benchy.
Direct drive does have a downside, by the way. By relocating the extruder and especially its motor, you’re adding a significant amount of weight to the print head. Unless the POM wheels on the Z axis carriages are adjusted very carefully, there’s a risk of the unpowered end of the beam binding up. It’s also possible that the extra moving weight could cause vibration problems, bringing back the “salmon skin” issue I cured a couple of months ago by installing TL smoothers. Of course, if either of those problems does crop up the dual Z axis drive I’ll be installing in the next few days will hopefully solve them.
Our Verdict On The Redrex Direct Drive Conversion Kit
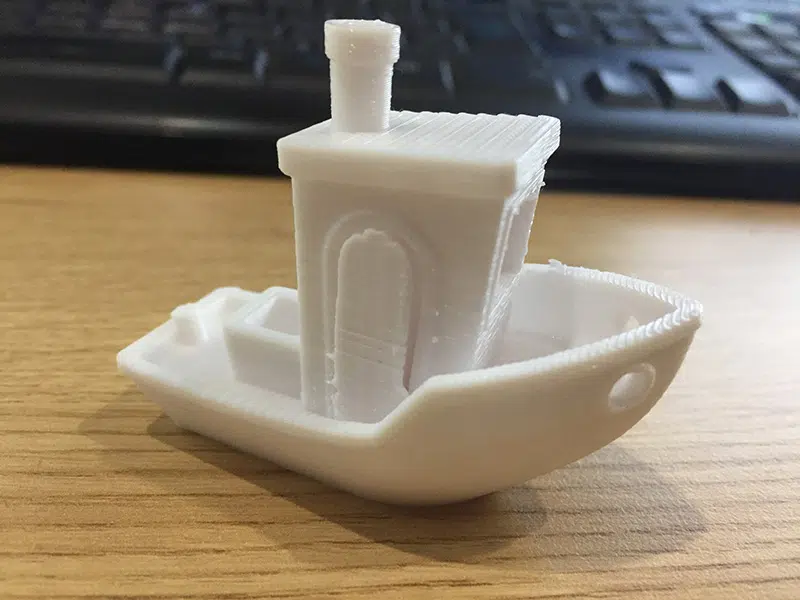
If you want to quickly and easily convert an Ender 3, Ender 3 Pro or CR10 3D printer to direct drive, this Redrex direct drive conversion kit will do the job just fine. It’s very affordable, it contains all the parts you’ll need, and with the exception of that tensioning screw in the extruder (which so far it seems to be doing fine without) it’s simple to install. As for the Benchy, it turned out pretty well! I forgot to turn off supports when I sliced it, but the hull is smooth and apart from one faint horizontal line the rest is good too. With some tweaking, this direct drive setup should be at least as good as the standard Ender at printing rigid filaments.
As for flexible ones, I have a spool of horrible, squishy, rubbery TPU in my filament rack; in the next couple of days I’ll dig that out and see how the direct drive handles it. Come back soon to find out what happened!


Leave a comment
You must be logged in to post a comment.