
The Ender 3 Project – What Are We Doing Next?

I was giving our Ender 3 its weekly clean and overhaul today when I realised I haven’t talked about our plans for it in a while. It’s been up and running for months now, and in that time we’ve tweaked it a lot, upgraded a few parts and printed a few more. It now has an all-metal Redrex extruder, TL smoothers in line with all three axis drive motors, upgraded bed springs, metal levelling wheels and a load of printed parts. I’m pretty happy with how it’s performing, but now we have a bunch of other upgrades in the pipeline. Here’s what we’re planning over the next few weeks for our Ender 3 Project.
Direct Drive Conversion
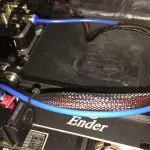
The nicest thing I can say about Bowden tubes is that they’re a necessary evil. We need something to guide the filament between the extruder and hot end, after all. Unfortunately Bowden tubes are what we have, and they’re not always ideal. They need to be cut and fitted very carefully, especially at the hot end, or they’ll cause endless extrusion problems. As for flexible filaments like TPU, the less said the better.
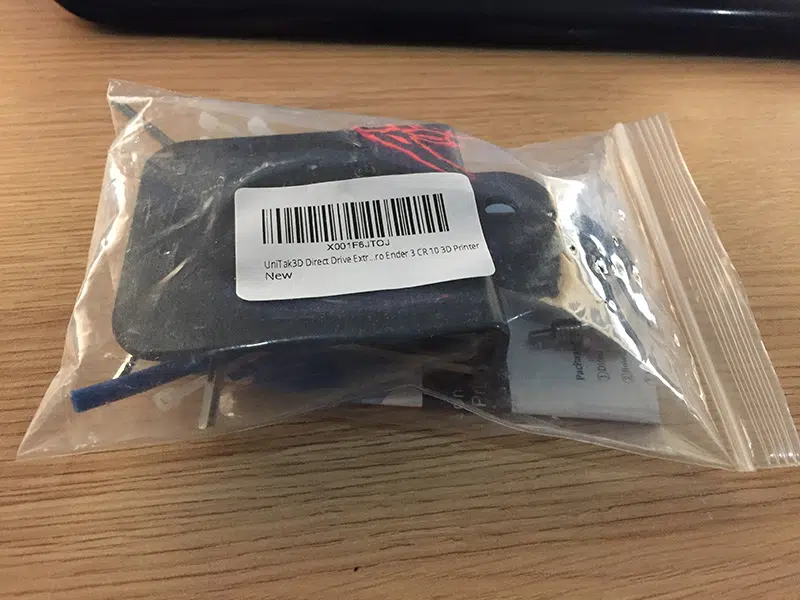
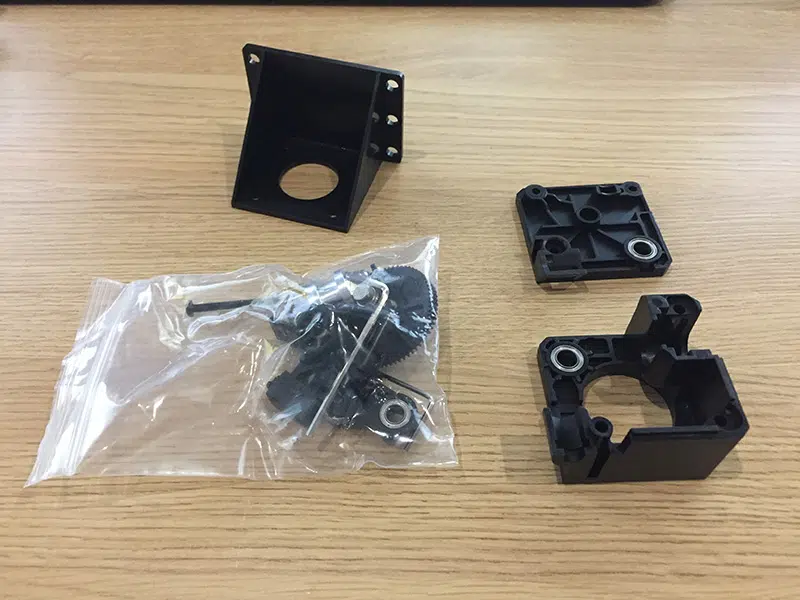
Happily there is an alternative to Bowden tubes – direct drive extrusion. If you move the extruder from the printer frame to the print carriage it can feed the filament straight into the hot end. That way you can either shorten the Bowden tube to an inch or two, or eliminate it completely.
There are downsides to direct drive; you’re adding more weight to the moving parts of the printer, and that can cause vibration and degrade accuracy. Can our Ender 3 handle a direct drive setup? We’ll be finding out, because we already have the conversion kit.
Update: We have fitted the direct drive and you can read about it here.
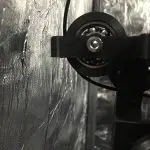
Dual Z Drive
If the Ender does struggle to lift the extra weight of direct drive, we have a solution to that too. Sometime this month we’ll be upgrading it to dual Z-axis drive. That means installing another stepper motor and lead screw to lift the other end of the print gantry. To make room for that I’ll also have to relocate the power supply, which is going to be fun. This will be a fairly major rebuild, but hopefully the payoff will be better layer alignment.
Update: We also fitted this to our Ender 3 and you can read all about it here.
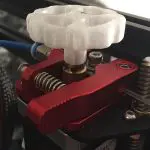
Titan Extruder
We’re also planning to try a completely new design of extruder. We have a Titan extruder kit for our Ender 3 Project ready to go, which should be interesting. Unlike the standard design it has a 3:1 gear ratio to give it more torque, and it should also be a lot easier to load filament thanks to its more ergonomic design.
I’m not sure if the Titan will work with the direct drive system; the leaflet that came with the direct drive kit says no, but I’m curious to see if I can bodge it together somehow.
One thing I am sure about is that it won’t work with the standard Ender 3 firmware. To get the right extrusion rate with the Titan’s gearing I need to load an edited copy of the firmware. The problem is that, out of the box, the Ender 3 doesn’t have upgradeable firmware. Getting round that is going to mean lots of messing around with an Arduino. Hopefully the end result will be an Ender 3 that can have its firmware flashed from my PC using a USB cable. The other possible outcome is an Ender 3 with a dead motherboard.
Update: The Titan extruder has also been fitted and you can read all about how that went by clicking here.
Motherboard Upgrade
On the other hand, if we do accidentally kill the motherboard, meh. We’re planning to upgrade it anyway. The standard Ender 3 motherboard is capable and reliable, but it’s also quite old. It’s an 8-bit system with fairly limited expansion potential, so we’re going to switch it out for a more up to date 32-bit model. That opens up options like touch-screen controls, auto-levelling and a lot more.
One of the great things about printers like the Ender 3 is that they’re very modular. It’s easy to replace components with an upgraded part, or one that suits your needs better. Our machine has already been tweaked and improved a lot since it came out the box, but there are a lot more upgrades to come for our Ender 3 Project. Come back soon and see how we’re getting on!
Update: We managed to upgrade our motherboard to the Creality Ender 3 v4.2.7 in February 2022, and you can read our review of the excellent upgrade right here.

Leave a comment
You must be logged in to post a comment.