
Creality Ender 5 S1 – Review

A few weeks ago I mentioned that we now have an Ender 5 S1. Since then I’ve built it, set it up and played with it, so I thought it was time to let you all know what I think of our latest printer. Suffice to say this is a machine that’s going to keep me busy for quite a while, and I’m very excited about it. So, without further ado, let’s get the box open and see what Creality’s latest offering is like in our Creality Ender 5 S1 review.
What’s In The Box?
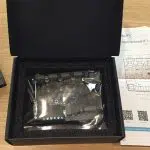
The Ender 5 comes in a big, sturdy box; opening it, the first thing I spotted was a bag containing a quick-start manual, the usual paperwork and a sheet of amusing 3D printing-related stickers. It’s a quirky little bonus that sums up the enthusiasm of 3D-printing fans and the maker community in general. Under that is the first of three foam trays, holding a formidable-looking subassembly, a box of accessories and some other components. Two more trays hold the rest of the printer. The whole thing is well packed, and unsurprisingly everything arrived in perfect condition.
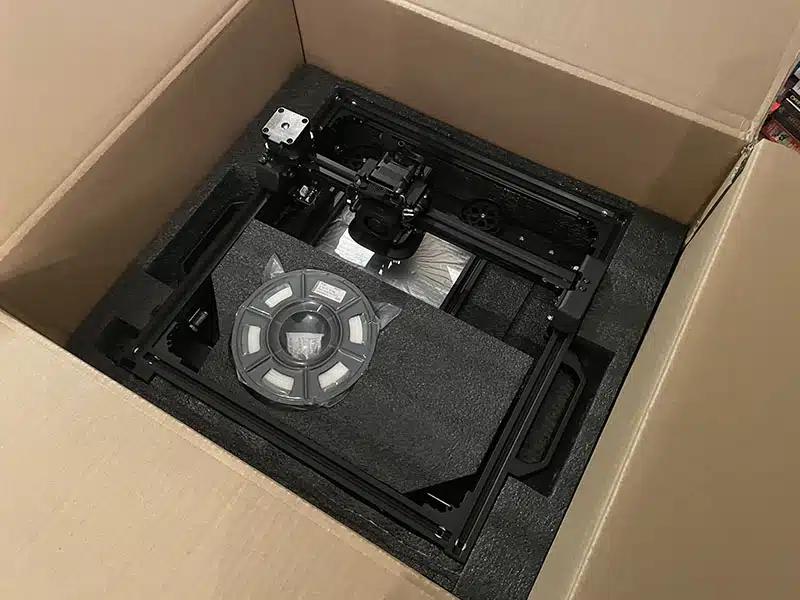
This 3D printer isn’t exactly pre-assembled; a growing number of machines are coming as a couple of sub-assemblies that can be put together in a few minutes. With the Ender 5 S1 you have to build the thing, but this is a much simpler task than building our Ender 3 was. There are four main components – the upper and lower frames, the Z axis drive mechanism and the build plate – then the vertical frame members and a handful of smaller components.
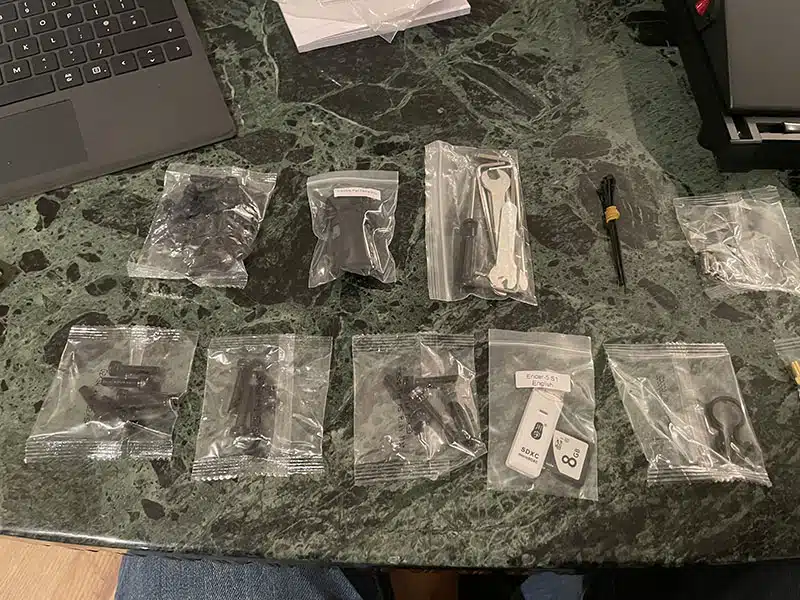
As far as accessories go, the printer comes with all the tools you’ll need to build it. There are a selection of Allen keys – not as nice as the ones that came with the Ender 3, which have ball heads for working at fiddly angles, but still perfectly functional – a screwdriver and a couple of stamped metal spanners. You also get a nozzle cleaning needle, side cutters for snipping filament, and a spatula for getting stubborn prints off the build surface. There’s a also a full-sized SD card loaded with a couple of models and a PDF of the manual, a USB adapter for it, and a supply of filament to get you started. This was a step up from the usual loose coil you get with a new printer; the Ender 5 S1 comes with a proper 250g spool of white PLA.
Putting It Together
Assembling the Ender 5 S1 is mostly straightforward. I’d recommend working from the PDF manual loaded on the SD card, rather than the paper one; it’s going to be updated more often. The only fiddly bit I encountered while building the printer was mounting the Z-axis drive, with the build plate attached, into the frame; it isn’t complicated, but you do need to slide it through the frame in a fairly specific direction to get it to fit. Luckily the manual explains exactly how to do it. Apart from that, assembly is mainly a matter of making sure you have the right size of bolt – the bags they come in have the size printed on them, to avoid confusion – and carrying out all the stages in the right order. A lot of attention to detail has gone into making this printer easy to assemble. For example the four vertical frame members, which look almost identical at each glance, all have numbered and colour-coded stickers on them to make sure they go in the right place (and the right way up).
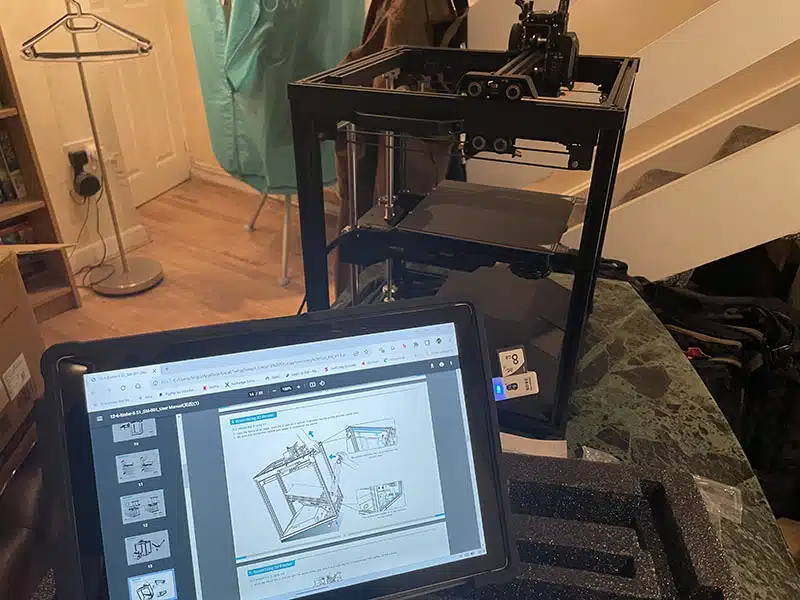
This bit was slightly fiddly, but if you follow the instructions it will go fine.
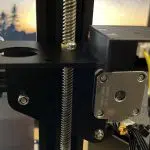
One thing that particularly impressed me is cable management. A 3D printer, especially once you’ve added some extras – and the Ender 5 S1 isn’t short of those – has a lot of cables running around it. Creality have gone to some lengths to make sure all the wiring on this machine is kept neatly out of the way. Between integrated clips on the frame, and an assortment of cable ties and very smart little snap-in cable retainers, everything is kept nicely secured except the main harness running to the print head, and even that comes with a clip to attach it to the PTFE Bowden tube that carries the filament.
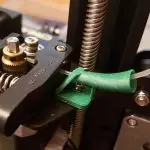
Wait, there’s a Bowden tube? Isn’t this a direct drive printer? Yes there is, and yes, it’s direct drive. The tube is just there to make sure the filament doesn’t snag on anything on its way from the side-mounted spool, through the filament break sensor and over the top of the frame to the print head. The tube shouldn’t cause any issues for flexible filaments like TPU; the problem with those is when you try to push them through a tube; pulling them through shouldn’t be an issue. I’m planning to try some TPU prints soon, and I’ll report back on how they go, but I don’t anticipate any problems.
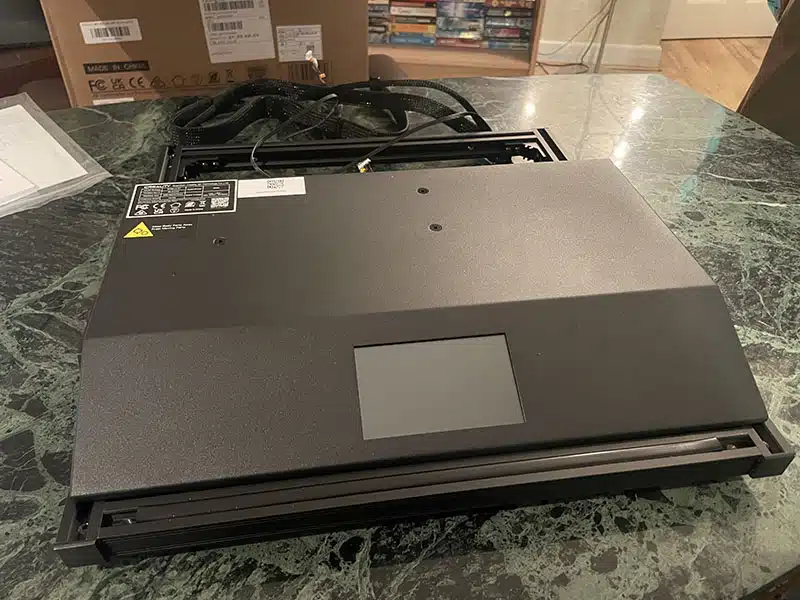
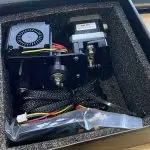
I have to say, overall this is a very neat machine. The Ender 3 is an excellent entry-level 3D printer, but while the core mechanics are good it’s light on refinement; one of the first things I printed for it was a cover for the control panel electronics, which were just hanging off the back of the screen. The motherboard and associated cabling is all packed into a fairly small casing, and after doing any upgrades it can be a chore stuffing it all back in and getting the cover on. The Ender 5 S1 is a far neater product. The large casing almost fills the lower frame, and contains the power supply as well as the motherboard; there’s a lot less exposed stuff hanging off the printer.
The whole machine looks very professional, and has some really nice touches. For example there’s a pair of carrying handles already attached to the top frame, so once you have the thing assembled it’s easy to pick it up and move it around. The build plate is spring steel, and to replace it on the bed you need to manoeuvre it in through the top of the frame. It could be fiddly to get it on the right place, but it isn’t. There are two small screws at the back edge of the bed, and two matching cut-outs on the build plate, so it’s easy to locate it perfectly every time.
I have to give Creality top marks for how well this 3D printer is put together. Everything is neatly laid out and easy to get to. When I installed it in our Creality enclosure, the spool is right beside a big flap in the side of the enclosure, making it easy to change filaments. The power switch and SD card slot are on opposite sides of the casing, both easily accessible. Some 3D printers do look as if essential features were added as an afterthought, just bolted on wherever there was room for them. The Ender 5 S1 isn’t like this at all; it’s a very polished, well laid out product, and clearly a lot of thought has gone into making it usable.
But Does It Work?
Of course none of this matters if it can’t actually turn out good prints, so how does it perform in that department? Once I had it assembled and set up in my office, I loaded a new spool of my everyday Anycubic black PLA and switched it on.
All interaction with the Ender 5 S1 is handled through the big, bright touchscreen on the front of the casing. This runs the usual Marlin firmware, but it has a very clear interface with multiple language options. The touchscreen is much easier to use than the knob-based controls on the Ender 3, and navigating the menus is quick and simple.
The first thing to do, obviously, was to level the bed. The integrated CR Touch gives autolevelling capability, but before trying a print I decided to start off with a conventional levelling routine. The menu gives a neat option for this, with five numbered points corresponding to the centre and corners of the bed. Touch the appropriate point and the print head will move there, ready to be tested for clearance with the usual sheet of paper. The levelling menu includes up and down buttons to set the Z axis offset, so I set the levelling wheels at each corner of the bed to the middle of their travel, then used the offset buttons to get the centre of the bed at the correct height. Then I moved the head to each corner in turn and used the wheels to adjust them. I repeated the whole process twice more to make sure everything was perfectly dialled in, then opened Cura and went to slice a Benchy.
This is where I hit a minor speedbump; Cura didn’t have a profile for the Ender 5 S1. However, I managed to track down the appropriate figures and G-code online; if you need them, you can find them here. Of course the Creality slicer included on the SD card already has a profile, so you can just use that. I’ll do a separate review of that in the next couple of weeks.
With my new profile loaded, I tweaked the speed settings to rather faster than I use for the Ender 3. I set the basic print speed at 150mm/s – three times what I normally run at – and adjusted the others accordingly. Then I sliced the Benchy and loaded it into the Ender 5 S1.
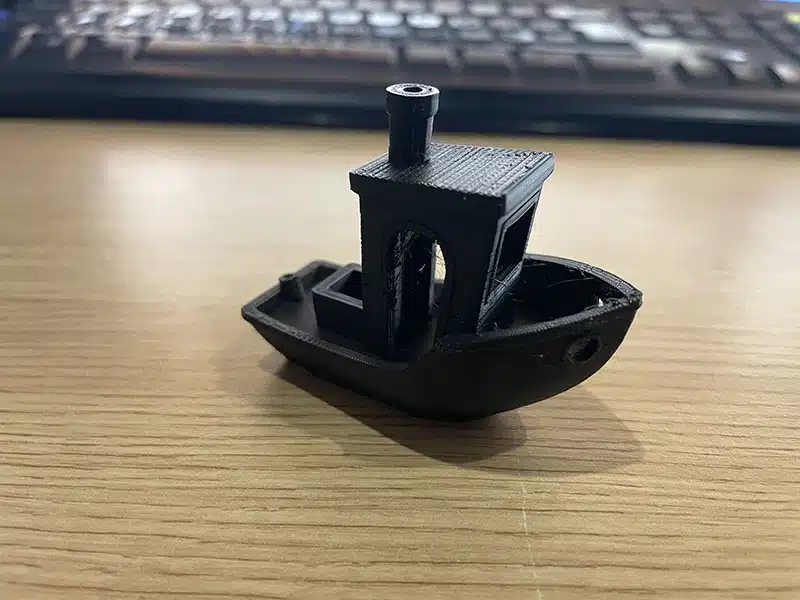
I haven’t run a direct speed comparison of the two printers yet – the Ender 3 is being rebuilt right now – but my gut feeling is that the Ender 5 S1 heats up a little more slowly than its older cousin. I could be wrong about that, and anyway it doesn’t really matter; when it does get up to operating temperature it swings into action with impressive speed. The print head fairly zips around inside the top frame, because both X and Y motion is handled by the print head, and the build plate isn’t shuttling back and forth, it looks a lot slicker than the 3. It also works very quickly. With my standard settings, the Ender 3 takes three hours and 20 minutes to produce a Benchy with the fine (0.12mm) layer height selected. The Ender 5 S1 managed it with a 0.1mm layer height in just 80 minutes. It was an excellent Benchy, too; there was some minor stringing in the wheelhouse doors, but I should be able to fix that by playing with retraction settings. Apart from that the hull was nice and smooth, and all the details were crisp.
One thing I did notice is that there’s a lot more vibration going on that I ever saw from the Ender 3. I assume it’s because the moving mass is concentrated at the top, but when the Ender 5 S1 is running the table it sits on is perceptibly vibrating. It doesn’t appear to hurt the print quality, though, and oddly enough it doesn’t seem any louder either.
I went on to print out a tablet stand I designed a while ago. On the Ender 3 these take over 20 hours to print (I’ve made a few of them), but the Ender 5 S1 managed it in just nine hours and 15 minutes. I was also impressed at the adhesion; every one I’ve made on the 3 has had slight warping on at least one corner of its large, flat base, no matter how much I cover the build plate in tape or douse it with 3D LAC. The Ender 5 S1, on the other hand, produced a perfectly flat base with no lifting or warping at all. This is a very good sign, and suggests I’ll be able to take full advantage of its 220x220x280mm build volume.
The Verdict
The Ender 5 S1 is a much more expensive printer than its predecessor – it’s currently £499 on Amazon – so you’d expect it to outperform the Ender 3 by a significant margin. The good news is that it does. It comes with all the features you need for consistent, high-quality printing, and its rock-solid cubic frame makes it both compact and robust. It’s very easy to assemble, so I’d argue that it’s better for beginners than a lot of cheaper printers; as long as you can follow instructions and use an Allen key, you can get this set up in less than an hour with no need to worry about the frame being out of alignment. At the same time it has enough performance and extra features to keep any hobbyist or small business happy.
Over the next few weeks I plan to work this 3D printer hard. As well as the S1 itself, I also have a very interesting new control system for it – the Creality Sonic Pad. That, like the Creality Slicer, is going to get a review of its own. The machine can also print at significantly higher temperatures than the Ender 3; its hot end will go all the way to 300°C, compared to 260°C for the old printer. I’ve successfully printed nylon and (not quite so successfully) polycarbonate with the Ender 3, but with the new printer these materials should be easy to work with; I’m going to test that, and see if I can make some ultra-strong components for a couple of projects. Check back soon for lots more Ender 5 S1-related 3D printing fun!


Leave a comment
You must be logged in to post a comment.