
Review – Creality Direct Drive Upgrade Kit for the Ender 3

In my last post I mentioned that I was planning to fit our Ender 3 with an integrated hot end and extruder. Unfortunately I got round to reading the Amazon reviews on the unit I planned to get, and they were… not encouraging. In fact they were so universally awful that I decided to hold off until I found an integrated system that might actually work.
And then our 3D printer died.
OK, it’s not very dead, but it did stop working. Nothing was coming out the nozzle, and it was bunged up so thoroughly that I couldn’t pull the filament out. Stripping it down and cleaning it out will probably fix the problem, but in the meantime I decided I was going to try Creality’s own direct drive head assembly. So I ordered one.
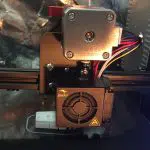
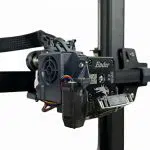
This Creality direct drive upgrade kit isn’t a completely integrated unit; it consists of the standard Ender 3 hot end and extruder, mounted on a new carriage. There’s still a (very short) length of Bowden tube joining the two, but on the bright side it all comes pre-assembled, so this looked like a very simple drop-in replacement.
What’s In The Box?
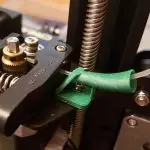
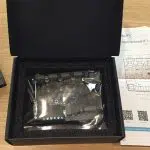
This unit comes in the usual nice Creality box, and the contents are simple. There’s the fully assembled carriage, and a small bag containing an extruder motor cable and some tools. The unit itself has the usual Ender 3 plastic extruder, although it’s slightly improved on the one that originally came with the printer; the main update is the addition of a brass liner to the filament port, which should fix any wear problems.
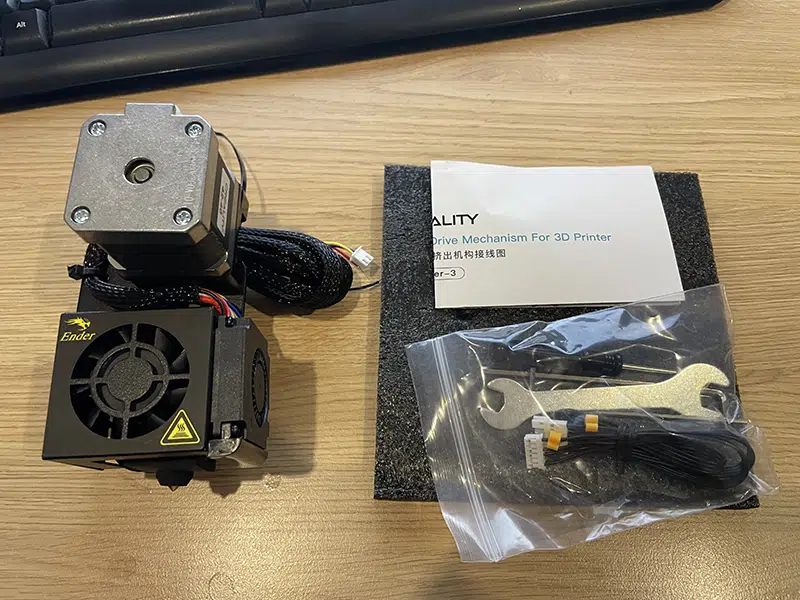
There’s also a photo of a correctly wired Ender 3 motherboard, which is handy if you haven’t ventured into rewiring the thing yet. In general, it looked like it would be fairly easy to install. So, was it?
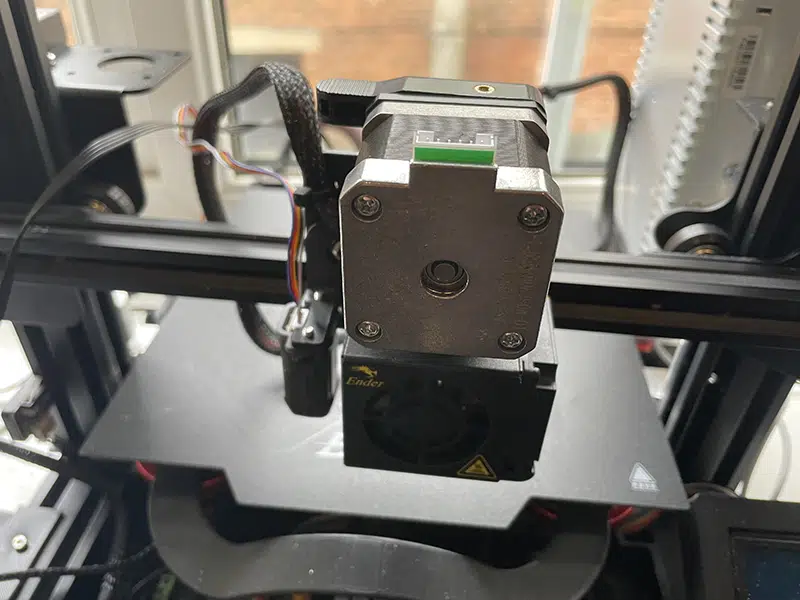
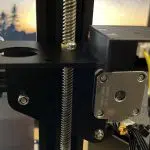
The first stage, obviously, was removing the existing carriage and disconnecting all its cables from the motherboard. To swap carriages I just removed the belt tensioner, loosened the screws holding the print beam to its Z axis carriage and pulled the beam away from the upright far enough to slide the old one off and the new one on. Then I put the end of the beam back together and fixed the drive belt to the new carriage.
At this point I mounted the CR Touch sensor head on the new print head, then started sorting out the cables from the head and extruder. This is simple enough, thanks to the included wiring diagram. The trickiest bit is always keeping the cabling neat enough that it won’t snag on anything.
So Does This Direct Drive Upgrade Kit Work?
Unsurprisingly, yes it does. This direct drive upgrade kit is an official Creality part, and as long as you’re confident enough to open up the printer’s electronics box and start rewiring the motherboard it’s a straightforward upgrade. It doesn’t need any firmware updates or other tweaking, apart from making sure the bed’s levelled after you’re done screwing things back together.
Is it a significant upgrade to the Ender 3’s capabilities? Well, that depends. If you want to switch to direct drive this is a quick and simple way to do it. It’s also an affordable upgrade, at £29.99 from Amazon. If you already have a direct drive setup this probably doesn’t have much to offer, but if you’re still using a standard Bowden tube setup it’s definitely worth considering.
Leave a comment
You must be logged in to post a comment.