
What Have I Been 3D Printing?

Today I was supposed to be writing a review of a LED light that fits into the Ender 3’s frame and illuminates the print bed, but I can’t, because it doesn’t work. I suppose as reviews go that’s all you need to hear, actually, but it’s a bit on the short side, so I thought I’d talk about a couple of my 3D printing projects instead.
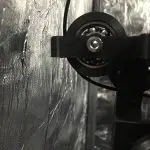
Filament Drying Helper
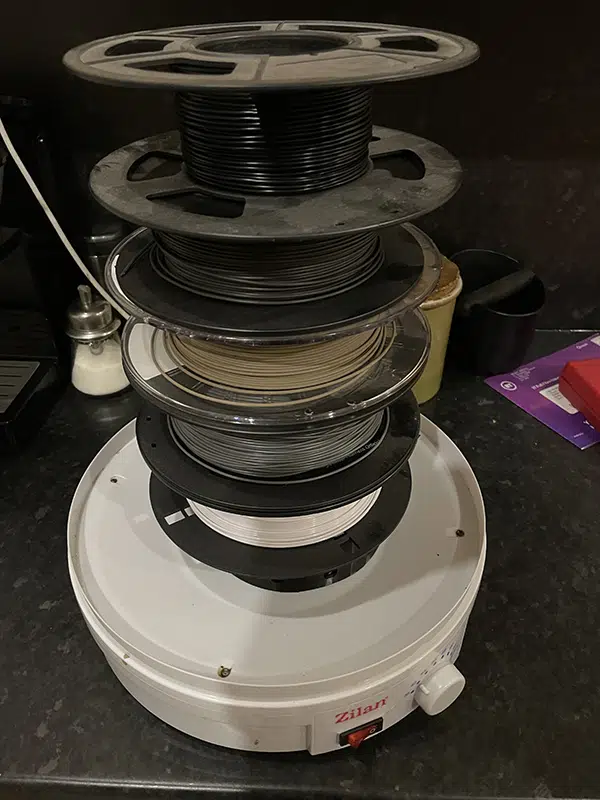
I’ve mentioned before that I use my kitchen dehydrator for drying filament that’s been left out too long. Recently I’ve been a bit lazy about resealing filament that I haven’t been using, so this week I found myself with half a dozen spools that have probably picked up more moisture than was good for them. Unfortunately, that was a challenge for the dehydrator. It pumps out warm air from a raised circular vent in the centre of the bed; one spool of filament sits on top of that quite nicely, but if I try to balance two or more on there they tend to fall off. As I quickly discovered, the toppling spools will either dislodge or tear the bin liner I use as a cover when drying filament.
Luckily this was easily solved. I opened FreeCAD and designed a simple 150mm wide, 50mm high support ring that sits round the air vent. I cut out holes around it to let warm air circulate, then printed one off. Now I can dry a whole stack of spools at once.
Desk Organiser Mount
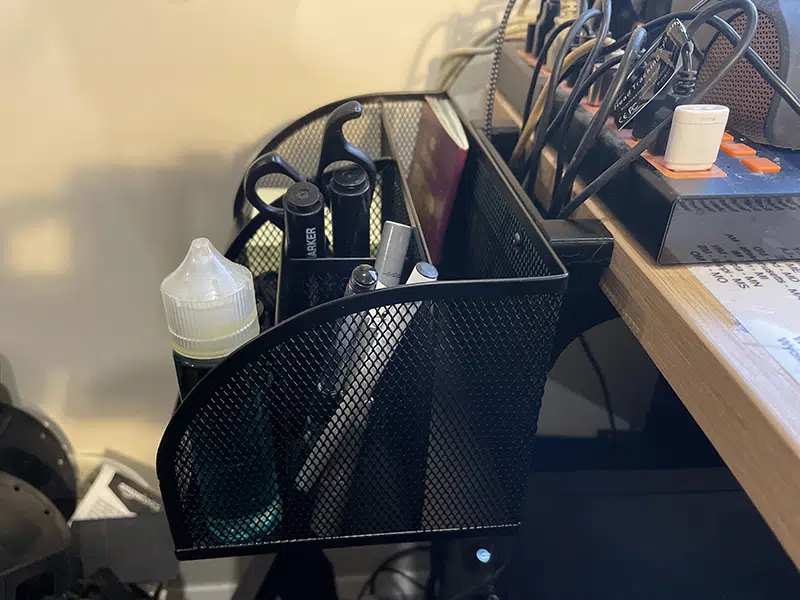
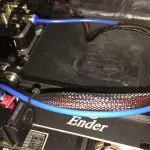
With my filament all dehydrated and vacuum-sealed, I decided to tackle a more complicated project. I hate having a messy desk, but I also hate having to rummage in a drawer every time I want a pen or some other small but useful thing. To get around this I bought myself a desk organiser, which I figured would hold all the small clutter that builds up. Unfortunately I quickly got annoyed with having it on the desk, so I decided to screw it to the front. That way it would be in easy reach but not taking up any of my workspace.
I’ve learned from experience that just screwing things together doesn’t always work, and this looked like one of those times. The organiser is made of expanded metal, and that doesn’t have a great strength to weight ratio. If I simply drilled a couple of holes in it, and screwed it directly to the desk, there was a good chance it would bend under its own weight, and either lean under the desk or rip the screw heads out through the mesh. Luckily I have a 3D printer, so designing and making a mounting system is easy.
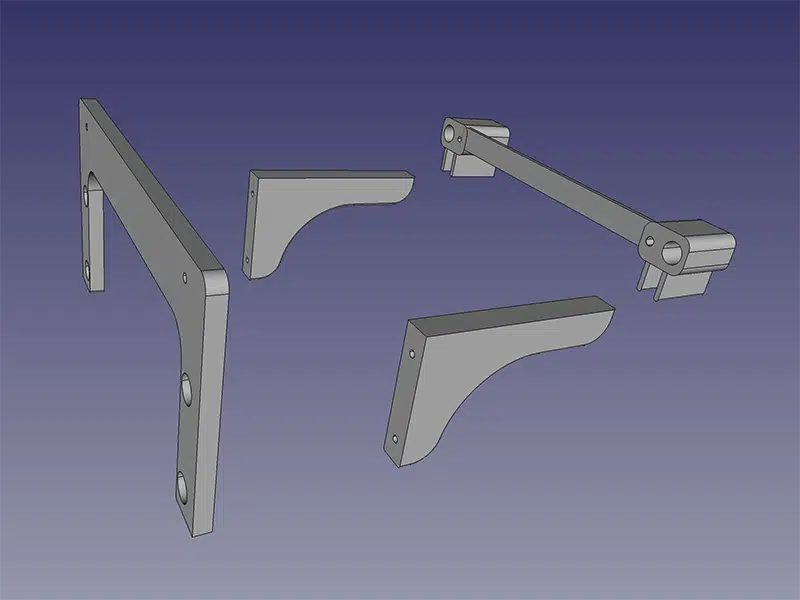
The design I came up with has four parts. The first is a mounting bar that I attached to the desk with a pair of 1.5” wood screws. It’s cut away at the back so I can feed my tangle of USB cables down behind it, keeping them a bit tidier. Then there’s a backplate with two brackets screwed to the back. The organiser’s weight can’t swing it backwards, because the brackets push against the underside of the desk. Finally I drilled two holes in the back of the organiser, and used two M3x25mm screws fitted with washers to fasten that and the backplate to the mounting bar. The end result is a nice tidy mount, with only two of its eight screw heads visible, and it’s pretty much rock solid.

Another Ender Upgrade!
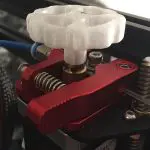
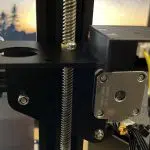
My next project is another upgrade to the Ender 3 itself. A few weeks ago I fitted a filament break sensor, which is a very handy little gadget, but its mounting system isn’t ideal. It’s screwed to a very substantial steel bracket that mounts in entirely the wrong place on the printer. It’s designed for a 3D printer with a standard extruder and Bowden tube setup, but our Ender is direct drive and the extruder is on the Y axis beam. It’s possible to feed the filament round a long and tortuous path that takes it through the sensor, around the frame and up to the extruder, but this seems a bit daft. As well as making the extruder work a lot harder than it needs to, having the filament turn through two right angles then come up from below a top-fed extruder probably makes it ten times more likely to break.
What I want to do is detach the sensor from its bracket, then design and print a new mount that will place it directly above the extruder. That gives a nice short feed path, straight down from the spool and into the top of the extruder. I’m also planning on replacing the extruder and hot end, which are currently connected by an inch of Bowden tube that’s a complete pain to replace, with an all-in-one unit; as soon as that arrives I’ll figure out how to get the sensor mounted, and no doubt you’ll get to read about it here.

Leave a comment
You must be logged in to post a comment.