
FreeCAD For 3D Printing – Back To Basics

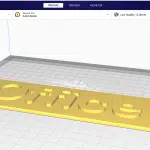
Last week I talked about how to create 3D text in FreeCAD. I’ve mentioned FreeCAD a few other times, too; although I play with other design apps, that’s still the one I use for most of my projects. It’s an amazing tool for creating your own 3D printer projects, with powerful capabilities, a whole range of add-ons to make it even more versatile, and a great price – free.
The only drawback is that the user interface isn’t exactly intuitive, and while I’ve discussed things I’ve done with it I haven’t actually looked at the basics of how it works. So let’s do that.
Getting Started
When you open FreeCAD you’ll see a screen with a couple of side windows and a main window full of confusing things. Ignore this apart from the Create New button; click that to open a blank workspace. Now find the Workbench list; it’s the drop-down menu on the top toolbar. When you open the programme it will be on the Start workbench; change that to Part, and some of the toolbars will change. This is where you’ll be working.
At the left of the biggest toolbar there are some basic shapes – a cube, cylinder, sphere and so on. Almost everything you design in FreeCAD will be built up from combinations of these shapes, but the ways you can combine and modify them give you immense flexibility.
To add a shape to your design, just click on the one you want. That shape will appear in the workspace, and it will also appear in the object list in the top left panel. Click on it in either place and the bottom left panel will show your editing options. You can edit the size by changing the dimensions, or open the Placement options and adjust the object’s position and rotation angles. You can also move objects by opening the Edit menu and switching to edit more, but the Placement tab is more precise.
One of the trickier things about FreeCAD is changing the viewing angles. There’s an icon at the top right that lets you click on a face of the object to shift the view to that face, but if you want more control you’ll have to use the mouse – and that’s a little weird. The scroll wheel will zoom you in and out; to pan and tilt the camera around the object you need to press the centre and right buttons at the same time, not a combination I’ve ever seen before.
Shaping Your Model
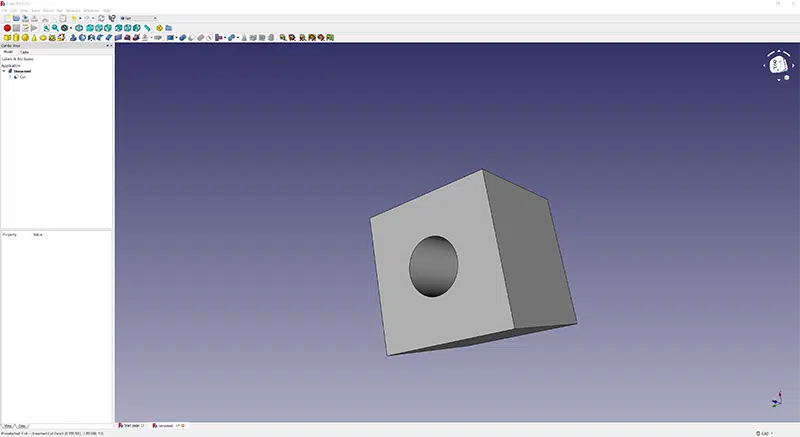
So, with a basic shape created, how do you create more complex ones? One of the most useful methods is cutting. If you place two shapes so they overlap, select them both using Ctrl+click, then click the Cut button on the toolbar (the overlapping blue and white circles) the second object you selected will be cut out of the first one. This method lets you create some surprisingly complicated shapes, and it’s the one I use the most often. For example, if you want a hole for a screw, make a cylinder the same diameter as the screw and long enough to hold the screw you plan to use, place it so it intersects your object, then cut; you’ll be left with a neat hole.
You can create less fragile edges, and make things look more professional, by using the Chamfer and Fillet tools. Just select an edge, click the appropriate tool then set the width you want the edge to be. Watch out when doing this; if you get too ambitious and the selected edges intersect in the wrong way, your whole model will disappear. I’ve found that if adding, say, a 1mm chamfer deletes the whole model, I can usually fix it by clicking Undo then trying again with a 0.9mm chamfer.
Playing with the various editing options, you’ll find that you can enter very precise measurements and have them perfectly recreated in your model. If you have a set of digital calipers – and you should, if you’re going to be designing things – then between those and the programme, you can easily design objects to within the accuracy of your 3D printer.
Once your object is designed you’ll need to export it from FreeCAD – the programme uses its own file format, and slicers need a STL mesh to work from. In the top left panel, select all the objects you want in your print job, then click the File menu and choose Export. That will save your project as a STL file, all ready to be sliced and printed.
For free software, FreeCAD is incredibly powerful. I’m constantly finding new things it can do, and I’ve hardly touched any of the add-ons available for it yet. I’ll probably do another how-to post every few weeks, just to share any new skills I develop, but that might have to wait a bit – this weekend I’m planning some major brain surgery on our Ender 3, so come back soon to learn how that turned out!


Leave a comment
You must be logged in to post a comment.