
How To Add Text To Your 3D Printer Projects

I’ve talked a couple of times about designing 3D printing projects in FreeCAD. It’s a versatile design package, and lets you build complicated objects by adding, joining and cutting simple shapes. Once you start exploring it, though, you find a lot more functions. One of these is the ability to add 3D text to your 3D printer projects.
You can do a lot with 3D text. It lets you make signs or labels. If you’re making storage boxes, and you already know what they’re going to contain, you can print that right onto the box. Feeling creative? You can put your name – or your company’s – on anything you create. There are a whole load of ways you can use 3D text to add either practicality or a professional touch to the things you 3D print.
OK, So How Do We Do That?
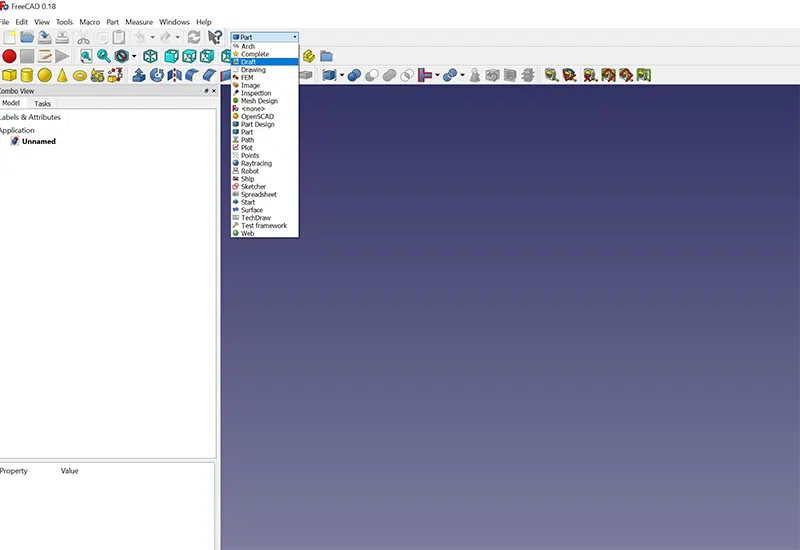
First, you’ll need a copy of FreeCAD. If you don’t already have one, download it here. Sorted? Right, open it up and go to the workbench menu – you know, where you usually select Part to start designing an object. This time, select Draft instead:
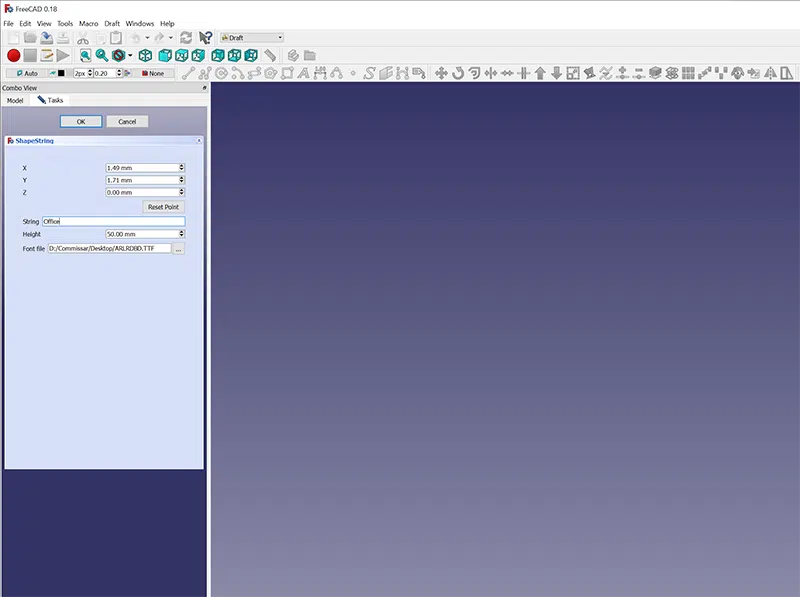
Once you’re in the Draft workbench, look for the S icon on the toolbar. Click that and a new set of options will appear. This lets you set up the text you’re going to create – but, to do this, you’ll need to know where the fonts are saved on your PC. Click the button beside the Font File field, find the font you want, and select it. Then use the Height field to set the size of your text, and finally type the text itself in the String field. Here it is, filled in:
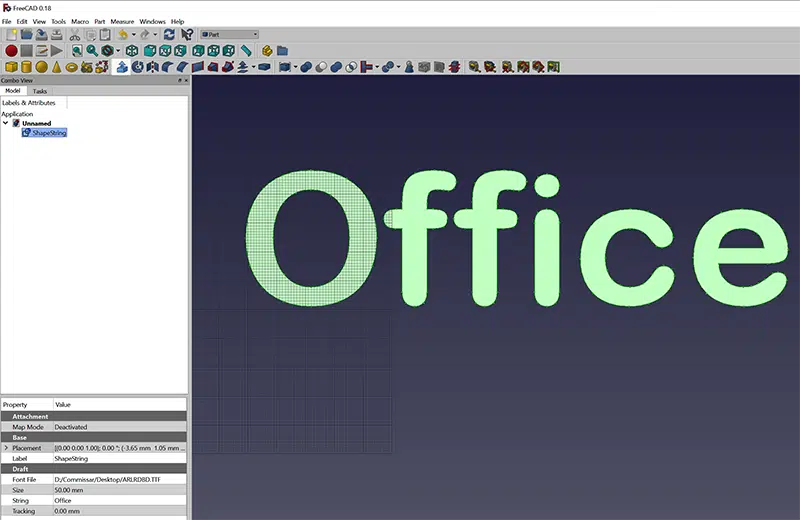
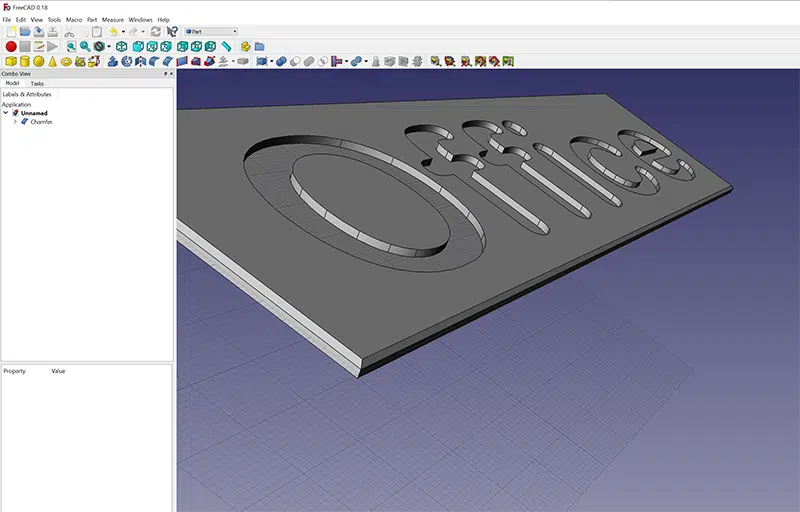
Now just click OK and the text will be created. That’s you done with the Draft workbench. Next, go back to the Part bench and select the text, which should appear in the list as ShapeString, then click the Extrude button:
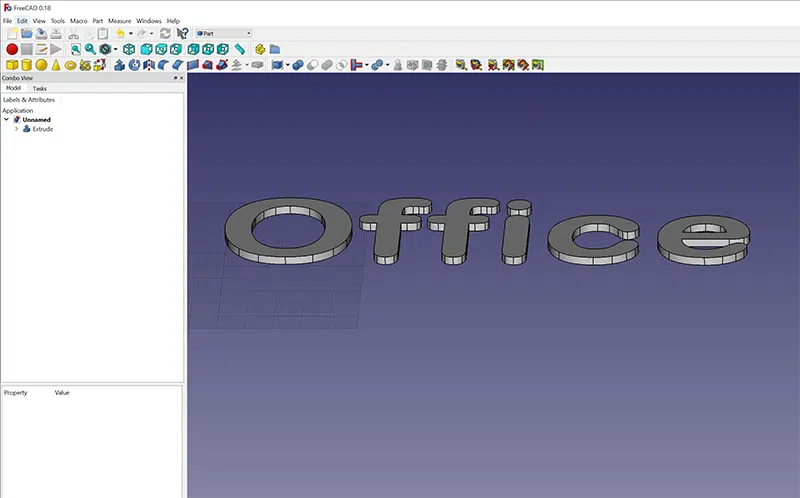
Once you’ve done that, enter how far you want to extrude the text in the Along field. I went for 3mm. Click OK again and, as if by magic, you have a 3D text object!
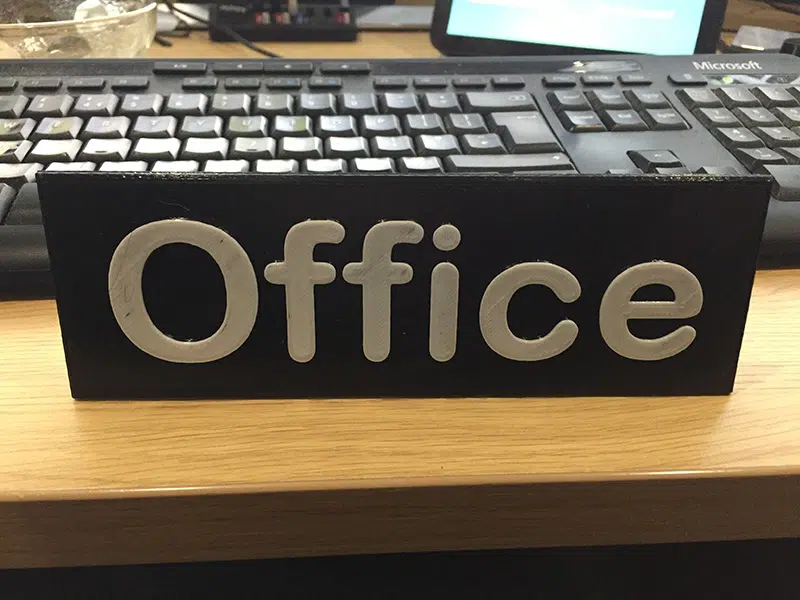
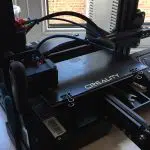
Now all you have to do is insert or create whatever you want to have the text on. I was just making a simple sign for my office door, so I created a cube, resized it into a rectangular plaque and used the Chamfer tool to bevel the edges. Then I moved it until the text sat on top, selected cube and text, and exported them as a STL file, all ready to open in Cura. Finally, of course, I printed it. To make it look better, I switched from black to white filament once our Ender 3 had started printing the actual lettering. The result was pretty good:
What About Embossing?
Obviously, this method works for raised text. What if you want to emboss it instead? Well, that’s easy too. Just create, then extrude, the text in exactly the same way. Once you’re back in the Part workbench and the text is extruded, it’s like any other 3D shape in FreeCAD – you can unite it with another shape, or you can cut it from another shape. All I had to do here was start with my raised sign and lower the lettering a couple of millimetres into the plaque, then select the plaque, select the text and hit the Cut button. That cut the lettering out of the plaque, leaving me with embossed text:
Again, when I printed it I changed filament colours to make the lettering stand out. Obviously this time I started with white, then switched to black once the 3D printer reached the embossing:

For this sign I just cut the letters straight out of the plaque, but you can get fancy if you want to. For example, you could chamfer the edges of the text before cutting to give a profiled effect. Obviously you could chamfer the edges of raised text, too.
Making The Most Of 3D Text
FreeCAD’s text tools aren’t exactly intuitive, but like most of the package they are very powerful once you find your way around them. You can use them to add 3D text – either embossed or raised – to anything you print, and that’s a useful ability. The first thing I added text to was my nozzle holder; it has printed-in labels to show what size of nozzle goes in each row.
Embossed text doesn’t just need to be decorative, either – it can also be a security feature. What if you’re printing something and want to make sure nobody else gets sticky-fingered with it? It’ll be pretty hard for the culprit to claim he made it himself when your name is embossed along the top of it in big letters, won’t it? Really, 3D text is like anything else in 3D printing; the only limit is your imagination.

Leave a comment
You must be logged in to post a comment.