
Getting To Know Your New 3D Printer

Oh, you got a 3D printer for Christmas? Congratulations! Welcome to the manufacturing revolution. We’re sure you’ll have lots of fun with your new toy, and use it to make lots of fun and even useful items.
But first you have to get started.
First Steps
Once the excitement of unwrapping that big box with your new 3D printer in it has worn off a little, it can be a fairly intimidating proposition. Before you can print off your first object, you’re going to have some work to do. The amount depends on your specific model of printer, but it could be anything from plugging it in and loading filament to building the thing from a kit. If your 3D printer came in kit form check out my own experiences building our Ender 3; the basics are the same whatever model you have.
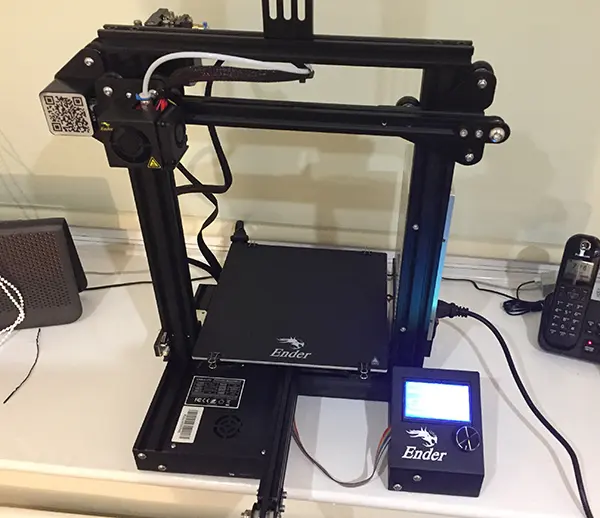
When your printer is assembled, decide where you’re going to put it. It needs to be a permanent location; most 3D printers don’t like being moved, and if you’re hauling it out of a cupboard every time you use it you’ll need to re-level the bed and sort out misaligned parts a lot more often. Look for somewhere that’s on a solid surface, away from draughts, and with some spare space to put tools, filaments and other stuff.
Once your printer is assembled and in its new home, check it works. Switch it on and make sure you can operate the menus. Then load some filament and get ready for the fun that is bed levelling. If the printer’s bed isn’t perfectly aligned with the plane the nozzle travels on, all your prints are going to fail; getting the bed level is vital.
Levelling a print bed isn’t complicated, but it can be a little tedious. You need to move the print head to each corner of the bed in turn, while holding a sheet of normal office paper between them, and adjust the height of that corner. When the paper will slide with some resistance, the height is correct. You need to repeat this at each corner in turn, at least twice. I find it’s a lot simpler if I use a levelling routine I found on Thingiverse. It has two files; one moves the print head to each corner in turn, and the other prints a test to make sure you got it right. Mine is obviously for the Ender 3, but you should be able to find one for your printer too.
Finally, if you don’t already have a slicer app you’ll need to install one. I recommend Cura from Ultimaker.
Time To Print!
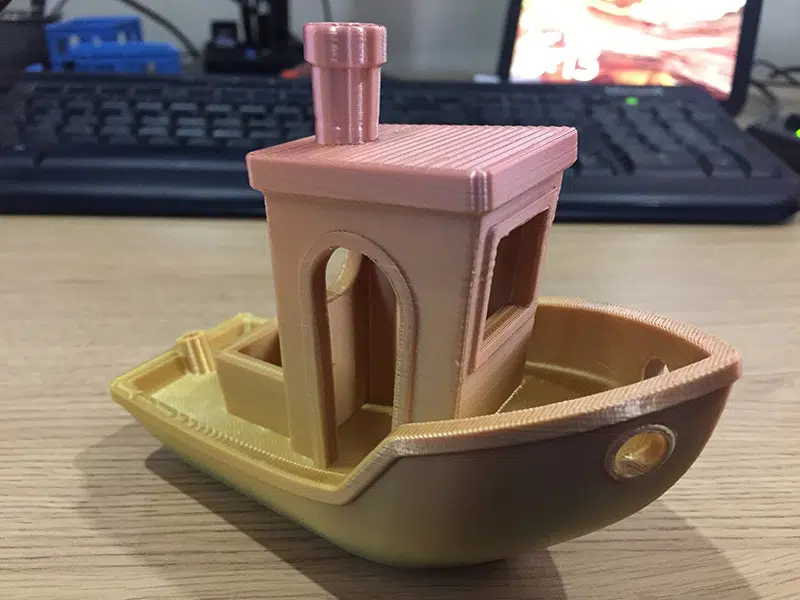
Your printer should now be ready to go – so what are you going to print? Well, I’d recommend you start with a 3D Benchy. This little tugboat is actually a sophisticated test of your printer’s performance and will highlight any setup issues you need to fix. Load it into your slicer, set it to print with no supports, save it to a TF card and you’re good to go. Once it’s finished you can examine it and use the Benchy website’s troubleshooting guide to identify and fix any print problems.
While your Benchy is printing you can think about what you want to print next. If you haven’t already had a look at Thingiverse, do that now. It has thousands of printable files – you just have to download and unzip them, save to a card and stick it in your printer. You’ll probably find a few handy accessories and upgrades for the printer on there, which will get you started with making useful objects.
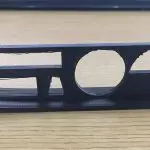
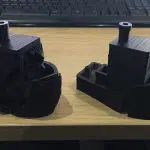
However, the real magic of 3D printing is making objects you designed yourself. You could spend a lifetime printing other people’s designs, but why not make your own? Grab one of the free design apps – I like FreeCAD, but there are some more user-friendly alternatives – and start playing. Whenever you need a widget or component around the house, do some measuring and see if you can design something to do the job. I used to be surrounded by improvised brackets made from wood, repurposed scrap metal and bits of wire; now I design and print neat-looking plastic ones instead. I’ve written about some of the projects I’ve done with the Ender 3, and I create something else most weeks. I now have 3D-printed brackets holding up my living room curtain rail, for example. Just keep an open mind, experiment with your own designs, and your new 3D printer will still be as useful as it is fun!


Leave a comment
You must be logged in to post a comment.