Keeping 3D projects in one piece
IT’S FRUSTRATING WATCHING A PROJECT FALL APART ON THE PRINTING TABLE. HERE ARE SOME TIPS TO AVOID THAT.
3D printers are already common and affordable enough that they’re finding all sorts of uses nobody could have predicted. It’s now possible to order many objects online and, instead of waiting for them to be shipped, you simply download the design and print them out. If you have some fairly basic software skills you can often customise them before printing, giving even more flexibility.
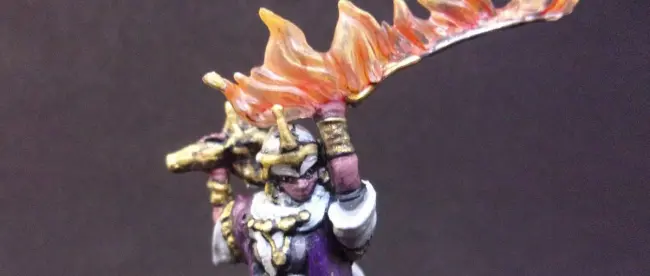
One area where downloadable objects are catching on is the games miniatures market. People have been using small figures in games for a long time, from 19th century lead soldiers to more modern ones moulded from a range of plastics. The problem has always been that there was a limited number of poses available; miniature armies looked unrealistic, with dozens or hundreds of figures all posed exactly the same way. This was inevitable, of course; there’s a limit to how many moulds can be economically made. But if you’re using 3D printing everything changes. Suddenly it becomes possible to offer a huge range of poses, because no moulds need to be made.
Many gamers are enthusiastically building up 3D-printed armies, but sometimes a problem becomes evident – a figure looks fine when viewed in software, but when it’s printed out holes and gaps are visible. In extreme cases it might even fall apart.
This usually happens because of how figures are designed. To make it quicker to create multiple poses the designer will often create a basic figure that can be adjusted into various positions, then add various accessories to it. Usually these are taken from a library of ready-made objects. The problem is that when two objects are combined, there can be unpredictable effects.
Unless the software is set up correctly what can happen is the model is created in two or more parts. When it’s viewed on screen the gaps between are too small to show up, but once it’s printed the parts will turn out to be separate and will fall apart easily.
Most software packages have proofing tools that let you view cross-sections of the object. This can give you warning of any gaps that might have appeared in the design – they show up much more clearly when you’re looking at the internal structure. Where things usually go wrong is where separate objects are combined and one of them passes right through the other one. Although they look as if they’re joined, what’s actually happening is that one object has now been split in two, with a third separating them – and unless an overlap is built in to the design there’s nothing to hold all the parts together.
One option you have is to use a “merge” function, which combines multiple objects into a single one. This isn’t a guaranteed fix, though. If there’s a gap, merging won’t always close it. 3D printing might be the latest in manufacturing technology, but some old rules still apply. Carpenters always say “Measure twice, cut once”, and while you don’t need to measure a 3D model it’s a smart idea to check it twice – or more. That way you should only have to print once.



Leave a comment
You must be logged in to post a comment.