Review – Ender 3 Filament Runout Sensor
Last week I mentioned that running out of filament halfway through a 3D print had triggered a chain of events that ended up wrecking my extruder. Of course we took the opportunity to review an upgraded extruder, but it’s still the sort of thing I’d prefer not to experience too often. So we decided to do another upgrade that should prevent this happening again. We ordered a Creality filament runout sensor.
The Creality Ender 3 Filament Runout Sensor
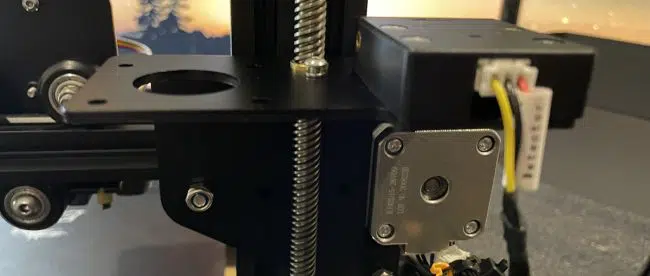
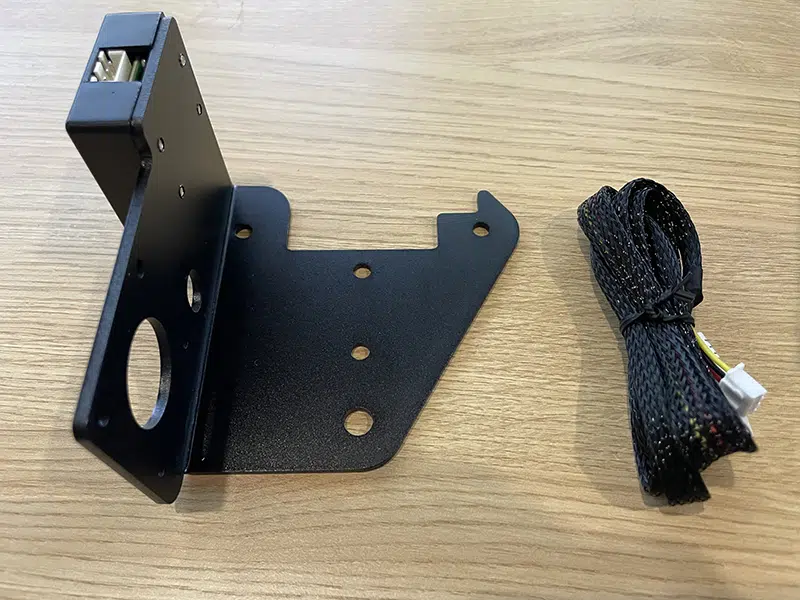
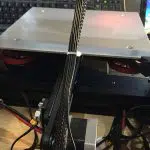
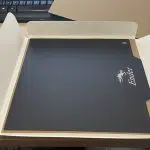
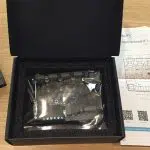
The filament sensor comes in a nice big box, but there isn’t actually a lot in it. In fact there’s just the sensor itself, already mounted on a big metal bracket, plus its cable. There aren’t any instructions but that doesn’t really matter; there are plenty videos on YouTube 3D printer channels that will show you where to connect the cable to the motherboard (hint: It’s the only empty port it fits in) and once you realise what the bracket is, assembly becomes quite obvious.
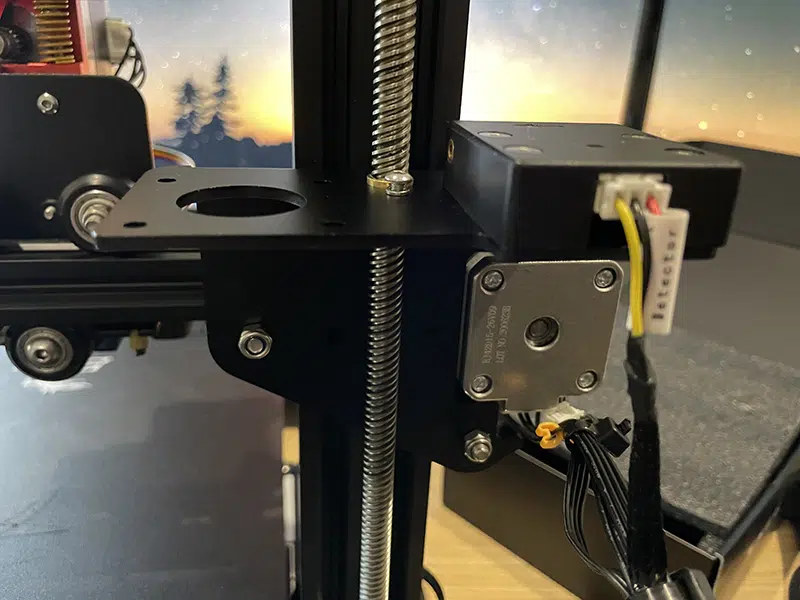
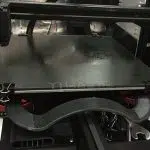
The bracket is, in fact, a new side plate for one of the carriages the print beam runs on – a replacement for the one the extruder is attached to in a standard Ender 3. All you have to do is take off the existing plate and replace it with the new one. Well, I say all. It’s one of those jobs that starts out looking simple, but as it goes on you realise more and more bits need to come off so you can get it done.
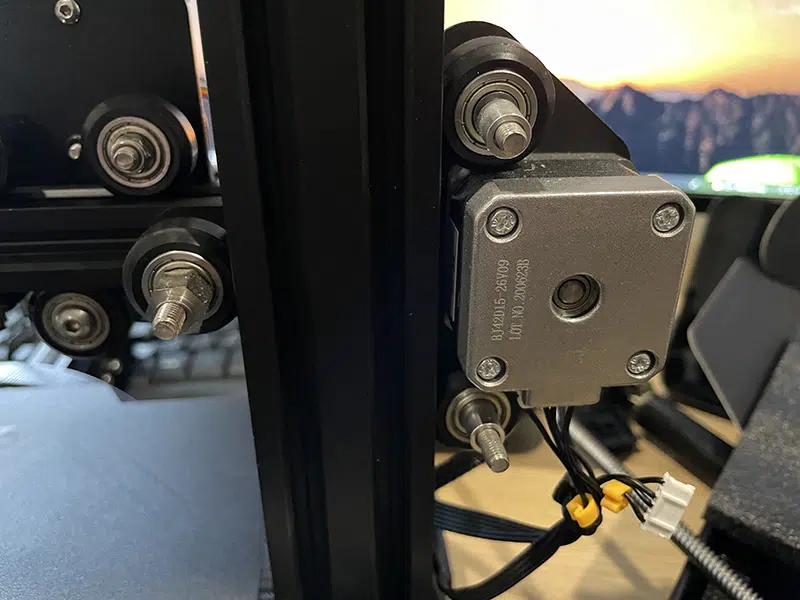
Start off by removing the Z axis lead screw. Disconnect and remove your extruder, then undo the three nuts that hold the plate in place and take it off. Transfer the lead screw guide from the old plate to the new one, not forgetting the two tiny spring washers that sit between it and the plate, but don’t tighten down the screws yet. Then fit the plate over the three bolts in the carriage and fasten it with the nuts. Now check that the beam still runs smoothly up and down the vertical frame; if necessary, adjust the eccentric wheels to get the tension right. Once that’s done you can reinstall the Z axis lead screw, check it’s properly aligned and tighten the retaining screws on the guide. Finally, put the extruder back in place.
There are only two more steps for installation. First, remove the top of the electronics box and find the vacant socket on the motherboard. One end of the cable is marked “Filament runout sensor”; plug the other end into the motherboard, replace the cover and run the cable alongside the one going to the extruder, securing it with a few cable ties. Plug the free end into the side of the sensor. Lastly, download the correct firmware from the Creality website, load it on a blank TF card, insert it in the printer and switch on.
Does It Work?
I have no idea.
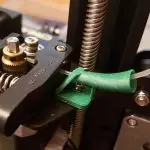
The sensor is very simple to use. All you do is feed the filament through the sensor on its way to the extruder, which is a simple matter of pushing it through the hole on one side and waiting for the end to come out the other. When things are going smoothly the filament just feeds through the sensor, reaches the extruder and disappears towards the hot end. However, if the filament runs out or breaks – unless a break happens in the inch or so between the sensor and extruder – then, when the end of it passes through the sensor, the tiny switch that up to now the filament has been holding open snaps closed. As soon as that happens the sensor sends a signal to the motherboard and immediately stops the printer. When you’ve dealt with the filament issue and pressed resume the printer will go through its usual purge routine, drawing a line down one edge of the build plate, then resume printing exactly where it left off.
So why don’t I know if it works? Actually I’m sure it does, but I haven’t been able to test it yet. When I tried to print a Benchy on the reassembled printer, it shut down with a “Heating Failed” error. It seems something has gone wrong with the hot end, and it’s no longer capable of getting itself up to printing temperature. I’ve ordered a replacement, which should be here tomorrow, and as soon as that arrives I’ll get it fitted so I can test the sensor.
The Verdict
Apart from this completely unrelated issue, the Creality filament runout sensor is a very neat little upgrade if you’re running a stock Ender 3. The replacement plate integrates flawlessly with the rest of the structure, and the sensor itself is small and unobtrusive.
If you’ve upgraded your 3D printer to direct drive, though, I can see a couple of problems. The location of the sensor creates a very convoluted path between the spool and extruder. It’s also quite a long path. There’s up to a foot of filament after the sensor that could break, and might in fact be more likely to because of the path it’s taking. If a break does happen in this part of the system the sensor won’t know, because there will still be filament inside it holding the switch open.
This should be easy enough to solve. I plan to design and print a new mount for the sensor, so I can move it from the carriage to the direct drive plate that holds the extruder and hot end. This will straighten the filament path, and also put the sensor right where it’s supposed to be – an inch above the extruder. Obviously I can’t do this until the printer is running again, but it will be my first project after the new hot end is fitted. Meanwhile I’ve found something else to write about, so come back soon!


Leave a comment
You must be logged in to post a comment.