
Review – Redrex Dual-Gear Extruder

I had a bit of a catalogue of disasters with our Ender 3 over the last couple of days. I’d set it to work printing a new Arduino case, but got a bit optimistic about how much filament was left on the spool. It turns out the answer was “not enough” – and I didn’t notice when it ran out. The result was I ended up with a few inches of filament stuck inside the extruder, which is always annoying. I tried heating up the hot end and pushing it through with a fresh length, but that didn’t work (it rarely does) so I had to dismantle the hot end to get it out.
Unfortunately, in the process of taking the thing to bits the threads on the pneumatic coupling that screws into the extruder broke off, and resisted all my efforts to get them out again. That left me with a knackered extruder, which is a bit of an issue. However, at 3D Printing UK we’re always ready to turn a crisis into an opportunity, so instead of a replacement we ordered an upgrade.
Dual Gear Extruders
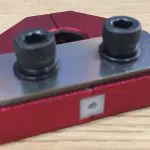
A standard extruder has a single powered, toothed roller on the extruder motor’s drive shaft that pushes the filament through, and an unpowered idler wheel or roller to support the filament. A dual-gear extruder is a little more sophisticated. The motor still has a roller on its drive shaft, but this roller has two sets of teeth. The idler is replaced by a second roller almost identical to the one on the motor.
When the motor in a dual-gear extruder turns, the roller on its shaft turns with it. The lower set of teeth on that roller mesh with the matching set on the other one, turning it in the opposite direction – and sharing the motor’s power between them. As they turn, the upper set of teeth on each one grip the filament and push it through the extruder, down the Bowden tube and into the hot end.
The theory behind this is that two gears can apply more force to the filament than one gear and one idler. That should ensure smoother feeding and less issues with sluggish or jammed filament. So we decided to take the plunge and see how it worked.
The Redrex Dual Gear Extruder
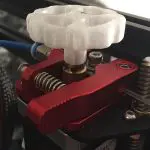
Last time we replaced the extruder we went with a Redrex all-metal one, so to get a fair comparison we opted for another Redrex unit. This arrived in the same simple packaging as the last one – a small Ziploc bag containing the major components, a basic but clear instruction leaflet and a bunch of parts in an even smaller Ziploc bag.
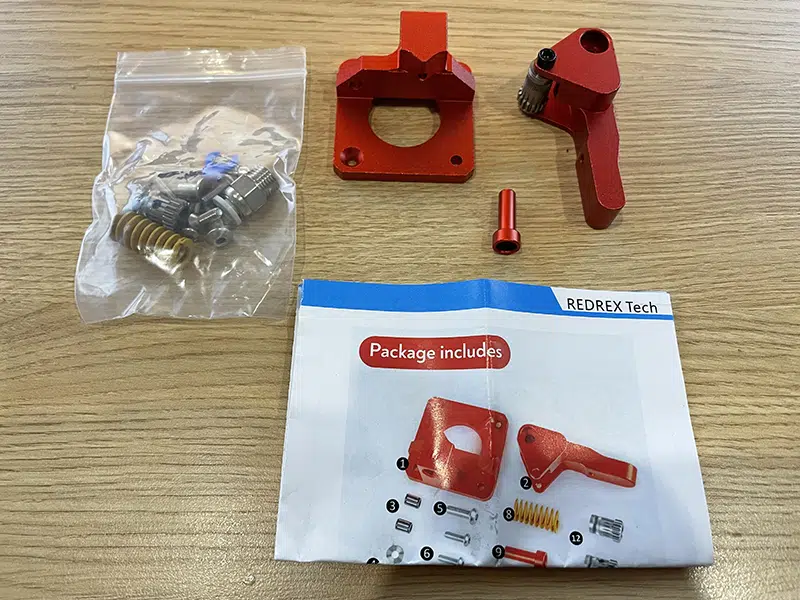
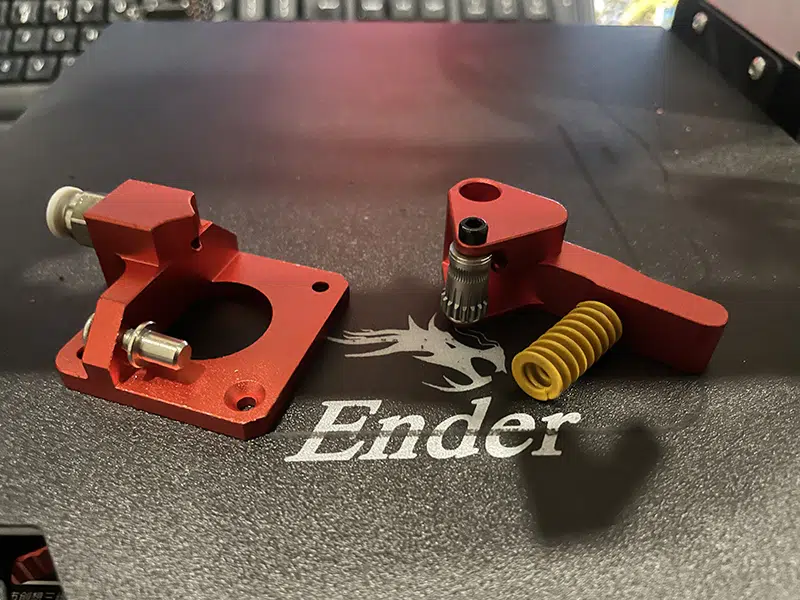
As with the old extruder, everything seemed well made. There were some nice quality touches, such as the inclusion of a yellow spring to tension the extruder arm. Unlike with the old extruder, some of the assembly had already been done – the second roller was fitted to the arm, for example.
Fitting The Extruder
The first step, obviously, was to remove the old extruder. While I was at it I got rid of the old Bowden tube from the hot end, which was starting to look a little tired. Then it was time to start puzzling out the assembly of the new extruder.
This was a bit of a challenge, because obviously our 3D printer is set up for direct drive. That means that instead of the mounting plate being between the extruder and motor, it’s essentially on top of the extruder. It also gets in the way of the adjustment screw for the extruder’s spring tension, which is a bit of a problem.
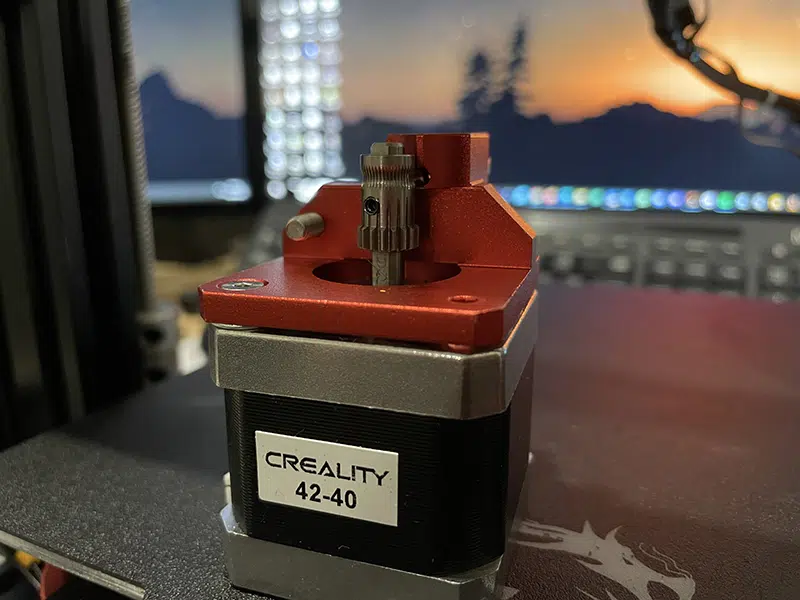
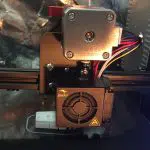
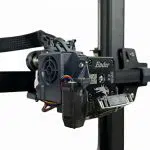
We don’t give up easily, though, and we soon had the Redrex dual-gear extruder attached to the top of its stepper motor with a single screw. At this stage I also fitted the two screws that hold the spring – one on the body of the extruder, which I had to tighten down all the way so it cleared the mounting screws, and one on the feed arm. The pneumatic coupler screwed into the extruder base at this point, and I also dropped the powered roller over the motor’s shaft and adjusted it so it matched the height of its twin on the arm. However, if you’re doing a direct drive setup don’t fit that roller yet – I ended up having to take it off again.
My plan was to screw the Redrex dual-gear extruder and motor to the mounting plate, then fit the arm. This is where the real trouble started. When I picked up the pair of M3x25mm mounting screws that came with our direct drive kit it quickly became obvious that they just weren’t long enough, because the new extruder is a lot taller than the old one. I had to replace them with M3x30mm screws to get enough clearance, and even then it was a tight fit. The top of the extruder is hard against the mounting plate, so there’s no need for the plastic spacers I used last time.
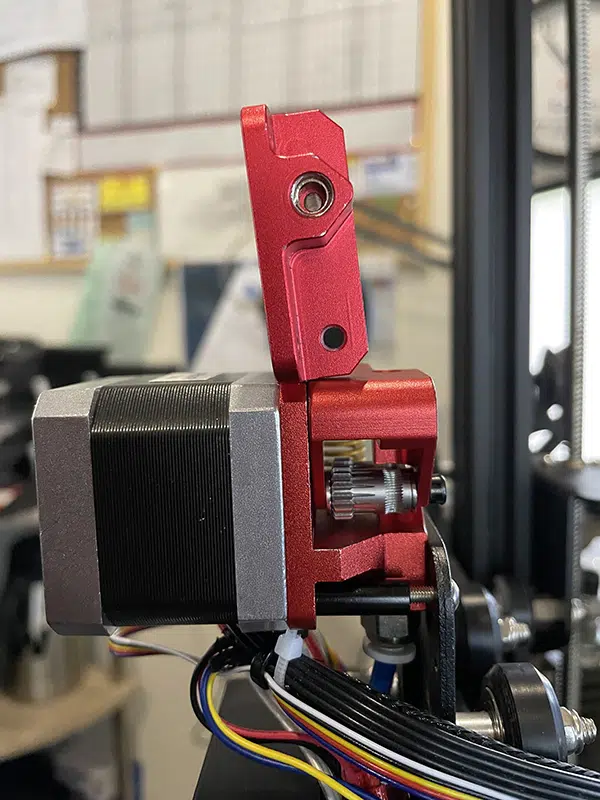
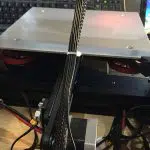
The next step was to cut a new piece of Bowden tube to length and fit it, which ended up needing the hot end to come off, too. With that installed, I set about fitting the arm to the extruder. You might remember that, last time I fitted an extruder, I worked out that was easier if you had three hands. All I’m going to say about this one is that it would be a great time to have a trained octopus around. To get the arm screwed in place I had to remove the powered roller, then refit it once everything was screwed securely in place. I also had to leave out the top hat-shaped spring guide, because it was putting too much tension on the spring. Finally, though, everything was screwed in place and all seemed to move the way it was supposed to.
Does It Work?
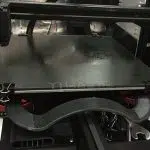
With the printer back in its enclosure, I loaded a fresh roll of black PLA and threaded the end into the new Redrex dual-gear extruder. This is much easier than it was with the old one; I think the geometry of the dual-gear system gives a straighter path for the filament. Then I ran the bed-levelling routine and started printing the inevitable Benchy.
I had to stop pretty quickly, because the extruder wasn’t feeding enough filament. That was my fault, though; I’d forgotten that the instructions told me to change the E-step setting – the rate the extruder stepper motor turns at – from 100 to 139. This is easy to change; just go into the 3D printer’s Control menu, find Motion and then Steps/mm, and change Esteps from 100 to 139.
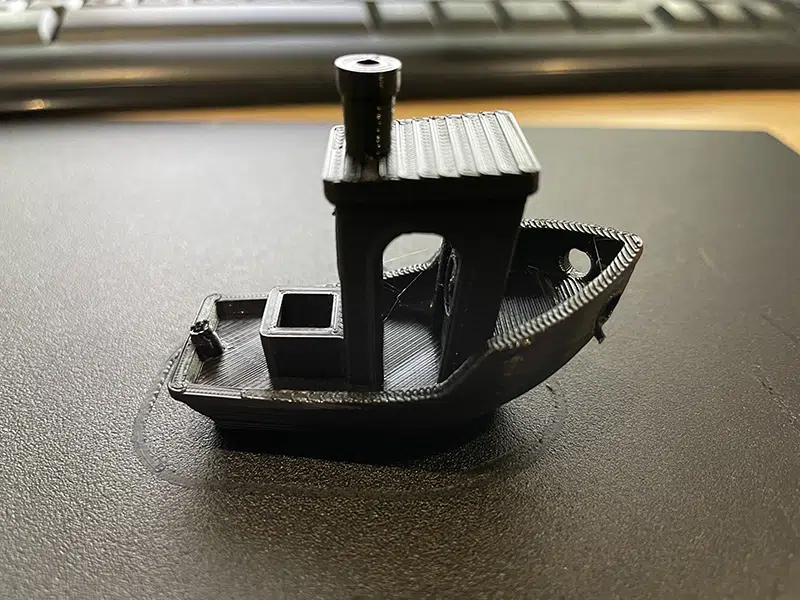
Well, maybe. What I found was that ours wasn’t even set to 100 steps/mm; it was set to 93. I figured that the solution was to work out 93% of 139, which turns out to be 129.27, and set it to that. Then I started printing again, and came out with a perfectly nice Benchy. I think I can get it even nicer by tweaking the Esteps setting a little more, and I’ll be doing that this week.
The Verdict
If your 3D printer has a conventional extruder setup, upgrading to a dual-gear extruder is a no-brainer. It’s easy to install and easy to use; it should also handle tricky filaments, especially flexible ones, better than a standard intruder. If you’re running a direct drive system it isn’t quite as clear-cut; you’ll still get the performance advantages, but installation is more complicated and you’ll need to get longer screws to hold the thing in place. I still think it’s worth doing, though; the Redrex dual-gear extruder is a very nice piece of equipment, and at £13.99 it won’t break the bank either.
Next time we’ll be looking at an official Creality upgrade that adds new features, so come back soon!
Leave a comment
You must be logged in to post a comment.