
Review – BZ Heatbed Levelling Kit

If you want the best results from a 3D printer you can’t ignore any part of it. Unfortunately it’s tempting to focus on big, impressive upgrades and ignore some small, apparently boring bits. Springs, for example. A spring is a spring, right?
Wrong. Look at your Ender 3 – or CR10, or a few dozen other popular 3D printers – and you’ll see four springs under the corners of the print bed. They’re not very big springs, but they’re vital. Those springs are what keeps the bed level. The bolts and big adjustment wheels look more important, but they just set the distance the springs can expand to; the springs do the real work. Unfortunately the ones that come with most printers are… well, they’re OK.
Recently I’ve noticed that our Ender 3’s bed has needed levelling more often, and I suspect I know why – the springs were starting to lose strength. Every cloud has a silver lining though, and that gave us a great opportunity to test another upgrade. So we jumped on Amazon and ordered a BZ heatbed levelling kit.
What’s In the Box?
Well, there isn’t a box. Sorry. The kit turned up in a small Jiffy bag with the various components in three separate bags. The parts include four new, alloy levelling wheels with mounting screws, plus two spring options – four yellow, square-section springs or a bag of silicone pillars.
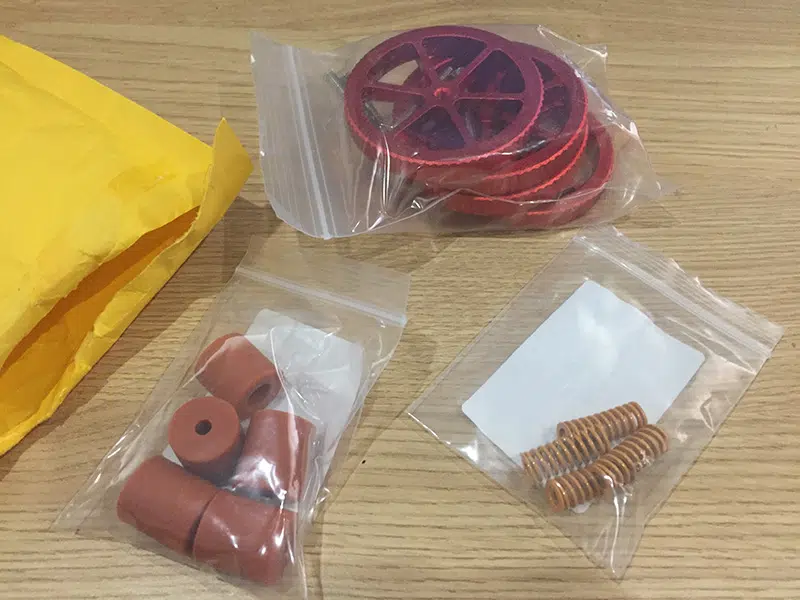
I decided to use the pillars, because this is an option that’s always interested me. They use bigger versions of these things to mount the propulsion machinery in submarines, after all, and if they can absorb the vibrations of a 50,000 horsepower nuclear-powered turbine some little ones should manage to keep a print bed level.
There are no instructions with the BZ heatbed levelling kit, but honestly it doesn’t need any. Installation is a simple task. I just unplugged the Ender, laid it on its side and loosened off the existing wheels. Then I removed them and simply lifted the bed off. The screws came with it, and the springs stayed behind on the bed platform. The only bit you need to be careful with is the rear left corner, where the cable that powers the heated bed comes in.
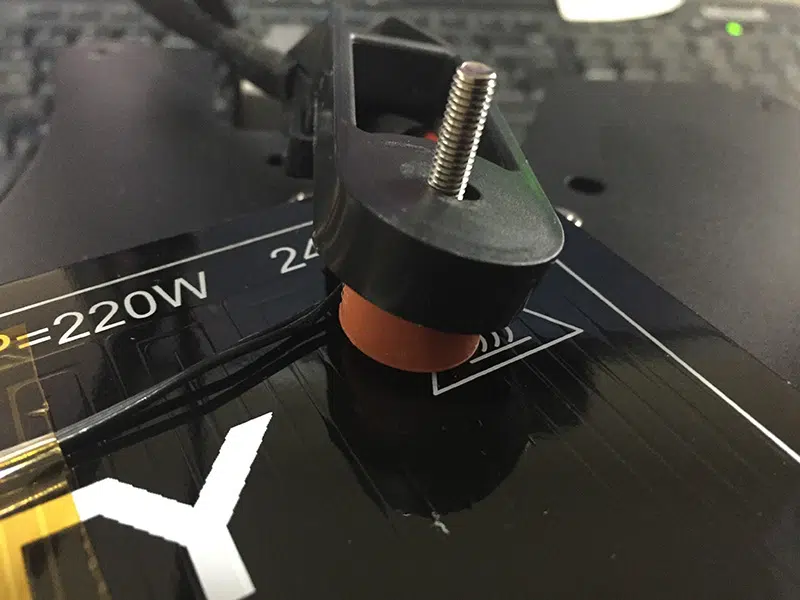
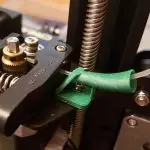
While I had the bed off I also removed the old screws and dropped in the ones that came with the kit. They seem identical, but why not use the new ones? Again, the only thing to watch is that heating cable. Try to avoid moving it around too much in case any wires come adrift – but it’s easy enough to slip the appropriate silicone pillar inside the plastic fitting, then push the screw through. Make sure you use the right pillar, though. There are five in the kit – four long, and one slightly shorter. The short one goes in this corner, and long ones at the other three corners. Yes, there’s a spare one.
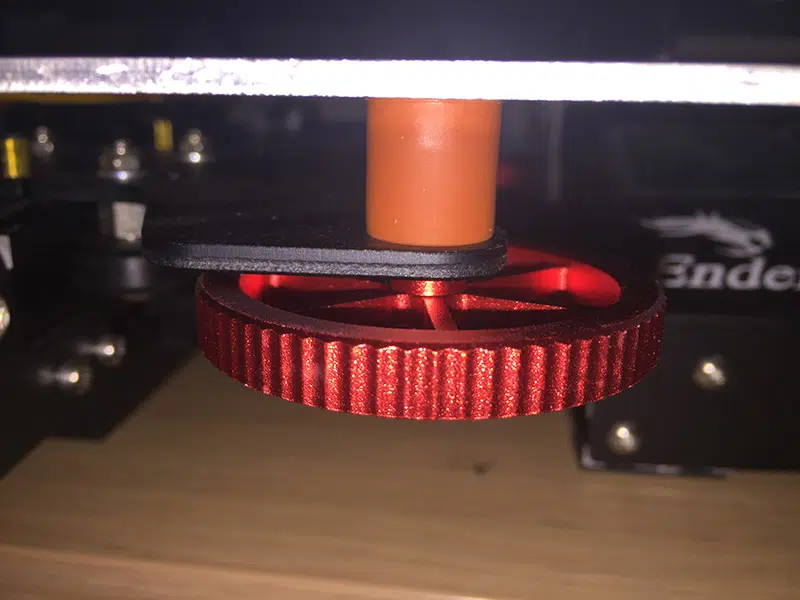
Once all the pillars were fitted over the screws, the next stage is to locate the screws in the holes in the bed platform, then screw the new wheels on below the platform. Again, that was an easy job – and when it was done, I was ready to level the bed.
This is where it started to get challenging.
Does It Work?
However much I tightened down the wheels, I couldn’t get the bed low enough for the printer to work. I was using the CHEP levelling routine, as usual, and every time the nozzle descended to one of the calibration points it hit the bed and forced it down. Finally I stopped tightening the wheels because I was applying so much force I was worried something might break – and if I’d been using the original wheels, which are plastic with a threaded brass insert, I’m sure something would have. But even with the wheels as tight as I dared turn them, the bed was still too high. I did some quick googling and found that a lot of these silicone pillars are actually too high for the Ender 3. So it looked like I was going to have to take them all out again and go with the yellow springs. That would still be an improvement on the ageing stock ones, but I was disappointed the pillars wouldn’t work. Then I had an idea.
Despite being a middle-aged, divorced ex-squaddie I don’t actually live on takeaway pizza and baked beans eaten straight out the tin. I can cook, and I have a fairly well-equipped kitchen.
One of the things it’s equipped with is a salami slicer:
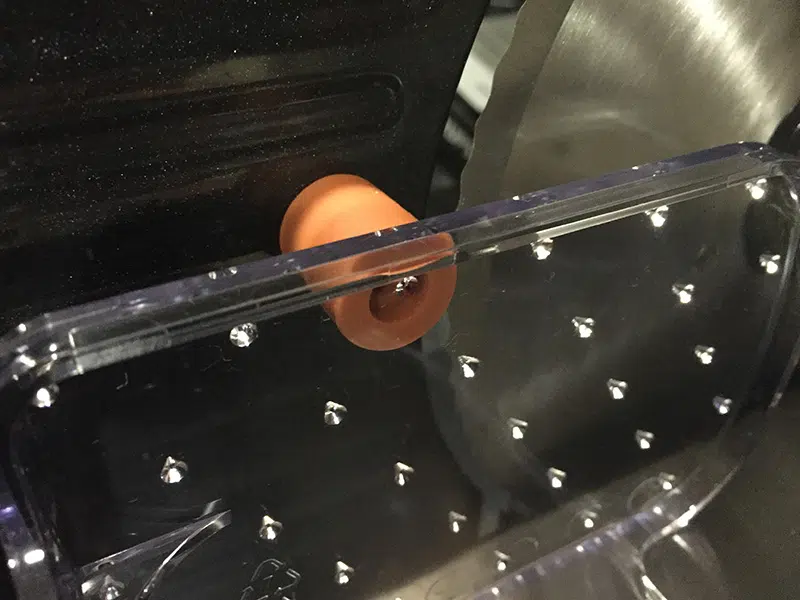
After neatly trimming 3mm off the end of each pillar, I refitted them to the 3D printer and tried again. This time I was able to get the bed levelled, so I ran a test print. It worked. Then I printed a Benchy. That worked, too – and came out very nicely indeed. I was already getting very good surface finishes thanks to the TL smoothers I fitted a few weeks ago; now it’s even better
The Verdict
At £14.98 this BZ heatbed levelling kit is an inexpensive upgrade, but a very worthwhile one. I’ll try the yellow springs at some point, just to see how they work, but the silicone pillars give a very stable bed and shouldn’t suffer the same ageing issues as the stock springs. The big red aluminium wheels look good and are easy to turn, plus they’re a lot stronger than the plastic Creality ones.
The only downside is the excessive height of the pillars. I believe they’d be fine in a CR10, but as delivered they just won’t work in an Ender 3. Taking 3mm off them fixed the problem – and I think 4mm, or even 5mm, might work even better – but I’d prefer to see kits coming in separate Ender 3 and CR10 versions with appropriately-sized pillars in each.
Anyway, apart from the salami silicone issue, I highly recommend this kit. If your bed needs re-levelled every couple of prints, either the yellow replacements or suitably trimmed silicone will fix it right up – and do a better job of isolating the print bed from vibrating motors. At this price you can’t really go wrong.


Leave a comment
You must be logged in to post a comment.