
Review – Creality CR Touch 3D Printer Auto Levelling System

I hate bed levelling.
I’m pretty good at it by now, of course, because I’ve had plenty of practice. You probably noticed that most of my posts about 3D printer upgrades seem to include the words “then I re-levelled the bed” or something to that effect. I can re-level an Ender 3 bed quickly and accurately, using nothing more than a sheet of A4 paper and a GCODE file that actually does most of the work for me. It’s still a pain in the posterior, though. So we ordered a Creality CR Touch auto-levelling kit.
Meet The CR Touch
The most popular 3D printer auto-levelling kit out there is probably the BL Touch, but we opted for Creality’s own CR Touch system instead. This is a bit newer, and specifically designed to work with the Ender 3 and similar Creality printers, so it seemed like a good choice for our machine.
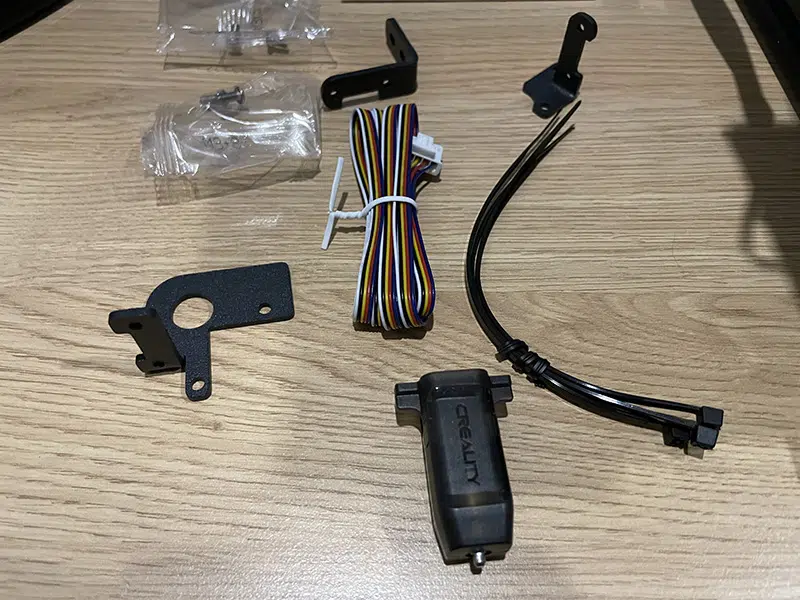
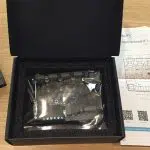
The CR Touch kit comes in a small and slightly confusing box. I spent some time trying to push the drawer out one end, until I realised there wasn’t a drawer and I needed to cut a sticker. Once I managed that I found an instruction leaflet, and under that a foam nest containing the disconcertingly tiny sensor unit and three mounting brackets. That lifts out to reveal a cable, some screws and a small bunch of cable ties.
Installing The 3D Printer Auto Levelling System
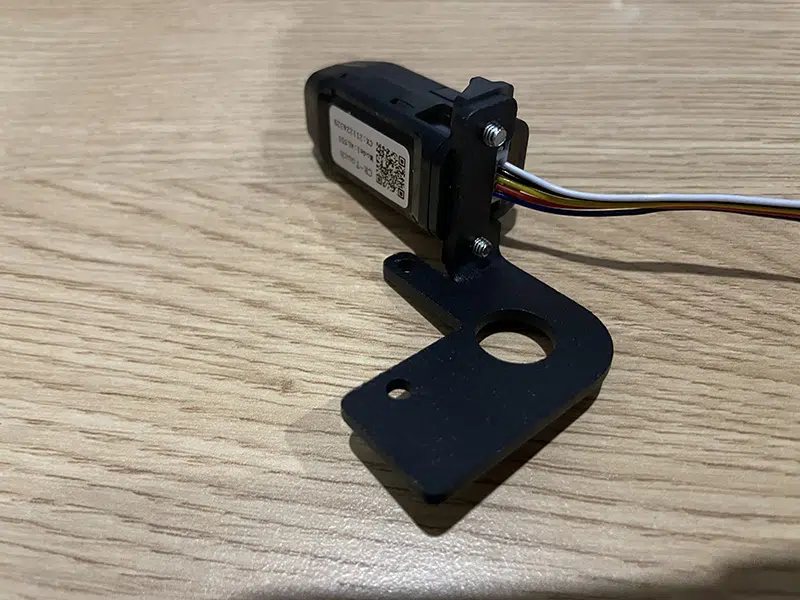
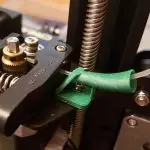
This gadget was pleasantly easy to install. The first step is to plug the cable into the top of the probe. Next, identify the bracket that goes with your 3D printer and screw the probe to it. The Ender 3 bracket is the largest and most complicated-looking (of course). Top tip: Screw the probe to the bracket from the bottom. The screws won’t bite into the holes in the probe’s plastic casing, so if you put them in from the top the probe will fall off as soon as you pick the bracket up. I imagine so, anyway; obviously I wouldn’t make such a basic mistake…
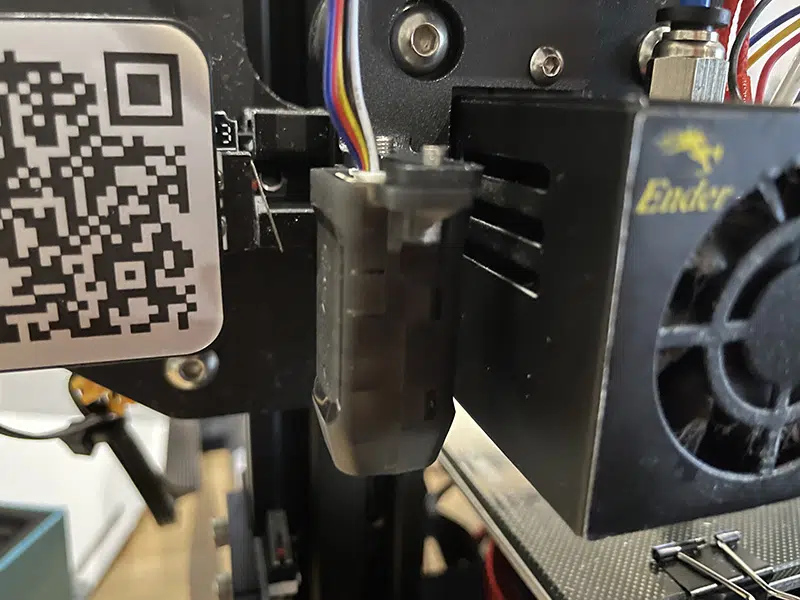
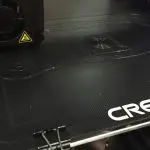
With the probe installed on the bracket, the next step is to mount it on the print head. It’s attached using the screws that hold the fan shroud onto the print carriage, so all you have to do is remove those screws, position the bracket and replace the screws. It looks like the side one is inaccessible behind the probe, but in fact you can get it in with a little fiddling.
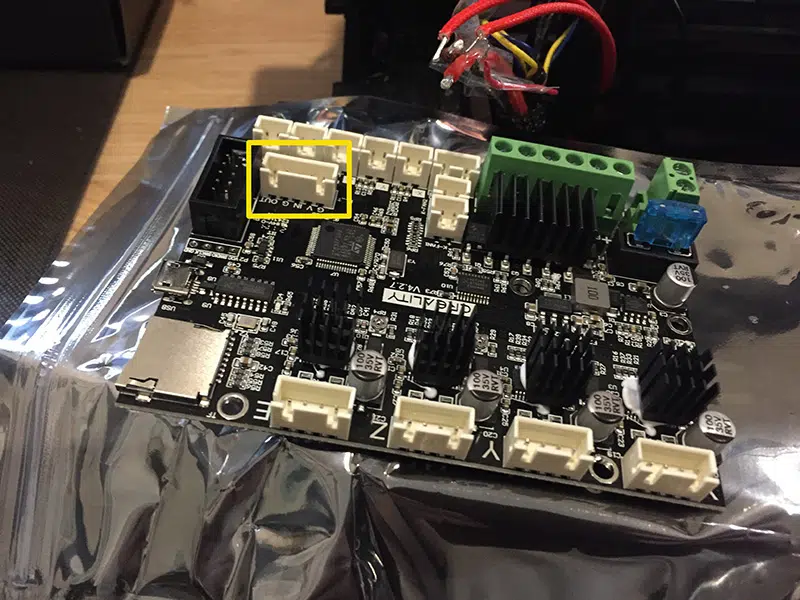
Once the unit is installed it’s time to go rummaging inside the electronics box again. Remove the top of the box as described in the motherboard upgrade article, lead the Creality CR Touch cable round and under the back of the bed, plug it into the empty socket on the motherboard and close the case up again. There’s a cut-out on one side of the box top you can lead the cable through. Once you’ve done that use the cable ties to secure the new cable to all the others leading away from the print head. It’s a ribbon cable, so it lies nice and flat alongside the others.
The final stage is upgrading the firmware. To do this, first go to Creality’s download page and click the link for accessory firmware. Now click “CR Touch firmware for 32-bit motherboard” and select the right file for your printer. Format a TF card, copy the firmware to it and stick it in the printer, then power it up and wait. You’ll get an alarmingly blank screen for 15 seconds or so before the usual start screen appears. And now it has some extra menu items.
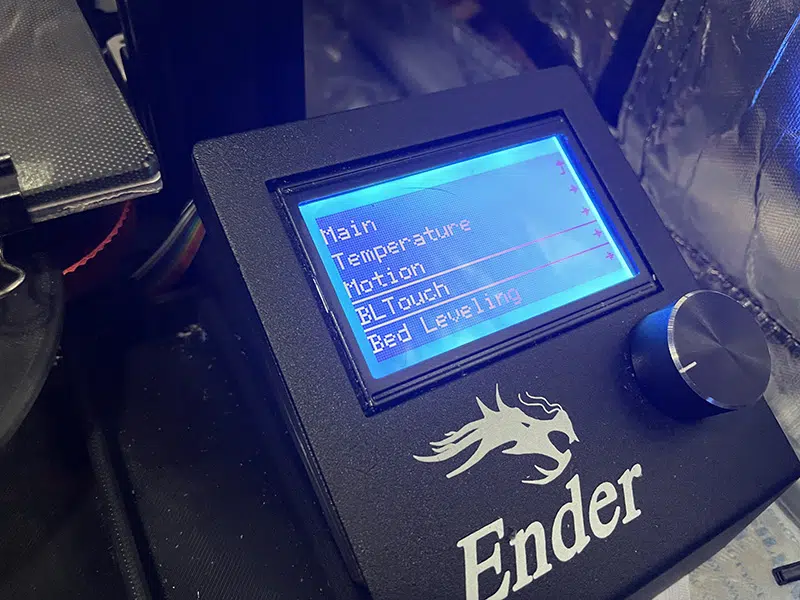
I’ve tested the Ender 3 with the Creality CR Touch involved and it all still works. I’ve gone through the initial setup instructions and tried it out, but I think I still need to tweak some initial settings to get the best results, but from now on you won’t hear me talk about levelling the bed anymore. Now I’m going to trust the Ender to handle that itself – and I’ll let you know how it goes.

Leave a comment
You must be logged in to post a comment.