Review – Creality Ender 3 Magnetic Build Plate
A few days ago I reviewed an iron-impregnated 3D printer filament. It wasn’t great at looking like iron, but one thing it was good at (and that I didn’t mention in the review) was adhering to the print bed. In fact it was so good at adhering to the print bed that when I removed my test hook from the Ender 3 it took a chunk of glass with it.
Considering how absolutely level a print bed must be there’s an obvious issue with having a fairly significant cavity right in the middle, so it was time to get a new print bed. And, because we’re 3D Printing UK and we love reviewing stuff for you, we decided that instead of just replacing the knackered glass one we’d try out something different.
Creality Flexible Magnetic Build Surface
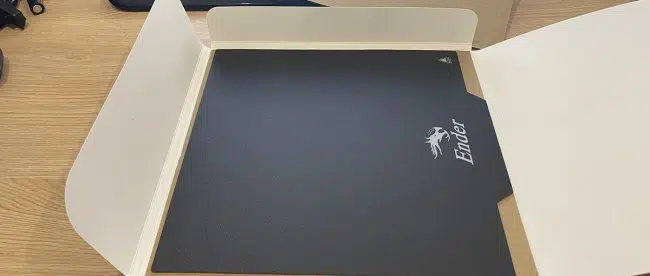
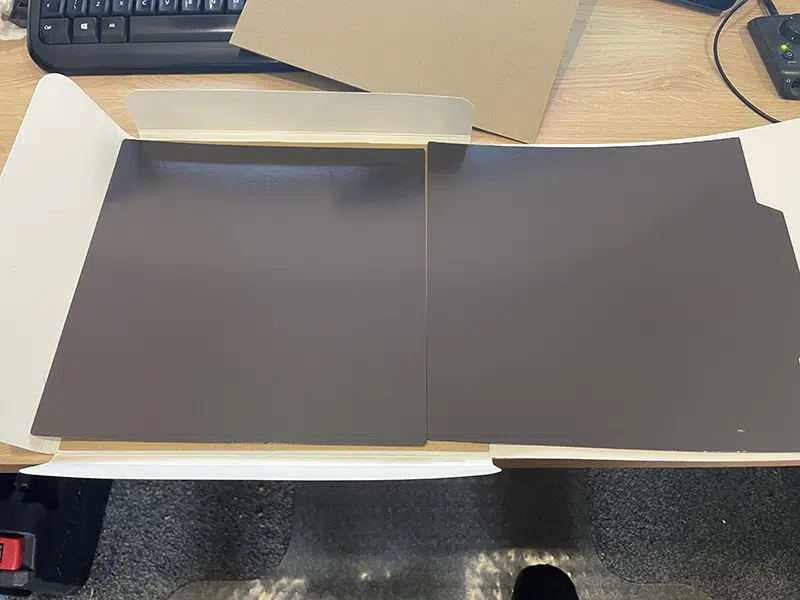
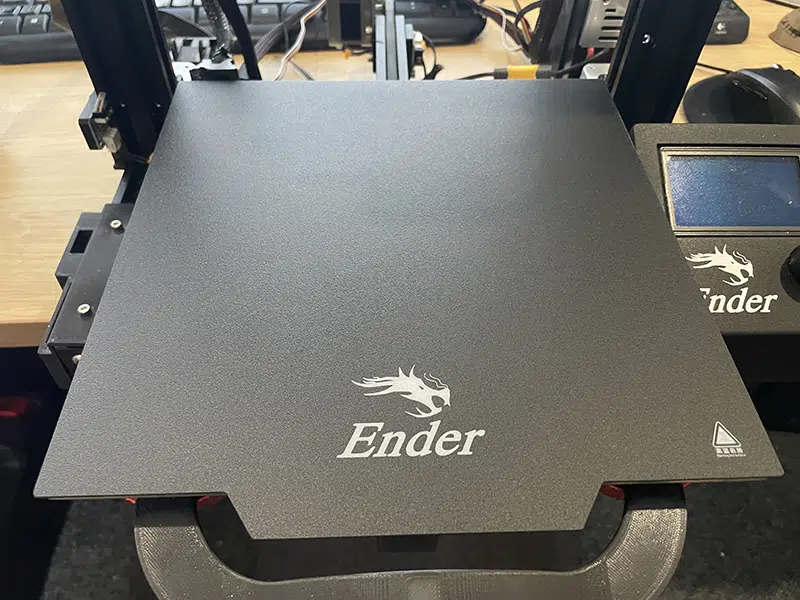
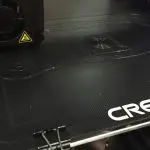
A couple of days ago I took delivery of a Creality flexible magnetic build plate. This is a simple upgrade; the big flat box only contains two parts. The first is a large magnetic panel with a self-adhesive backing, and the other is the build plate itself. The principle is very simple – you stick the panel to the printer’s bed, then lay the build plate on top of it. Magnetism holds the build plate securely while you’re printing; when the print has finished you just lift it off and flex it to remove the print.
I’ve been getting good results with my old glass print bed, but it’s definitely not flexible. Prints usually come off glass quite easily if you leave the plate to cool first, but occasionally they can be challenging. Levering prints off with a scraper or knife can damage them, and can also apparently snap the tip off your favourite lock knife; tapping the side of the print gently with a hammer occasionally rips a divot of glass out the surface of the plate. A flexible build plate, like the one that came with the Ender 3, is much easier to get things off. The downside of the standard Ender 3 one is that (like the glass one) it’s held on with bulldog clips, and these have an annoying habit of pinging off and getting lost under the printer when I remove the plate. A flexible magnetic build plate solves both these problems.
Installing The Plate
This Ender 3 magnetic build plate is a very simple upgrade, but does need some care. For a start, the two magnetic components have polarity. Put them together in one direction and they’ll stick; turn one of them through 90° and they won’t. This matters, because the build plate has a tab at the front to make it easier to lift, and if you stick the panel down the wrong way the tab won’t clear the 3D printer’s frame. Stick them together and mark the front edge of the panel to make sure you attach it the right way.
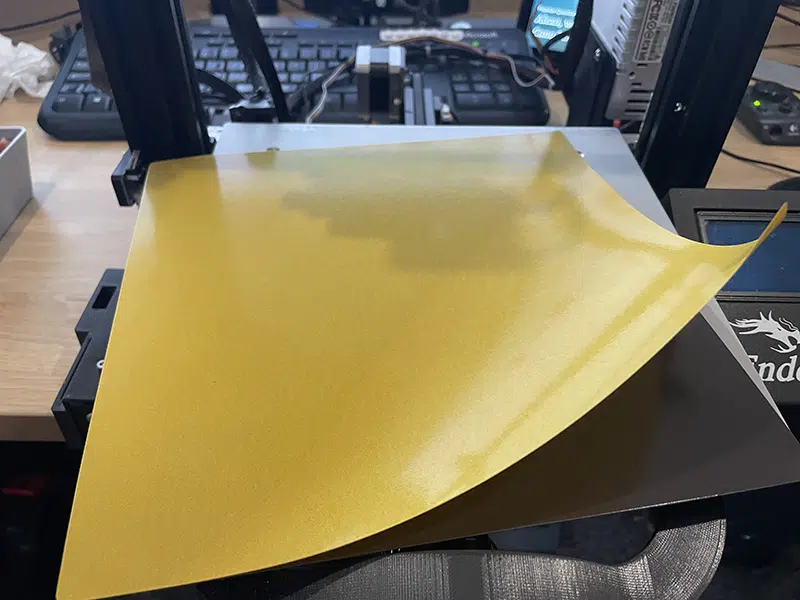
The adhesive panel needs to go on absolutely flat, with no air bubbles. This is tricky, because it’s quite thick and unlike a normal sticker you can’t easily chase any bubbles to the edge (or discreetly deflate them with a pin). It’s also very adhesive, so once it’s in place getting it off again wouldn’t be a trivial job. I peeled the backing film away from one edge for about an inch, carefully lined it up with the edge of the printer’s bed (the panel is very slightly smaller than the bed) then pressed it down firmly. Then I peeled and stuck about half an inch at a time, smoothing it as I went, until the whole thing was firmly attached to the printer.
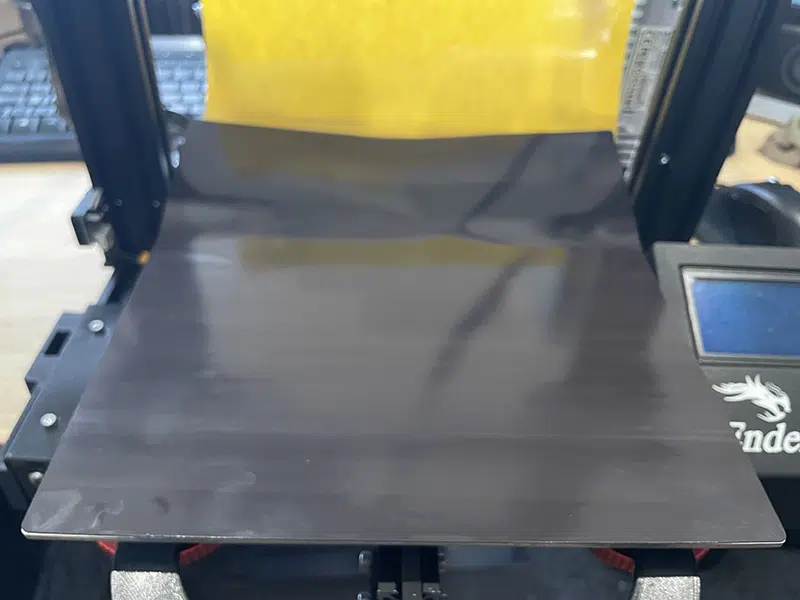
Then all I had to do was slap the build plate on top. This was a little tricky at first because the magnetic attraction is stronger than I expected, and once it’s attached itself you can’t slide it into position; you have to lift it off and try again. Still, I quickly had it lined up and securely in place.
Does It Work?
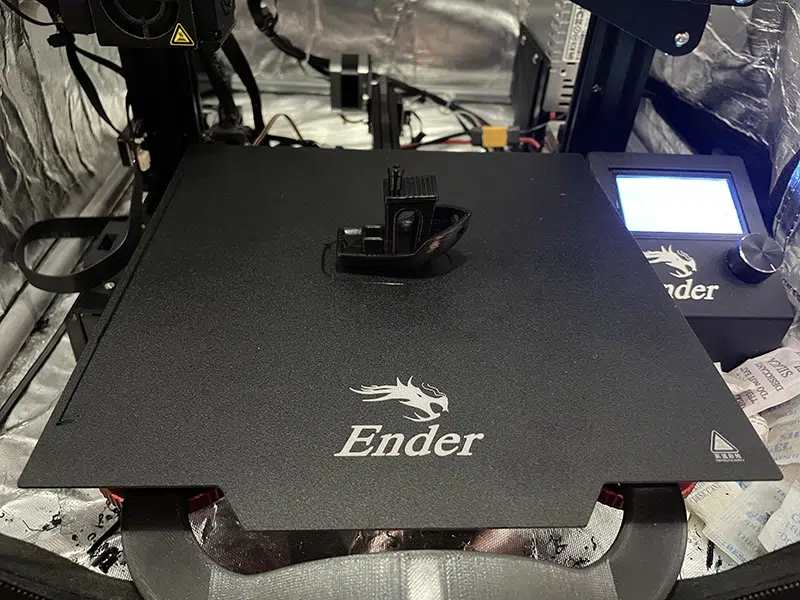
Next, I did what any 3D printing enthusiast does when they want to test something: I printed a Benchy. This came out looking very nice, with crisp details. There was no sign of shifting layers, which indicates that the magnetic plate isn’t slipping at all during the print. Removing the Benchy was a simple matter of lifting the plate by the tab to get it out of the printer, then gently flexing it until the Benchy popped off. No brute force, sharp blades or blunt implements were required. Then, with the plate spotless again, I just had to reposition it on the magnetic panel for the next job.
The Verdict
I’ve actually considered a magnetic build plate before, but the need to stick the panel down sort of deterred me. I’m not the neatest person in the world and had nightmare visions of a giant, stubborn bubble right in the middle of the print bed. As it turned out, taking it slowly and applying a bit of care meant even I could get the thing stuck down perfectly – and, once it’s in place, it’s an excellent print surface. There was no hint of adhesion problems, but the print was as simple to remove as you could ask for. At £16.75 this Ender 3 magnetic build plate is an excellent upgrade for the Ender 3 – or any other 3D printer with a 235x235mm print bed.



Leave a comment
You must be logged in to post a comment.