
Bed Adhesion Revisited – Making Your 3D Prints Stick

Ah yes, bed adhesion. It’s amazing, isn’t it? A 3D printer is an incredibly complex piece of equipment and there are lots of complicated things that can go wrong with one, but a surprising number of prints fail because of something very, very simple – the first layer not staying stuck to the print bed.
We’ve looked at a couple of ways to keep prints securely stuck down, including a glass print bed, blue tape and my old favourite, 3D LAC. Today I’m going to take a different approach and look at the adhesion options you’ll find in your slicer. I’ll be basing this on Cura, which is the slicer I use, but they all have pretty much the same options.
If you delve into the settings in Cura, bed adhesion has its own little section with four options. These are None (which is what I use when I remember to tweak the settings), Skirt (which is what I end up with the rest of the time), Brim and Raft. Let’s look at them all. Except None, obviously; that would be silly.
Skirt
If you select Skirt, your printer will draw an outline two or three lines wide on the bed before it starts printing your actual object. I don’t know why this is under adhesion options, to be honest, because it does nothing to help adhesion. The skirt isn’t even touching your print, so it won’t help it stick to the bed at all. As far as I can tell, all the skirt is good for is making sure the nozzle clears out the last colour you were using before it starts on your print.
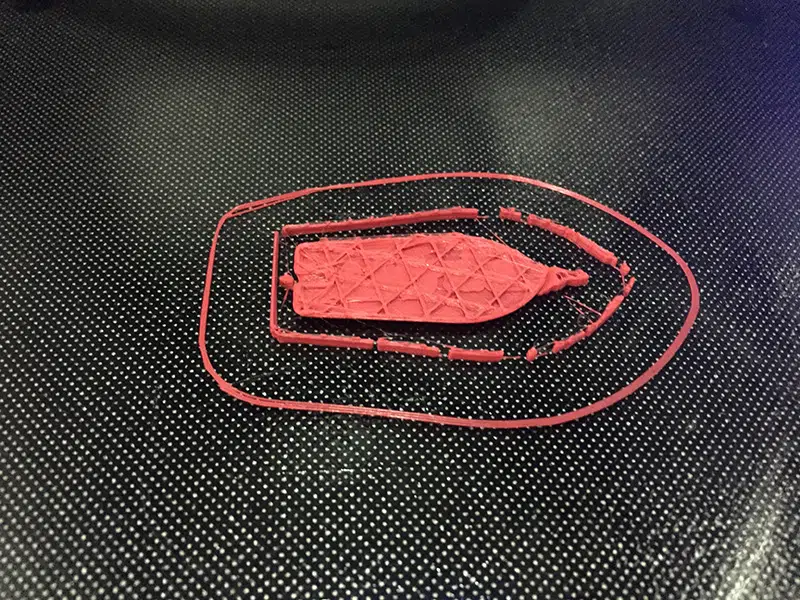
Brim
This one is a bit more useful. If you select Brim, your printer will print a single-layer patch of plastic with your print in the middle. This increases the area of plastic on the bed, and means it’s a lot less likely to break away. Using a brim is a good idea on very small prints or tall, narrow ones. A tall print is a lot less likely to break away if there’s a few square inches of plastic anchoring it to the bed.
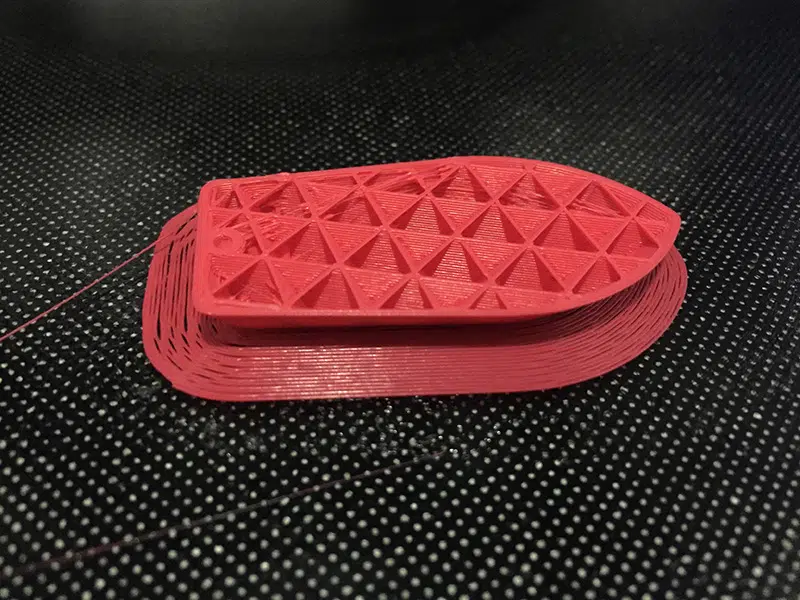
The downside of brims is that they can be tricky to remove neatly. The brim and the bottom layer of your object are printed in one piece, and while brims can usually be pulled off pretty cleanly, sometimes bits don’t want to come loose. A scalpel will usually shave off any remaining chunks, though.
Raft
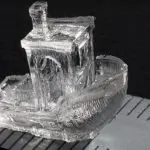
A raft does the same as a brim – it increases the area of your print in contact with the bed. It’s a much more substantial item though. A raft is several layers thick, and doesn’t surround the bottom layer of the object – the object sits on top of it, with a breakaway layer between them.
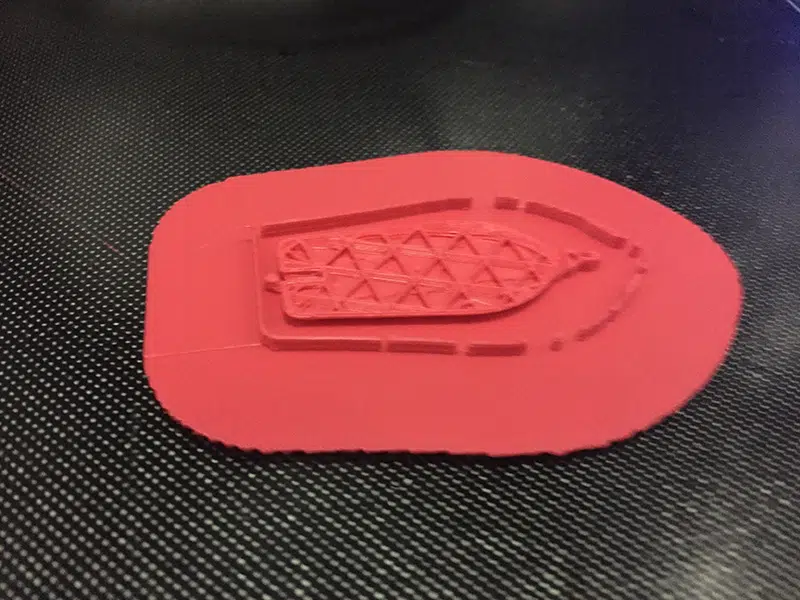
Rafts are good when you’re printing an object that doesn’t have a flat surface, because they can incorporate supports. They also tend to separate more easily than brims; just push your scraper between the object and raft, and it should pop right off. The downside is that, like any support, it tends to leave a rough surface that needs some cleanup.
Actually there’s another downside, which is warping. Because rafts have quite a few layers they’re subject to warping like any other flat print. A heated bed is pretty much essential for reliably printing rafts, because if they start to warp the extra adhesion they give you just goes away.
So Are They Worth Using?
Personally I don’t think skirts are an adhesion aid, and whenever I remember I turn that setting off. If I forget it’s no big deal, because if I’m changing colours a skirt does make sure the old one is thoroughly purged, but in general they just don’t help anything. Brims are much more effective, though. I’ve had a couple of tall prints fail because the small area in contact with the plate just couldn’t take the stress caused by the bed moving, and broke loose. A brim will stick it down much more effectively. As for rafts, they’re the go-to solution if I’m printing something with a complicated shape. Nine times out of ten, though, I just rely on the smooth side of my glass bed and a quick squirt of 3D LAC – it’s simple, and it works.


Leave a comment
You must be logged in to post a comment.