
Making Stronger 3D Prints

It’s pretty frustrating when you design a 3D printing project and spend hours watching it take shape layer by layer, then it breaks while you’re trying to pry it off the print bed. It’s even worse when you manage to clean up your new headset holder, screw it into place and then, as soon as you hang your headset on it, it splits and drops everything to the floor. Weak 3D prints are annoying. Here are a few tips on making stronger 3D prints.
Use Dry Filament
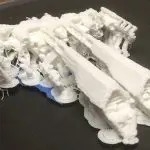
Some filaments – nylon is particularly awful, but PLA isn’t great either – love to absorb moisture from the air. This is a Very Bad Thing, because as we all know if you heat water to 100°C it turns into a gas and expands to about 1,700 times its volume. Your printer’s nozzle runs a lot hotter than 100°C, so any moisture that finds its way in there is going to boil very quickly. As it expands it causes bubbles in the molten filament. Sometimes the bubbles get large enough that they cut the filament; sometimes they’re smaller, and just leave your finished print riddled with tiny holes. Either way, the result is a weak print.
I usually have a roll of black PLA loaded into the Ender 3, but all the rest of my filament is stored in vacuum-sealed bags with a packet of desiccant. When I finish using a spool I immediately seal it up again; that does a pretty good job of keeping it dry. Sometimes you do need to dry a roll, though. The traditional way to do this is in the oven, but I don’t like this method. Oven temperatures are notoriously inaccurate, and it’s easy to either overheat your filament or not warm it enough to get the moisture out. You can also buy dry boxes that will hold a standard spool and gently bake it at a more precise temperature, but these are expensive – around £50 for one that holds a single spool.
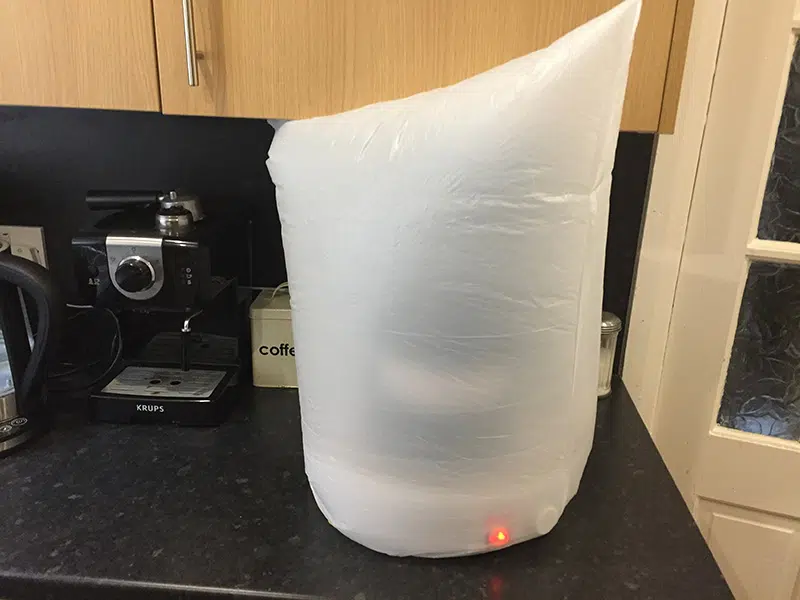
Personally, I use a food dehydrator. It cost £30 and has temperature settings from 30-70°C; all I do is stack rolls on the base, cover the whole thing with a plastic bag, cut a small hole in the top of the bag and switch it on. In the morning I have nice dry filament, and when I don’t need it for drying filament I can make beef jerky in it.
Use Stronger Material
PLA is wonderful stuff, but nobody’s ever going to call it the strongest plastic in the world. If you’re printing a part that needs to stand up to a load, consider using something different. In my experience nylon doesn’t make the prettiest prints, but it’s tough.
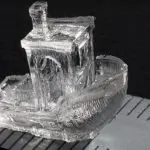
Polycarbonate is even tougher, but it’s also famously difficult to print. It’s very prone to warping and stringing, and it prints best at around 300°C, so a lot of printers can’t even melt the stuff. If you can print with it, however, you should get lightweight but very strong prints.
Tweak Your Designs
Materials are only half the story. If your prints aren’t strong enough but your filament’s dry, look at how you’re orienting models on the print bed. Don’t print things so loads are applied along layer lines, because they’ll likely separate. Consider adding reinforcing ridges or struts. Looking at where a print has broken will tell you where the weak spots are.
A simple way of making stronger 3D prints is by simply adding more material. Look at your wall thicknesses. Most slicers default to three lines, giving 1.2mm walls with a standard nozzle. If the print is going to carry a load, try increasing that to four or five lines. You can also push up the infill percentage. Ten or 15% is fine to support the shape of a print, but for loadbearing objects you need a minimum of 25% and sometimes over 50%. Infill patterns matter, too; cubic or triangle patterns can add a lot of strength.
Print Slowly
Reducing print speed can increase strength. A slower print will have less gaps and better fusion of lines. You might need to lower nozzle temperature to cut stringing. You can compensate for the slower speed by increasing layer thickness; this will also make your prints stronger, by cutting the number of layer boundaries. If strength is more important than appearance you can also use a larger nozzle; again, that reduces the number of lines the print could fail along.
Getting maximum strength out of a 3D printer is a bit of an art; you’ll have to play with the settings on your own printer to get the strongest prints. The ideas I’ve covered here are a good start, though. Orient your print the right way, and load the printer with dry filament, and you’ll get good results. Tweak a few other settings and you’ll be even better at making stronger 3D prints.


Leave a comment
You must be logged in to post a comment.