
Printing Skills – Orienting Your Objects

We all know how it goes when you import a 3D model into your slicing software. The first thing you do is work out what way up it should go. Does it have a big flat surface? Put that at the bottom! How about overhangs – can you avoid those? Supports waste filament, can be a pain to remove and mess up the surface of your print. Orientation is key.
Putting a model in the right orientation to print it is one of those things we all do – but a surprising number of us don’t do it as well as we could. There are some obvious things to look out for, but you need to watch for a couple that aren’t as obvious too. Here are a few dos and don’ts.
Set your priorities
The best orientation for printing an object doesn’t just depend on what shape it is – what you want to do with it has a big impact, too. If you’re printing a decorative sculpture, you’ll have different priorities than if you were printing a mechanical component the same shape.
If looks are the top priority, your main concern is going to be minimising the amount of supports needed and avoiding having layer lines running across the biggest, most visible faces. On the other hand, if you want a drone airframe you need to maximise strength and precision, so you can fit all the other parts and it won’t break the first time you crash it into a wall. How you arrange it on the print bed will make a huge difference here.
Looks matter
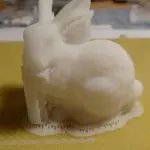
If an attractive print is your priority, you really want to cut down the number of supports as much as possible. The rough surface they leave isn’t attractive, and while some care in removing them will help and some post-processing can leave you with a flawless print, that’s all extra work. Look for an orientation that avoids overhangs wherever possible, and leaves any remaining ones in less visible places.

You’ll also want to consider how your layer lines will run. If large surfaces are printed vertically, the layers can be quite visible. Arranging your object so its largest flat surface is horizontal will give a much smoother finish.
Give me strength
If your project is going to have any load put on it, however, looks take second place to strength. Layer lines are even more important here, because if a 3D-printed part fails it’s most likely going to be separating layers that cause it. While newly laid down material will bond fairly well to the layer under it, they never achieve the same cohesion you’ll find within a layer.
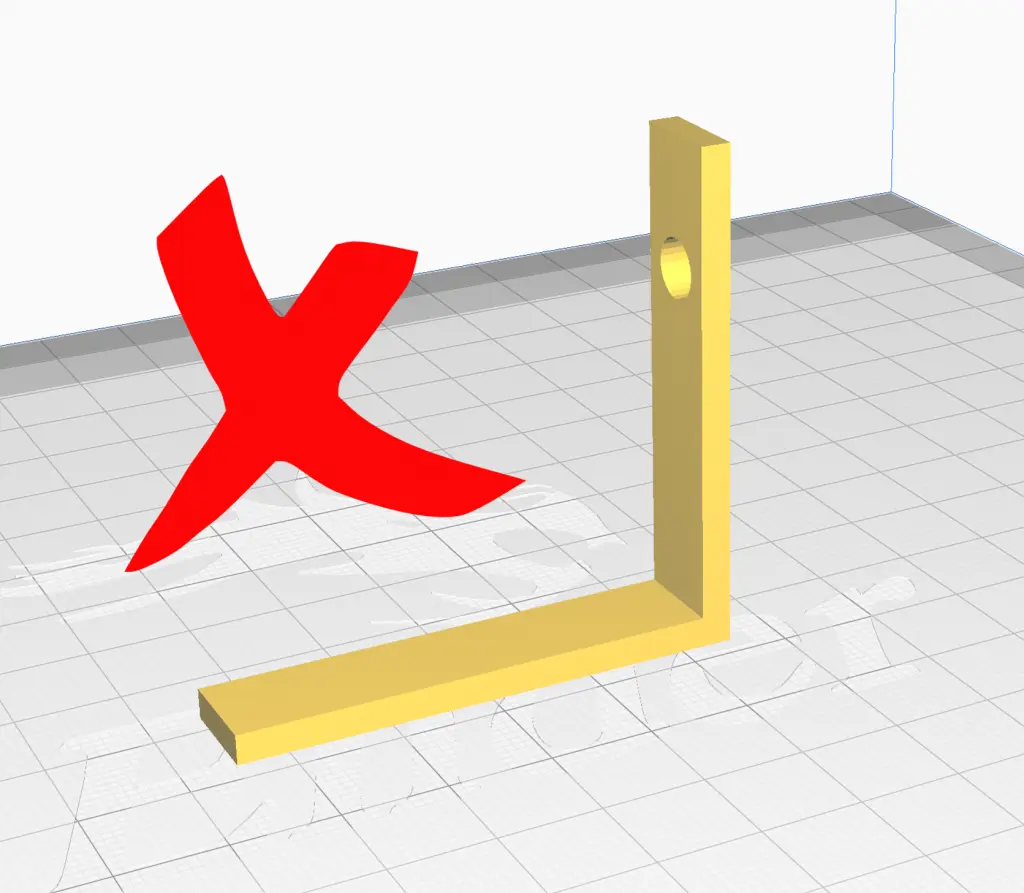
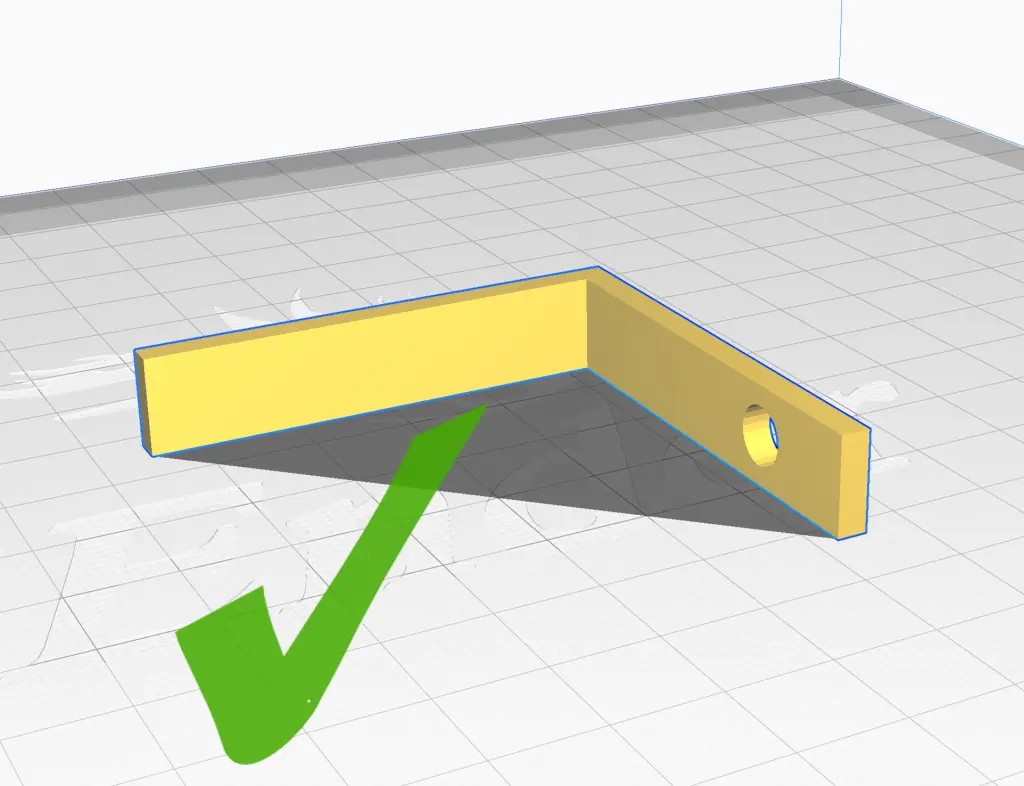
To maximise strength, orient your object so that any loads aren’t acting on layer boundaries. In the case of an L-shaped bracket, for example, print it on its side rather than with one leg vertical. That way both legs will be equally strong, and neither of them will shear off as soon as you put any weight on it.
Precise prints
If you’re making something that other components will attach to you need to be particularly careful with orientation. We’ve all seen videos of working 3D-printed nuts and bolts, but you can only print those one way – otherwise they’ll just bind up as soon as you try to screw them together.
If you want to print something with perfectly circular holes in it, you need to have the holes horizontal as you print. Do it that way and the head can draw a neat outline then work around it. If you try to do it vertically, though, there will be distinct flats at the top and bottom, and rough edges the rest of the way round. If you absolutely have to print holes vertically, choose a material that can stand some post-print machining; then make the holes slightly undersized and finish them off with a drill.
The right orientation for a printed object depends on a lot of things, and some of it will inevitably become obvious after some trial and error. If you know the basics, though, you can avoid some frustrating failures. If you have any tips about what way up to print things, let us know in the comments.


Leave a comment
You must be logged in to post a comment.