
Nuts And Bolts – Hardware For Your 3D Prints

If you try printing more complex items on your 3D printer you’ll soon face the problem of fastening bits together. Sometimes a drop of Superglue will do the trick. Sometimes you can design parts so they fit together without any extra fasteners being needed. On the other hand, sometimes you just can’t beat a couple of appropriately-sized bolts.
Like most people that occasionally try their hand at DIY I usually have a pretty good selection of nails and wood screws around, but until I got into 3D printing that was basically it for fasteners. Once I started exploring Thingiverse I quickly found it wasn’t good enough; lots of the projects to be found on there need machine screws, and sometimes nuts, bolts, washers and other hardware, to assemble. Once I got some I found that having them available expanded the things I could design myself, too. There’s no doubt, having some simple and inexpensive hardware in your workshop gives you a lot more options, so let’s look at the metalwork every 3D printer enthusiast should have handy.
Bolts
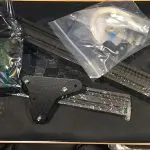
Small bolts, or machine screws, are incredibly versatile. A couple of them can fasten printed items to each other, or to other things, easily and securely. One, with a nut and a couple of washers, forms a simple but effective pivot. If you print holes just slightly smaller than the screw it will cut its own thread and lock into the plastic quite securely, or you can screw it right through and secure the end with a nut. Washers reduce wear, cut friction on pivoting joints, and help spread the load over a wider area.
Machine screws come in different sizes, lengths and styles. Countersunk ones give a neater finish; if you countersink the holes in your prints the screw head will lie flush with the surface. Round or button top ones protrude (unless you recess the holes) but it’s easier to make holes, and you can use them with washers. The best solution is to buy a box of a few hundred assorted bolts with matching nuts, and maybe a box of washers as well.
T-nuts
One thing we love about our 3D printer is how upgradeable it is. The Ender 3 is a no-frills design out of the box, but there are a ton of commercial and user-developed upgrades for it. Our one is steadily evolving with a mixture of parts we’ve bought, designs I downloaded from Thingiverse and printed, and a couple I designed myself.
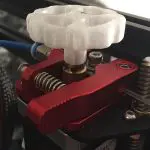
The thing about upgrades, of course, is that whether you buy them or print them they need to be attached to the printer. Conveniently, the main structure of the Ender 3 – and many other popular 3D printers – is built from aluminium extrusions with T-slots running along each side. If you want to attach something all you need is to equip it with a couple of bolts fitted with T-nuts. Push these into the slots, tighten them and they’ll turn, grip the slot and lock themselves firmly in place. You can print T-nuts that press onto a normal nut, but proper steel ones are stronger. If you plan to add Z-axis guides or other enhancements to your printer it’s well worth spending a few pounds on a box of T-nuts.
Bearings
Ever tried to print something that turns smoothly? It’s not that easy. Even if you can print your parts so everything is perfectly round, the surfaces are rarely perfectly smooth – and apart from nylon, printable plastics aren’t exactly frictionless anyway. If you’re looking for smooth, effortless rotation your best bet is to include a bearing of some kind.
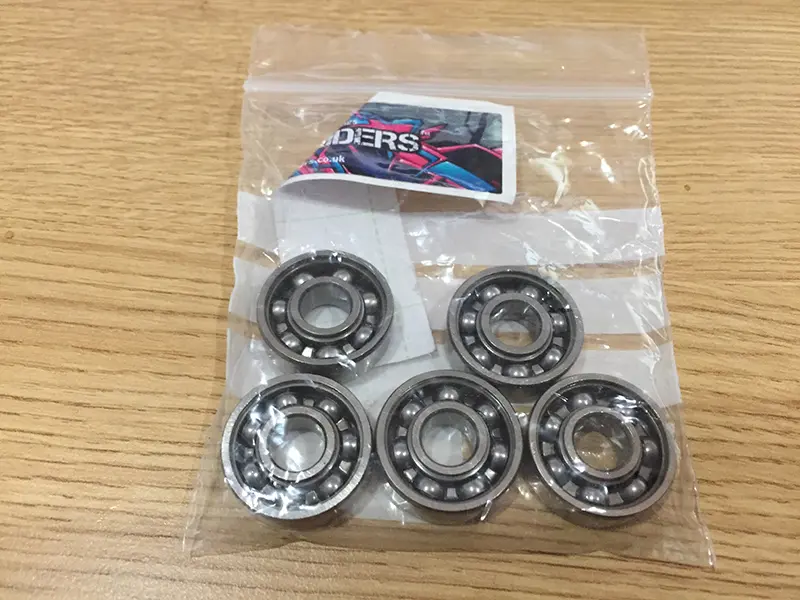
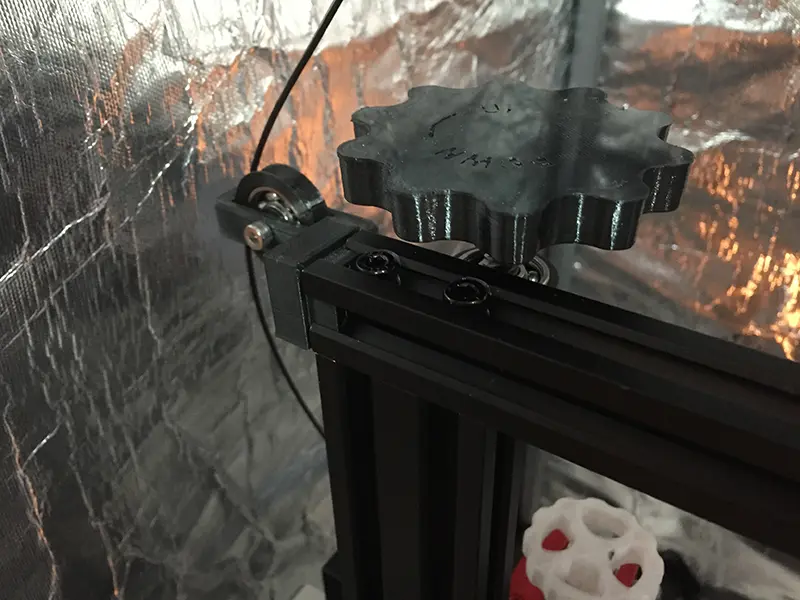
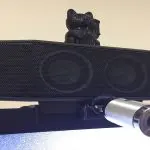
The most common bearing type for 3D printer projects is the 608. A favourite of skateboard designers, this is less than an inch in diameter, has an 8mm hole through the middle and is stuffed with ball bearings. If you want to mount something so it spins freely just make it with an 8mm plug on one end, and design a 22mm wide, 7mm deep circular recess into the base. Press the bearing into the recess, insert the plug into the middle of the bearing and there you go. Right now there are three 608 bearings on our Ender – two acting as hubs for filament guides, and one at the top of the Z axis drive rod. They’re extremely useful little things to have around.
There’s a lot more hardware you can use to make your 3D printing projects better. Springs, wiring, LEDs, motors… your imagination is basically the limit. Whenever I throw out anything mechanical or electronic I scavenge it for small parts first, which must puzzle the recycling people, but it’s a good source of screws and other stuff that might find a use in a printer design someday.

Leave a comment
You must be logged in to post a comment.