
Review – PrusaSlicer 2.5

A slicer is one of the most important tools for 3D printing, and I usually rely on the excellent Ultimaker Cura. This is one of the most popular slicers around, for good reason, but there are alternatives. This week I’ve been playing with one of them – PrusaSlicer 2.5.
So What Is It?
Prusa Research is a familiar name for 3D printer enthusiasts. The Czech-based company is well known for its classic i3 printer, and it also has its own slicer. This is bundled with Prusa printers, but you can also download it from their website – and that’s exactly what I did.
I’ve seen a few horrible slicers, including some that aren’t even fully translated into English, and PrusaSlicer definitely isn’t one of those. Installation is slick and professional, and when you open it for the first time it launches straight into a configuration wizard. Right away it gives you the choice of setting it up for printers from other vendors, and offers a long list of 3D printer manufacturers. I selected Creality, and got a very comprehensive selection of models with the Ender 3 right at the top. All I had to do was select the printer and click Finish to add an Ender 3 profile to the slicer.

Does It Work?
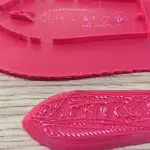
With PrusaSlicer set up to create G-code for my 3D printer, I went looking for something to slice. I’ve just been using Cura to slice a jig that I made for a DIY project, so I decided to use that for a direct comparison. Getting it loaded took a couple of minutes, because I’m used to Cura asking to open a file; on PrusaSlicer you need to import it. Once that was done, I went to work on setting up the print exactly the same as I had in Cura.
This is where things started to get a little tricky. The basic PrusaSlicer interface is very clean and well laid out. There’s a realistic image of the print bed, which looks nicer than Cura’s wireframe version but lacks the handy grid lines I’m used to. Key print settings are in a separate panel down the right of the screen which has Simple, Advanced and Expert modes (although there isn’t really much difference). For a straightforward print it’s very easy to use.
Unfortunately the print I wanted to set up isn’t entirely straightforward. Because I’m printing a jig, which can’t be distorted at all, build plate adhesion is crucial. In Cura I set it up to print on a fairly large raft, which is easily done in the Adhesion section of the drop down menu. The problem is that in PrusaSlicer there’s no raft option in the panel. I eventually found it by rummaging around in the Print Settings tab, where it turns out that rafts are an option in Support rather than Adhesion. When I did find it there were enough options to set up the raft I was looking for, but nowhere near as many as Cura has.
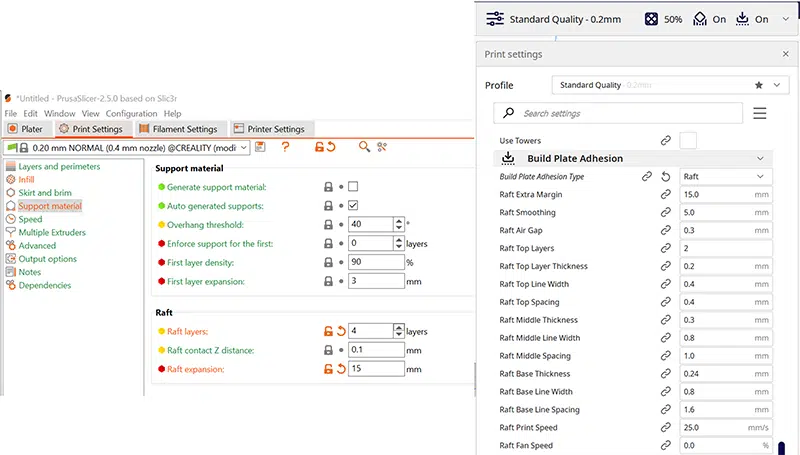
Cura (on the right) has a lot more setting options available.
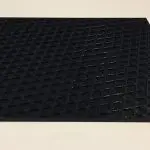
Despite having the same settings in both slicers, including the same speeds – 25mm/s for walls, and 50mm/s for the 50% cubic infill – I got distinctly different results. Cura predicted 7hr 45min for the job, with 81g of filament used; PrusaSlicer came in at 7hr 13min and 83.2g. However, the code generated by both slicers worked well, with no visible quality difference between the final prints.
The Verdict
PrusaSlicer 2.5 is a free download, available as part of Prusa’s driver and app package. Its interface is clean and intuitive, although there’s a bit of a learning curve if you’re used to Cura. For example, in Cura you hold the right mouse button if you want to pan the view around; in PrusaSlicer you need to hold the left mouse button. Overall, though, it’s easy to set up and easy to use.
My personal opinion is that PrusaSlicer 2.5 is probably a slightly better option than Cura if you don’t mess around with settings too much. Its basic settings are very easy to find thanks to that big, clear panel, and clicking on the Print Settings tab will give you access to a lot more. On the other hand, if you want ultimate control over your settings, at the cost of everything being loaded into one vast drop-down menu, Cura still has an edge.


Leave a comment
You must be logged in to post a comment.