Review – BZ Belt Tensioners
I’ve been working with our 3D printer for a year and a half now, and I’m getting pretty used to its little quirks and eccentricities. The Ender 3’s modular design makes it ideal for upgraders and anyone who likes to tinker, but I have to say it can be frustrating sometimes. For example, 3D printers work better if they’re regularly overhauled and adjusted to make sure everything is properly aligned, and that isn’t always easy.
One particularly irritating task is making sure the X and Y axis drive belts are correctly tensioned. One end roller for each belt is mounted on a bracket that can be slid along the printer’s frame to adjust the tension. This system works, but it’s fiddly. The main problem is that to adjust the tension you first have to loosen off the T-nuts that lock the brackets to the frame, adjust it, then tighten the screws again while holding the bracket in its new position. This is one of those tasks that’s a lot easier if you have three hands, and I don’t. So last week I decided to do something about it.
BZ Belt Tensioners
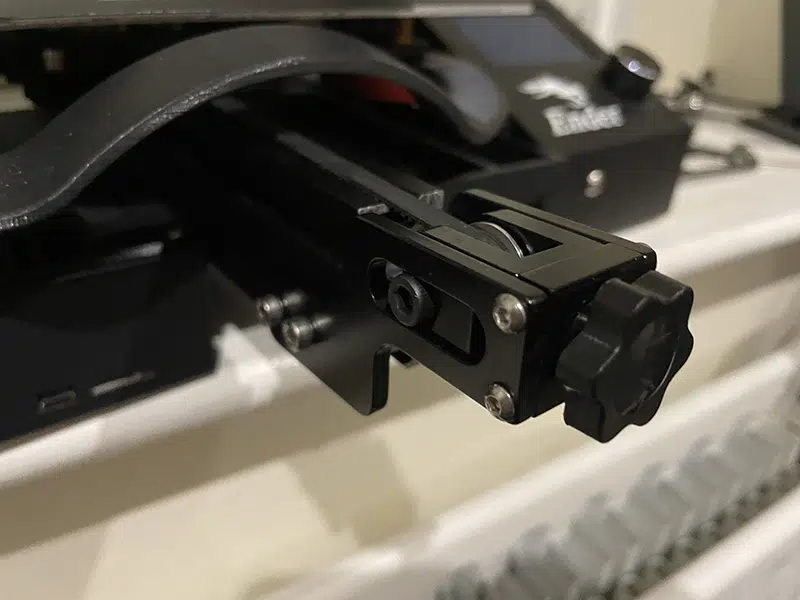
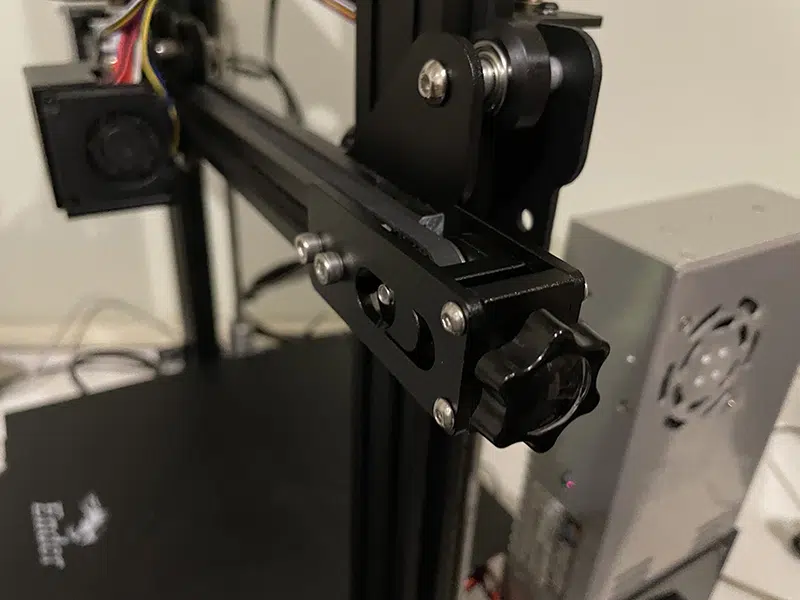
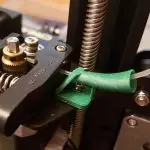
The solution I came up with was a pair of belt tensioning units from BZ. The belt rollers in the standard brackets are just bolted through the bracket itself; in the BZ ones the roller is mounted in a sliding shuttle, which can be moved in or out by turning a knob on the front. If you want to tighten the belt you just screw the shuttle out; to loosen off, screw it in. In theory it should turn the fiddly task of tensioning belts into a simple matter of twiddling a knob, and I was keen to see how it worked in practice.
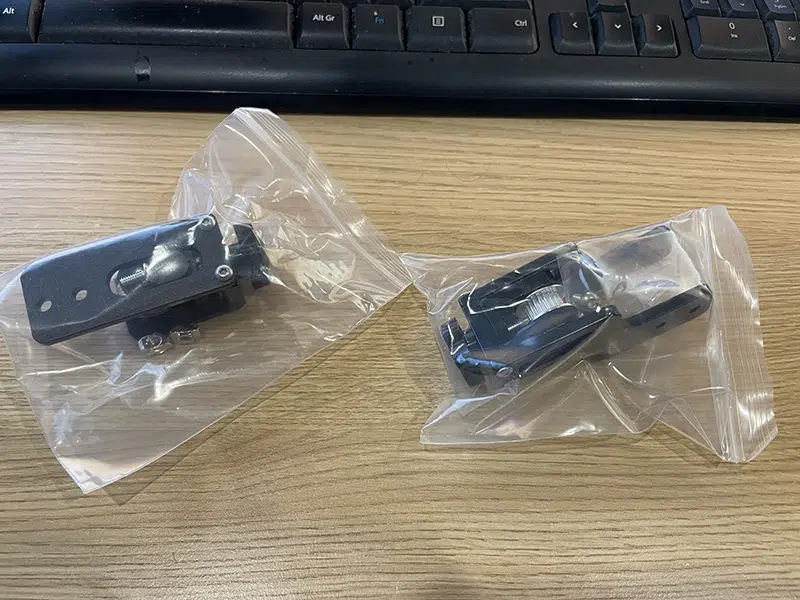
BZ make two different sizes of tensioner. One is designed to fit on a 20x40mm aluminium beam, like the one the print bed rides on in the Y axis. The other, a 20x20mm size, will fit on the print gantry itself and control the X axis belt. I picked up one of each.
These are pretty simple kits; each one comes in a small Jiffy bag, and inside that is a plastic bag containing the upgraded bracket and a small pack of screws and T-nuts. There aren’t any instructions, but as they’re drop-in replacement for the original brackets that didn’t seem like it would be much of a problem. So I dug out my trusty Allen keys and got to work.
Installing The Tensioners
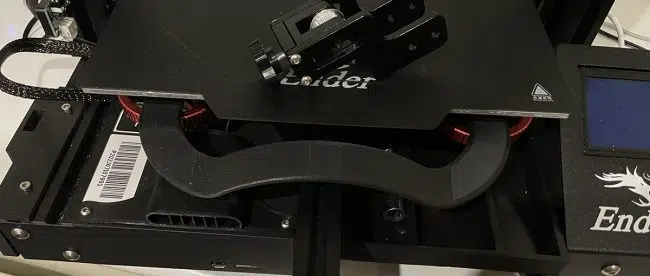
I started off with the Y axis, which seemed like it would be the trickier one to install. The first step was to unhook the belt from its slot under the print bed. This would have been much easier if I’d taken the bed off first, but it is possible to do it with the bed still in place. When you have it unhooked just loosen off the four screws that hold the bracket in place, and slide it off the end of the rail. Be careful not to let the bed slide around too much, in case it pulls the loose end of the bed inside the frame.
I recycled the existing screws and T-nuts instead of using the new ones, and fitted the tensioning unit to the frame. Before fitting it I moved the shuttle to the middle of its travel, so I’d have some freedom to adjust it in both directions. I slid it into the slots on the frame, but left the T-nuts loose for now. Finally I fed the end of the belt up round the roller, managed to get it hooked back under the bed, and tightened the screws.
The X axis tensioner follows basically the same procedure, but it’s a lot less fiddly. Unhook the belt from the print head carriage and remove the bracket, which only has two screws this time. Slide the new one onto the end of the print gantry and feed the belt through it. This is where I ran into some problems. The brass crimp on the end of the belt was too big to fit through the gap between the roller and the end of the shuttle. I’m not counting this as a fault of the tensioner; that particular crimp was a good bit bigger than the one on the Y axis belt. I did manage to get it through by removing the roller, passing the belt through then refitting the roller. Then, again, all I had to do was hook the belt back onto the carriage and tighten down the screws.
The Verdict
At less than £20 for both tensioners this is an affordable upgrade, and it’s a worthwhile one. The new brackets are nicely made from aluminium with a very deep black finish. The adjustment knobs are easy to use without being so big they get in the way. It’s now effortless to tweak the belt tensions. I admit to not having adjusted the belts as often as I should have, because fiddling with the original brackets was such a pain. Now it’s completely hassle-free, and that should pay off in print quality. I’d definitely recommend these tensioners.


Leave a comment
You must be logged in to post a comment.