Multicolour 3D printing on an Ender 3
Last week, while I was experimenting with welding bits of filament together, I used different colours of filament joined into a single length. Mostly I did this so the results would be visible in the finished print, which you’ll have seen in my pics of multi-coloured Benchies. That got me thinking, though. I’ve read about people changing filament to create multi-coloured 3D prints, and I started to wonder how practical multicolour 3D printing is.
Our Ender 3 offers the option of pausing the print, and I’ve done that a couple of times when I wanted to adjust something on the printer. Hitting pause sends the print head back to its home position; hit resume and it goes back to where it left off and starts printing again. So what if, while it’s paused, I swapped spools and resumed with a different colour? I decided to test that by creating another multi-coloured Benchy.
Testing The Theory
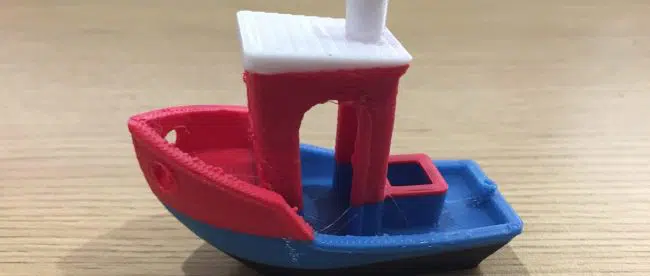
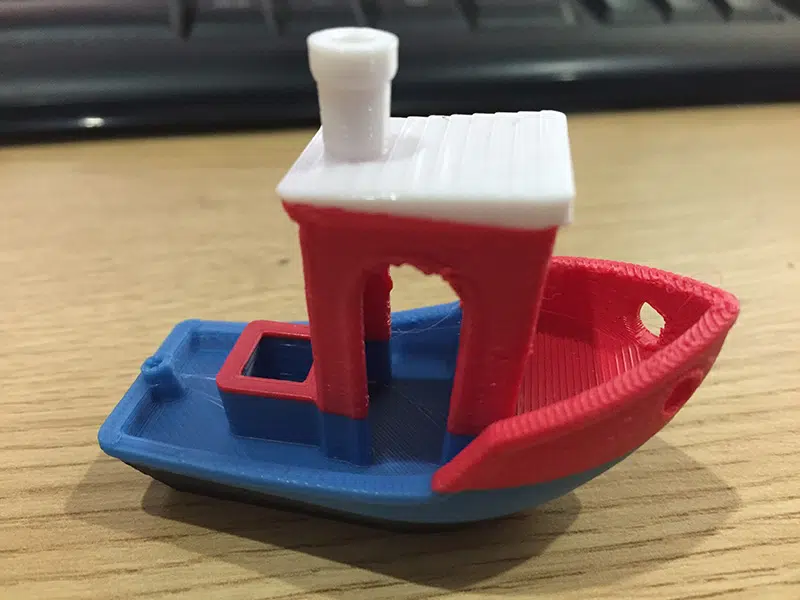
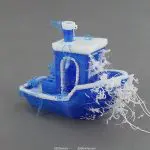
I have to admit, this wasn’t the most scientific experiment ever. I just started printing a Benchy, then whenever it looked like being an interesting place to change colour (or whenever I remembered) I paused it and switched spools. And this is how it turned out:
I have to admit, I’m quite proud of the red rim on the equipment locker and white roof on the wheelhouse. More to the point, there’s no visible effect on print quality and the different colours are firmly stuck together – I squeezed and twisted it a bit in an attempt to get the layers to separate, but they didn’t. So, at least for 3D printed objects that won’t have to bear much of a load, this technique seems to work perfectly.
Is There Any Point?
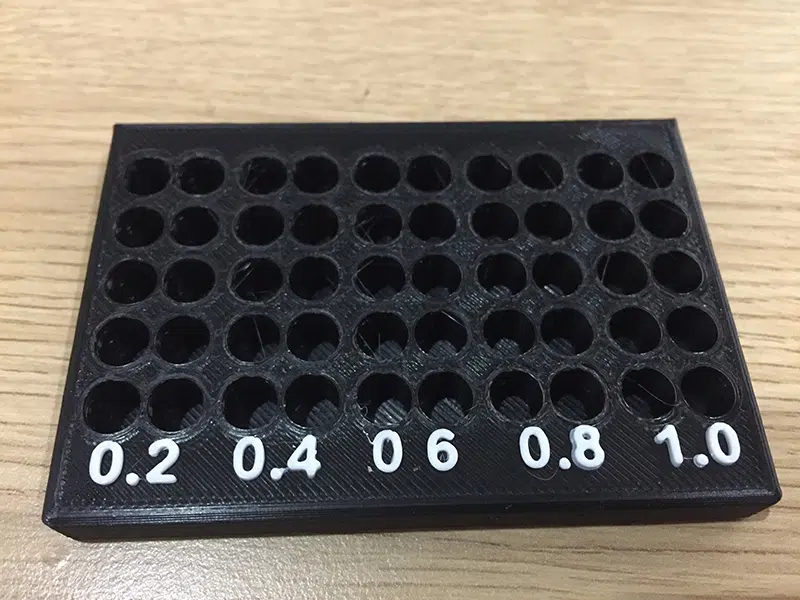
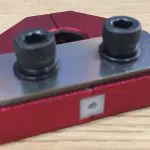
Of course, making colourful, stripy objects is all very well, but is there an actual practical use for it? I decided to find out. This morning I spent some time designing a small rack to hold spare 3D printer nozzles, and one feature of that is raised numbers showing what size of nozzle goes in each row. The trouble is it’s a bit hard to see black numbers on a black rack, but what if I did the numbers in white?
Well, that seems to work! The eagle-eyed will notice that I managed to knock off a decimal point while levering the rack off the printer, but in general it turned out very nicely.
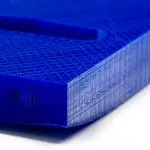
While I was doing this project, I also decided it was time to replace the nozzle I was using. This one has been used with some abrasive materials, and when I pushed filament through it was starting to come out looking like spaghetti. That doesn’t exactly promise precision, so I swapped it for a new one; the extruded filament is now about half the diameter it was.
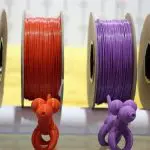
I’ve also recently picked up a vacuum sealer, which is handy in the kitchen. It turns out it’s also handy for storing opened spools of filament. I wouldn’t keep black PLA in it, because that’s what I use most of the time, but for rarely-used colours and materials it’s a great solution. I’ve tried resealing the bags filament comes in, but that doesn’t really work with my sealer so I just use standard kitchen vacuum bags.
Anyway, that’s been my adventures in multicolour 3D printing over the last week or so. Next time I’m going to look at supports and how to get rid of them without messing up your print.


Leave a comment
You must be logged in to post a comment.