How To Cold Pull Your Nozzle
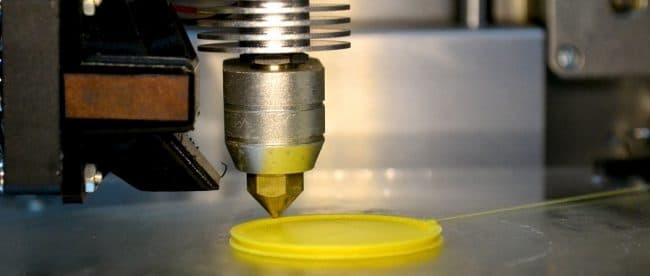
Last time I wrote about some 3D printer dramas I was having that seem to have been caused by a blocked nozzle. This is a common issue with any FDM printer. The nozzles have a very fine, precise aperture that’s easily clogged up by anything that doesn’t melt at whatever temperature it’s running at. That could be an impurity in the filament – a tiny particle of metal that found its way in during manufacturing – or even just a particularly stubborn bit of dust. Whatever it is, once it’s in (or on) the filament it gets carried into the nozzle, jams there and obstructs the flow of filament.
There are a few ways to tell if this happens. You may notice the noise first; I spent some time trying to track down a knocking sound that turned out to be coming from the extruder. If the filament is being obstructed the extruder motor will eventually run out of torque and start slipping, which you’ll hear as a clicking or knocking sound every couple of seconds.
If you push some filament through a partly blocked nozzle the chances are it won’t come out straight; it’ll curl. If that’s happening you probably need to clean your nozzle. In extreme case, of course, no filament at all will make its way out. If you’re that badly blocked the extruder will definitely be slipping, constantly.
Now What?
So the nozzle’s blocked; what are you going to do about it? The chances are your printer’s toolkit includes a little bit of 0.4mm wire for poking into your nozzle, and a lot of the time that will work fine, but occasionally it’ll just push the obstruction up and out of the way rather than actually getting rid of it. As soon as you start printing again the filament will pick up the obstruction and push it right back into the nozzle, and your problem will immediately return. What you need is some way to completely remove it, and that’s where cold pulling comes in.
Before you try to cold pull your nozzle, though, a little warning – it isn’t a gentle process, and there’s always a risk of stressing things. Don’t do it unless it’s necessary. Try using a cleaning wire first; if that doesn’t work unscrew the Bowden tube from the hot end, heat the nozzle then poke a bit of filament down the top, give it a few seconds to melt then pull it out again. Try to use a contrasting colour for this (white is ideal) so you can see if it’s pulling out debris from the nozzle. Repeat that a few times, clipping the end of the filament each time, until it comes out looking clean. Then try printing again.
What If That Didn’t Work?
Still not working? Then you can try a cold pull. Unscrew the coupler from the hot end and heat it up. If you have any nylon filament around that’s the best choice for a cold pull, because it’s stronger, so cut off a foot of nylon and get the nozzle good and hot.
Once your nozzle is heated, push the nylon down into it as hard as you can. The aim is to fill the entire heating chamber with molten nylon. If molten nylon is squirting out the nozzle as fast as you push it in, stop pushing and have a look. If it’s flowing out straight, instead of curling, the chances are your nozzle is fine and the problem is somewhere else.
If the nozzle is still blocked, though, you should feel resistance building up quite quickly. When it becomes a real effort to get the filament any further into the hot end, stop pushing. Then just switch the printer off and do something else for a while.
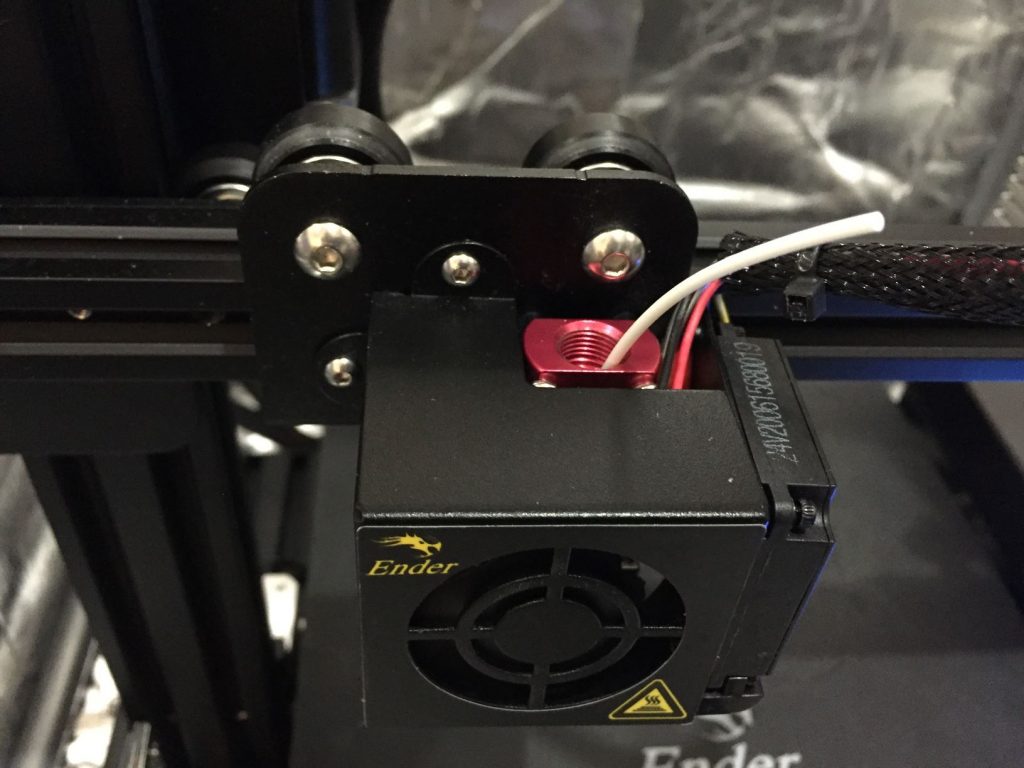
Once the hot end has cooled back down to ambient temperature, grip the end of the filament firmly and pull it straight up. You might need to use pliers, especially if it’s nylon filament. Pull it smoothly, without jerking, to reduce the risk of it snapping. Eventually the filament should pop out, and on the end of it should be a plug of plastic with any debris, bits of old filament and so on embedded in it. That’s it – cold pull of your nozzle is done. Now just reassemble your hot end and get back to printing.
Last time I said I’d also cover the new enclosure here, but I’m running short on time so I’ll do that in the next post. We’re also looking at a couple of upgrades for the Ender 3’s feed system – one small one, and one that’s a bit more radical. Come back soon to find out how we got on with that!




Leave a comment
You must be logged in to post a comment.