What Have We Done To Our 3D Printer?
Last week Tony gave a great summary of how we’ve been getting on with our 3D printer over the last couple of months. Today I thought I’d give my own take on that, focusing on the Ender 3 itself. We haven’t done anything really radical to it, but if you sat it beside a completely standard one you’d notice a few differences. Let’s have a look at how it’s evolved so far.
Print Enhancements
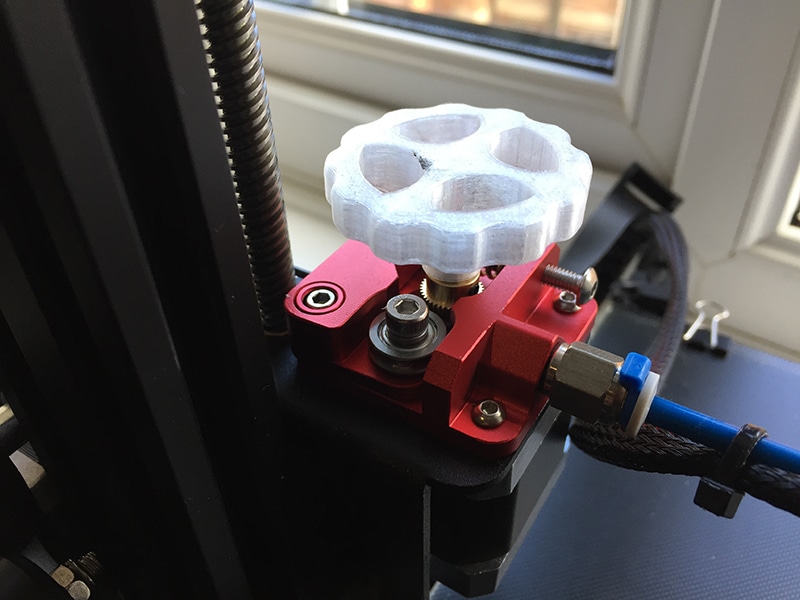
We all want our 3D printers to work more reliably and turn out higher quality prints, so we’ve made a couple of changes in the print enhancements area. Firstly, I replaced the Bowden tube. The one that came with the Ender 3 worked, but it was obviously suffering a little. A more robust, and smoother, PTFE one was an inexpensive upgrade. A few days later I upgraded the extruder to an all-metal one. This is more precise, as well as more durable. While I was at it I fitted a PETG knob I’d printed, so I can wind the filament out manually if I need to.
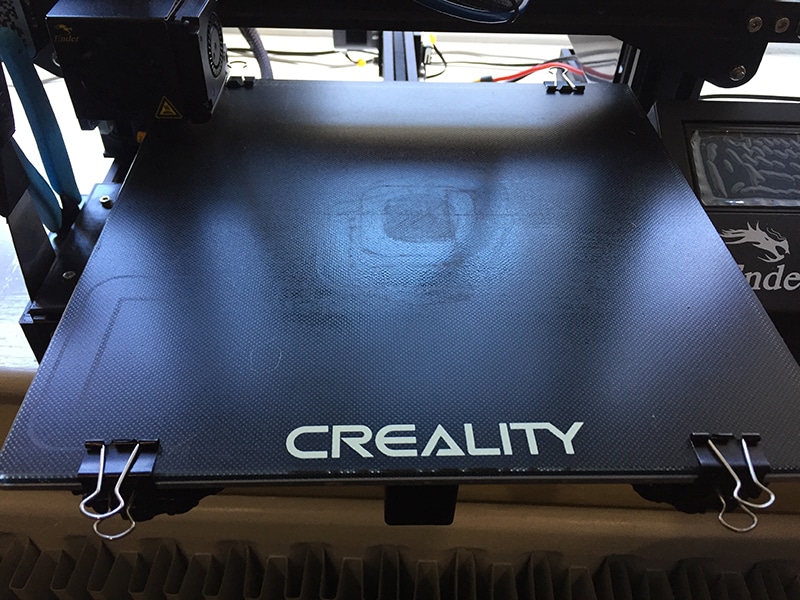
Something I made last week wasn’t keen on coming off the print bed, and while I was trying to lever it free with the scraper I took a big gouge out of the bed surface. I’ll get round to repairing that, but I took the opportunity to switch to a glass bed. That will get its own article soon.
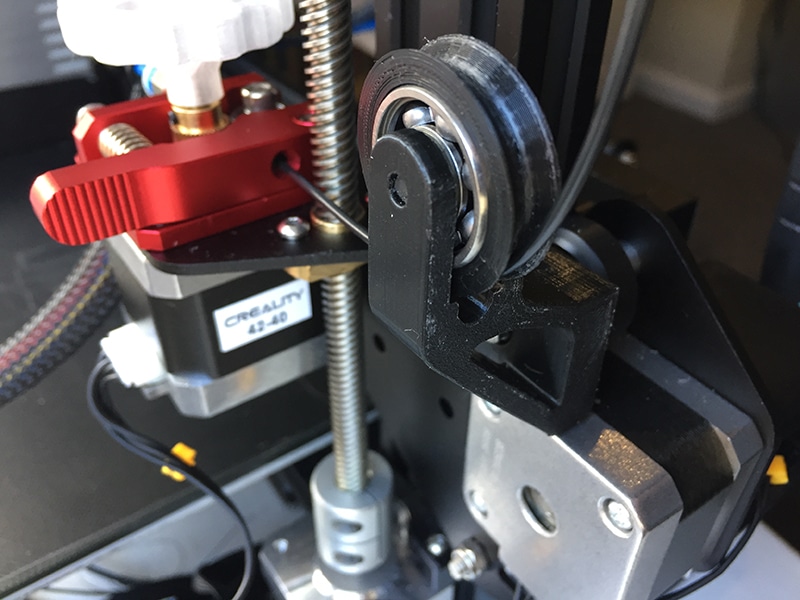
The final upgrade to the actual printy bits was a filament guide. Adding one or two guides helps ensure your filament feeds smoothly into the extruder, and I’d highly recommend it. There are a lot of simple designs online but I went for a slightly more sophisticated one that uses a skateboard bearing.
Durability
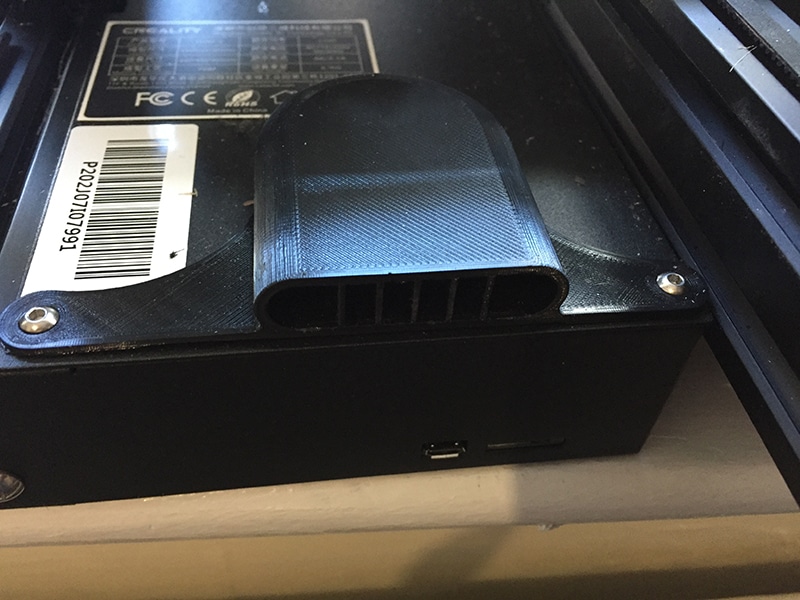
One of the first things I printed on the Ender was a guard for the fan on the electronics unit. This fan is on top of the case, and nicely placed to eat stray bits of plastic falling from the bed. Apparently this can knacker the fan, so I printed a simple guard that keeps debris out and draws in cooler air from the front.
One place where Creality obviously cut costs was in leaving the circuit board for the display exposed. It’s just screwed to the back of the screen. This isn’t a big deal, and I’d rather have an exposed board than a lower-quality component somewhere it really matters, but I did want to cover it. If only I had some way to make a simple plastic box that could be fitted with the standard board mounting screws. Oh wait…
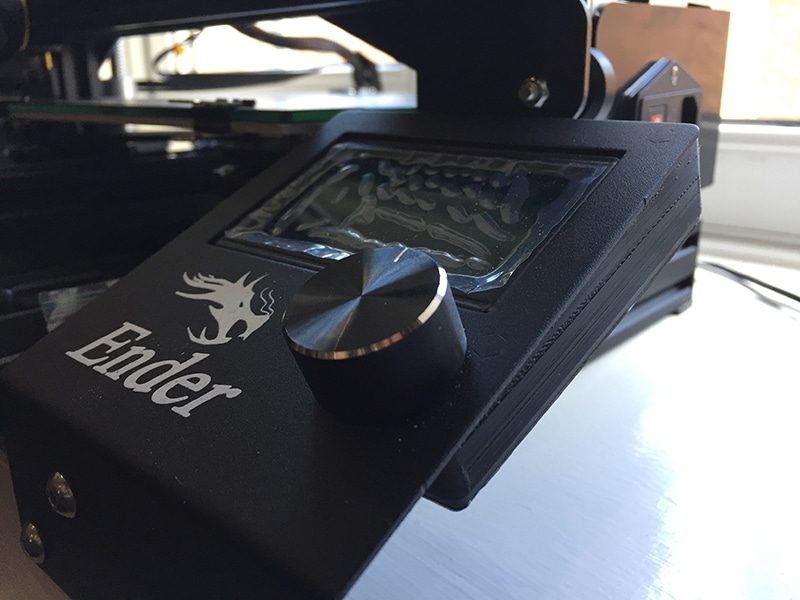
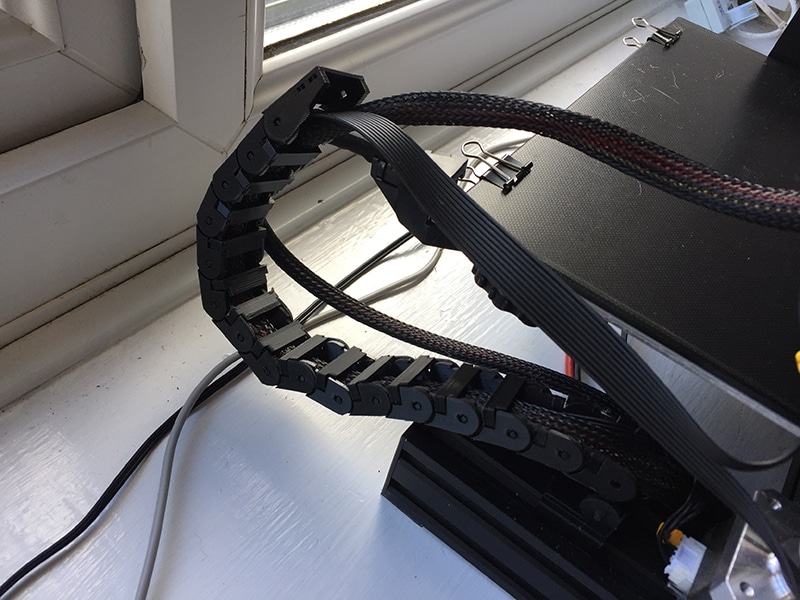
While I was at it I made a drag chain for the cable that powers the extruder and hot end. This tends to flop around, and I was always worried it would snag on something. The chain keeps it under control.
Storage
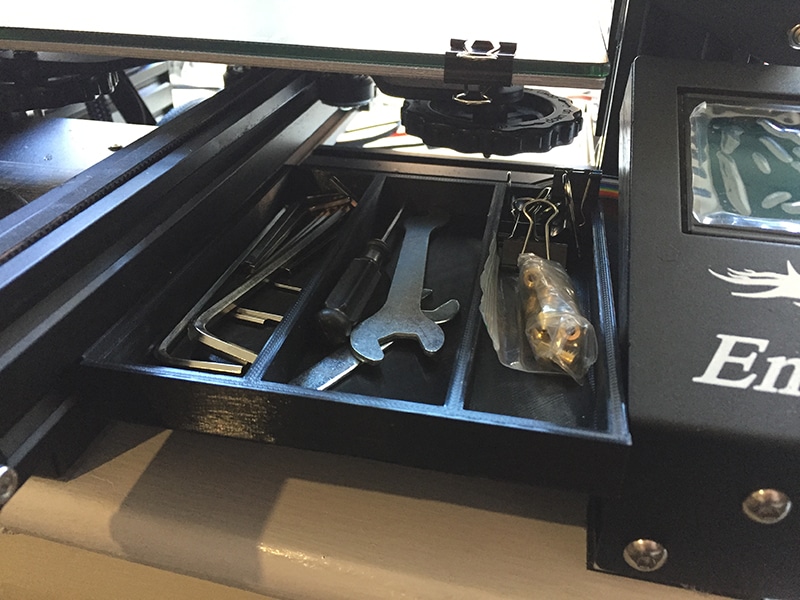
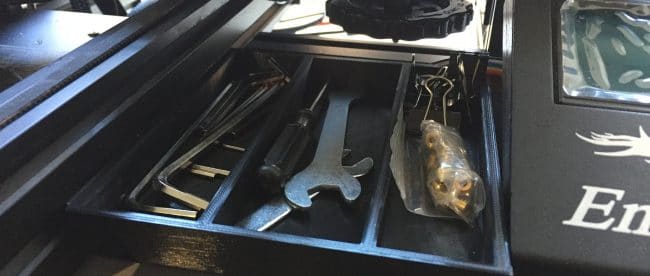
3D printing involves using tools a lot. If you like to tinker you’ll always be reaching for spanners and Allen keys to adjust, dismantle or upgrade bits of the printer. I got fed up rummaging for mine in the big pocket on the side of the enclosure, so I printed out a tray that slides into the grooves on the printer frame. This holds all my maintenance tools, plus spare bulldog clips and nozzles.
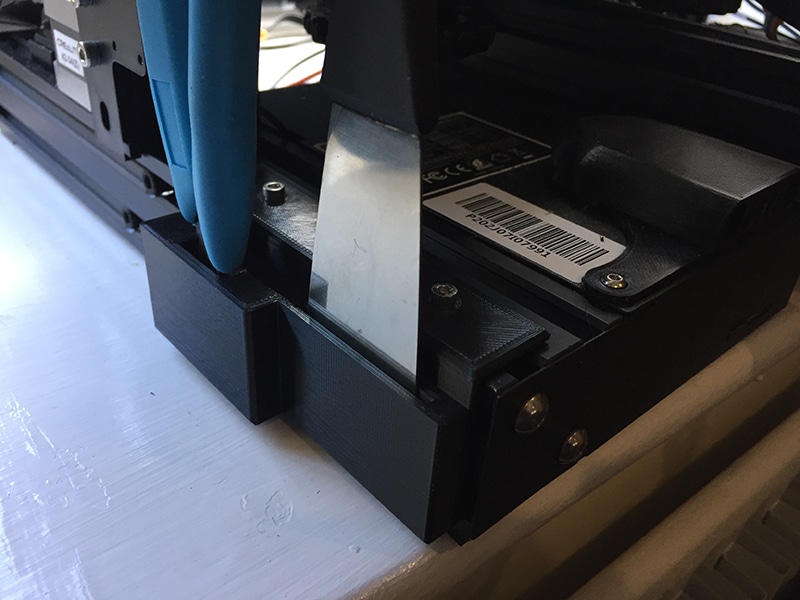
What it doesn’t hold is the clippers and scraper. This is unfortunate, because even if you’re not a tinkerer you’ll use these a lot. I designed and printed a simple holder for them that fastens to the printer base with a couple of M3 T-nuts. Don’t worry if you don’t have any spare T-nuts lying around; you can print those too.
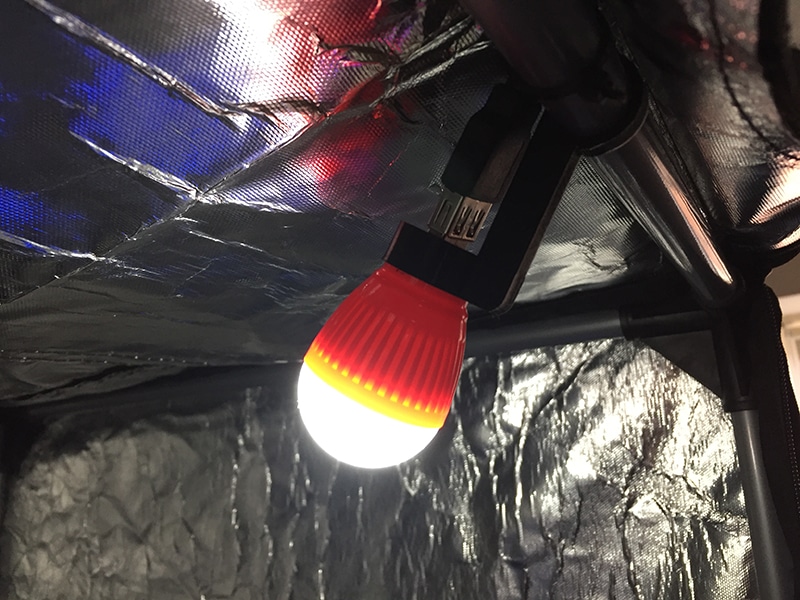
Finally, I decided it was a bit gloomy inside the enclosure. It does a great job of holding in heat, keeping the printer dust-free and stopping bits of filament migrating all over the house, but even with all my office lights on it wasn’t too easy to see what’s happening in there. I fixed that with a cheap LED night light, a USB extension cable to power it and a simple printed mount that holds it to the top bar of the enclosure. Minor print enhancements like this just help to make life that little bit easier.
We have a lot more plans for our 3D printer with even more print enhancements, but even the basic mods so far have made a difference. The new extruder and Bowden tube give much smoother, more reliable filament feeding. The fan is protected from stray filament, and the circuit board from clumsy fingers. All the tools I need are neatly stored right there on the printer itself, and I can actually see what I’m doing. These are all great printer enhancements; soon I’ll be adding a handle for the printer bed and a Z-axis guide to stabilise the top of the drive rod – and when I say “soon” I mean they’re printing right now. Come back in a few days to find out if I broke anything else!





Leave a comment
You must be logged in to post a comment.