Designing 3D Print Projects – Introduction
You’re never short of things to make with a 3D printer. Most printers come with a few sample objects already loaded on an SD card, and there are some great online file libraries crammed with objects. Check out Thingiverse for thousands of free, downloadable designs – there’s enough there to keep you printing for a lifetime, if you want. Here we give some advice to help you with your 3D print projects.
As handy as premade designs are, though, they’re not really using your printer to its full potential. The real strength of a 3D printer is its ability to create unique objects in a quick and cost-effective way. Whether it’s a custom piece of art for your mantelpiece, or a cable clip for that awkward corner round the back of your desk, you can go from an idea to a finished item in a few hours.
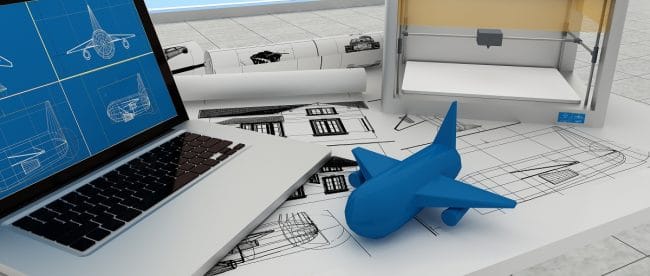
Obviously that takes some work. You can’t just draw a picture of your inspiration, feed it into the printer and start rolling filament. You need to create a 3D model, with every dimension, curve and angle that will appear on the finished object, and turn it into a file the printer can read. There are three basic stages in this:
- Planning. You need to decide what you want, what it should look like and what it’s going to do. This can involve measuring, sketching and a lot of brainstorming.
- Design. Using a 3D design or CAD programme, you have to create the actual model of your object.
- Slicing. This process, which we looked at a couple of weeks ago, checks your design for print issues and converts it into instructions for the printer.
Planning
Before you try designing an object for your 3D print project you need to know the basics of how it’s going to look. Dimensions, clearances and fixing points can all be tweaked once you start designing, but starting the design process with a blank screen and no idea what to put on it is a recipe for disaster. You need to know the rough shape of the final object before you begin. Sketching is a great idea, even if you don’t have any artistic talent, but at a bare minimum you need a clear picture of it in your head.
Unless you’re making artwork you’ll also need accurate measurements. A ruler will do to visualise sizes and measure straight edges, but it’s not always enough. If you want to measure the diameter of a circular object – for example, a stand that you want to produce a mounting for – calipers are a lot better. You can pick up an electronic one accurate to 0.1mm on ebay for less than £7. An angle gauge is also useful, and they’re not expensive either.
Design
Once you know the basic form of what you want to make, and what size it should be, you’re ready to start designing. This used to involve expensive specialist software, but now there are free packages like Blender – ideal for artworks – and FreeCAD. With some practice, and help from the hundreds of tutorials on YouTube, either of those can produce high-quality 3D models.
Designing in CAD software lets you check the fit of parts, and easily adjust sizes and shapes until things work the way you want. We’ll be talking about FreeCAD in more detail in the next few weeks, but if you don’t already have it it’s worth downloading it and starting to play with its basic features.
Slicing
Once you have your model, save it to a compatible format – usually stl – and open it in your slicer. We recommend Cura, but any good one will have similar features. This will let you check there are no serious design issues that will cause print failures, and finally create the actual file your printer will run.
Designing your own 3D print projects will mean learning some new skills, but once you’ve mastered them a whole range of new possibilities opens out. You’ll be able to create custom objects rapidly, or even design and manufacture replacements for broken parts. That’s what 3D printing is all about – turning ideas into real objects in a quick and efficient way.



Leave a comment
You must be logged in to post a comment.